Google Assistant for PC can be used in the same way as Microsoft Cortana and Amazon’s Alexa can. Thanks to the efforts of tech enthusiasts throughout the world, there is an unofficial method for bringing Google Assistant to Windows 11. In this guide, we will go over all of the steps you need to take to download and install Google Assistant on your Windows 11 PC or laptop.
Microsoft has announced that Android apps will operate on Windows 11, and although it is now only available in Windows Insider versions, the general edition is likely to be released soon. But for now, you can either follow these instructions or wait.
Table of Contents
What is Google Assistant?
Since its debut in 2016, Google Assistant has evolved into one of the most advanced and active assistants available, and Google has broadly deployed Assistant, both on its own devices and via partnerships.
Google Assistant is the company’s virtual assistant. Google Assistant debuted as an extension of Google Now, with the goal of becoming more personal while building on Google’s existing “OK Google” voice capabilities.
Google Now has long been dead, but Google Assistant exists in the same place, merging these customized aspects with a broad range of voice control. Google Assistant accepts both text and voice input and will continue the discussion regardless of which technique you choose.
What can Google Assistant do?
Google Assistant provides voice commands, speech searches, and voice-activated device control, allowing you to do a variety of activities on your Windows 10 or Windows 11 computer after saying the wake words “OK Google” or “Hey Google.”
With Google Assistant, you can:
- Control your devices and your smart home.
- Access information from your calendars and other personal information online.
- Control your music.
- Play content on your Chromecast or other compatible devices.
- Find information online, from restaurant bookings to directions, weather, and news.
- Run timers and reminders.
- Make appointments and send messages.
- Open apps on your phone.
- Read your notifications to you.
- Play games.
- etc.
How to Install Google Assistant on your Windows 11 PC
As previously stated, there is no official Google Assistant app for Windows, although an unofficial client is available for Windows 10 and Windows 11 PCs. Below, we will show you how to download Google Assistant for free on your PC or laptop. Having Google Assistant installed on your Windows computer is like having your own personal Google Assistant that handles everything for you. So, without further ado, here are the steps to install Google Assistant for free on a Windows 10 or Windows 11 PC.
Note: To avoid errors, it is recommended that you carefully follow all of the steps. Furthermore, we suggest that you create a system restore point or retain a backup of your data to keep all of your data safe and secure.
Step 1. Download and Install Google Assistant Unofficial Windows 11 Client
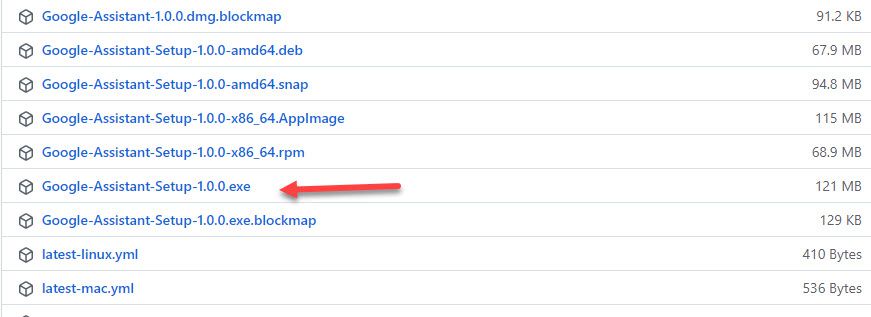
- To get started, download the unofficial Google Assistant Windows app in .exe format from the GitHub page.
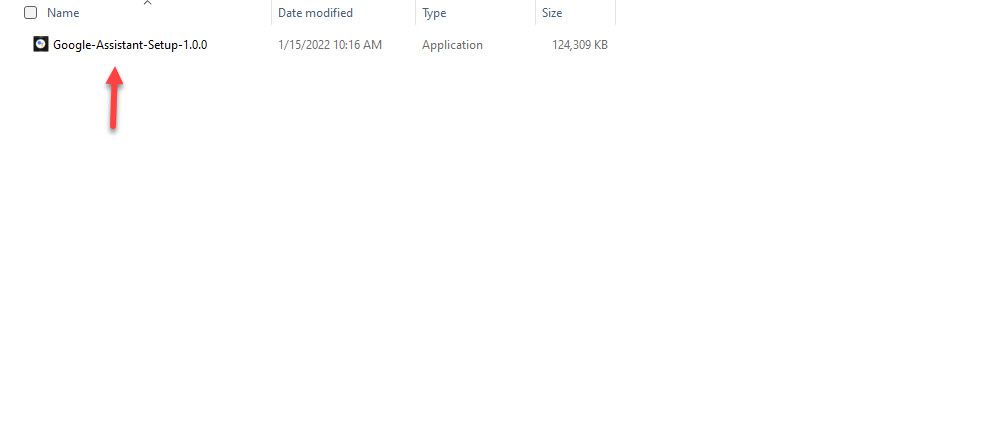
- Once downloaded, find the downloaded file and double click to run it.
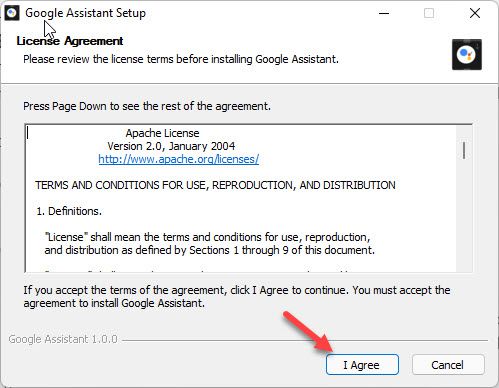
- Review the license agreement and select “I Agree.“
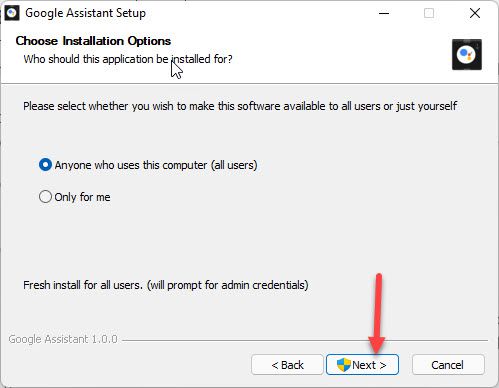
- Next, if you have set up multiple users, you need to choose whether you want to make this software available for other users too.
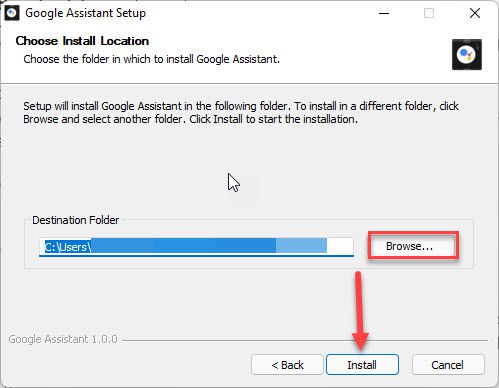
- Then, choose the folder in which you want to install Google Assistant, and click on the “Install” button.
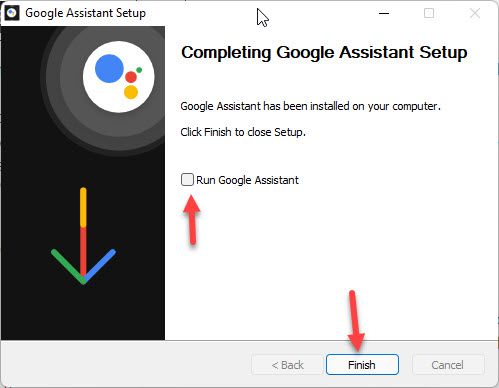
- Once it’s done, uncheck the box next to “Run Google Assistant” and click Finish.
Step 2. Create a New Project from the Action Console
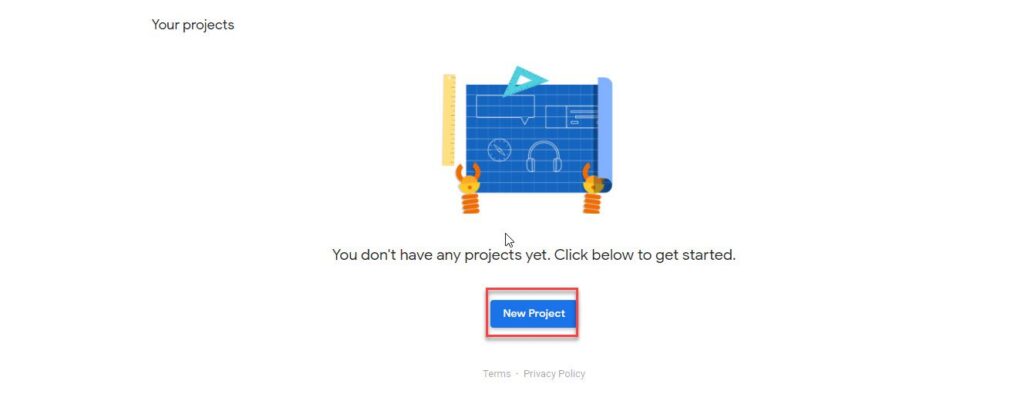
- Open up the Actions Console and click on “New project.“
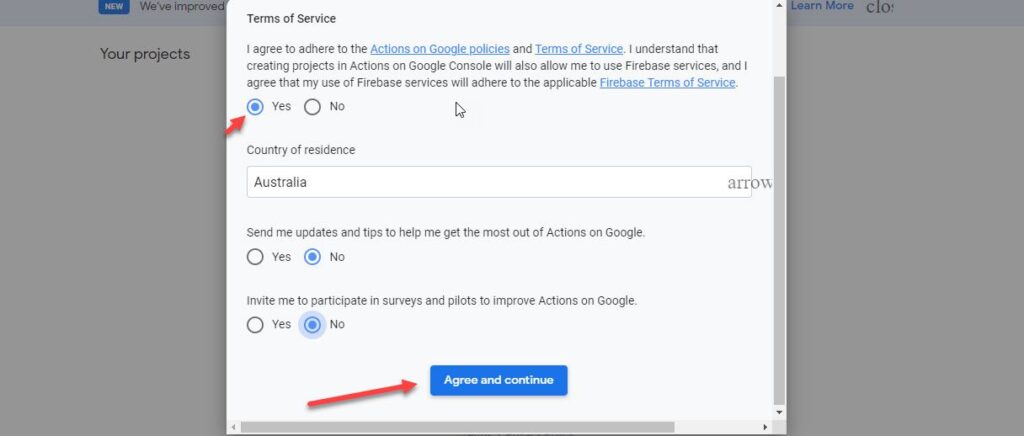
- Now, agree to the terms of service, select your country of residence, and click on “Agree and continue.“
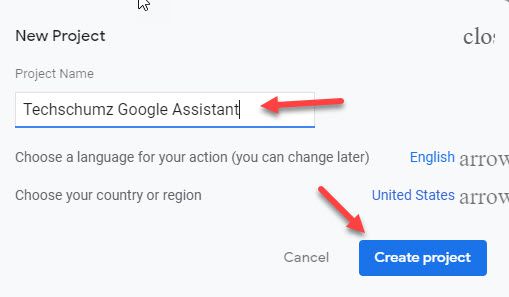
- Next, type any name for the project name, select your preffered language and region, and click on “Create a Project.”
Step 3. Register Model and Download Credentials
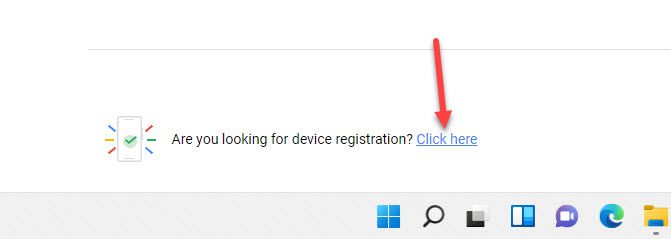
- On the next screen, scroll down and you’ll find an “Are you looking for device registration? Click here” link. You will need to click on the link to proceed.
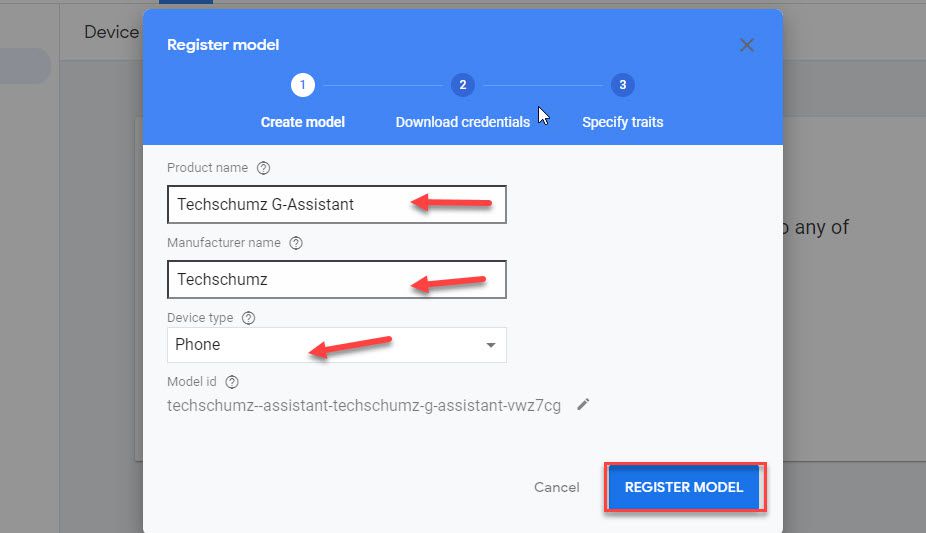
- Now to embed Google Assistant into any of your devices, click on the “REGISTER MODEL” button.
- Fill in the fields for Product Name, Manufacturer Name, and Device Type in this area, then click “REGISTER MODEL.”
- After you’ve generated a model, you’ll be prompted to download the credentials. To proceed, click “Download OAuth 2.0 credentials” and then “Next.”
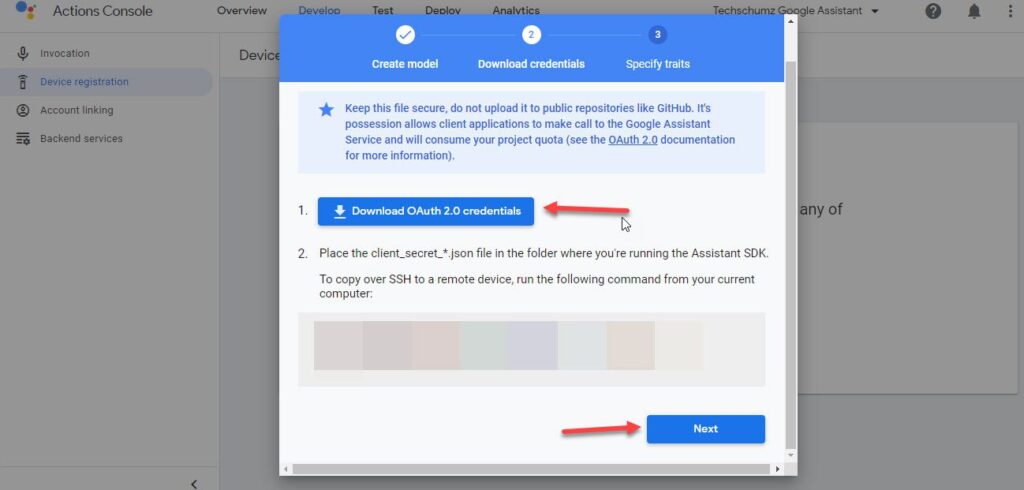
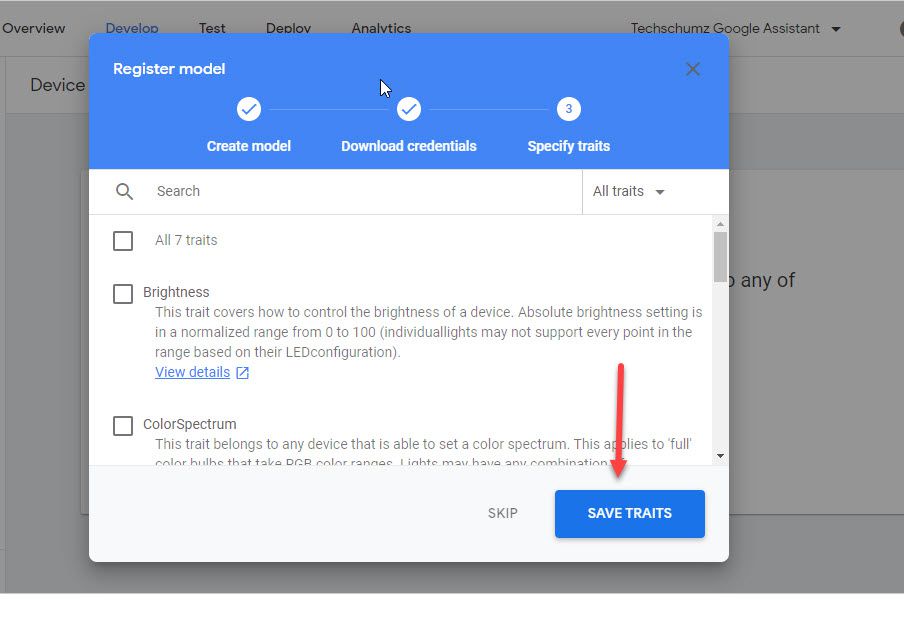
- Finally, press the “SAVE TRAITS” button.
Step 4. Enable Google Assistant API
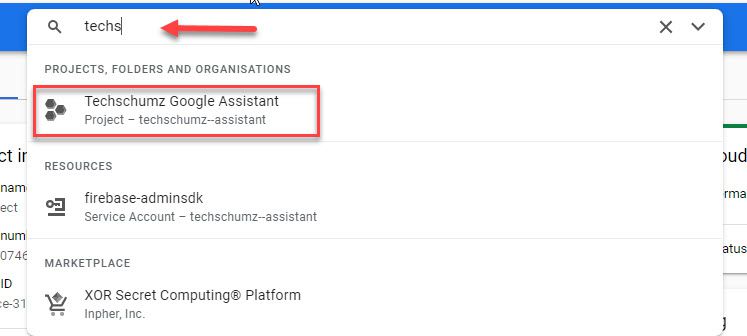
- After this, you need to head over to the Cloud Console page and log in with your G-Account.
- Now, go to the search box and search for the project you just created, then click on it.
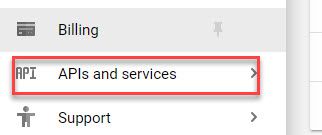
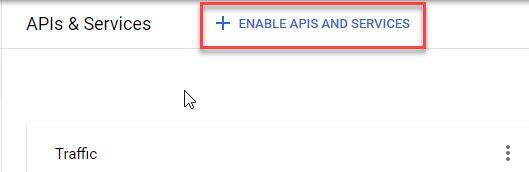
- Then, from the left-hand menu, select “API and Services.”
- Then, select “ENABLE APIS AND SERVICES.”
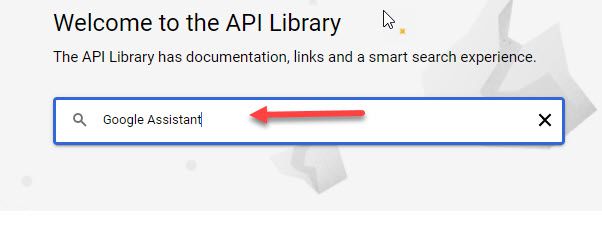
- Now, go to the search box on the opened page and type “Google Assistant” and then click on “Google Assistant API.“
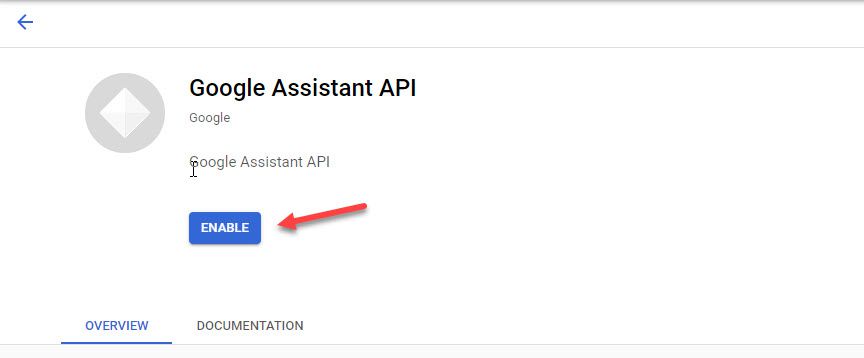
- Finally, select “Enable.”
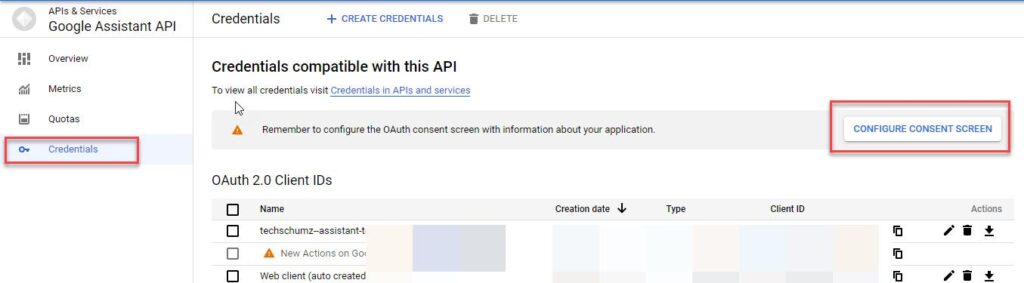
Step 5. Configure Credentials Screen
- A new page will appear when you enable the Google Assistant API. From there, select “Credentials” from the left side, followed by “CONFIGURE CREDENTIALS SCREEN.“
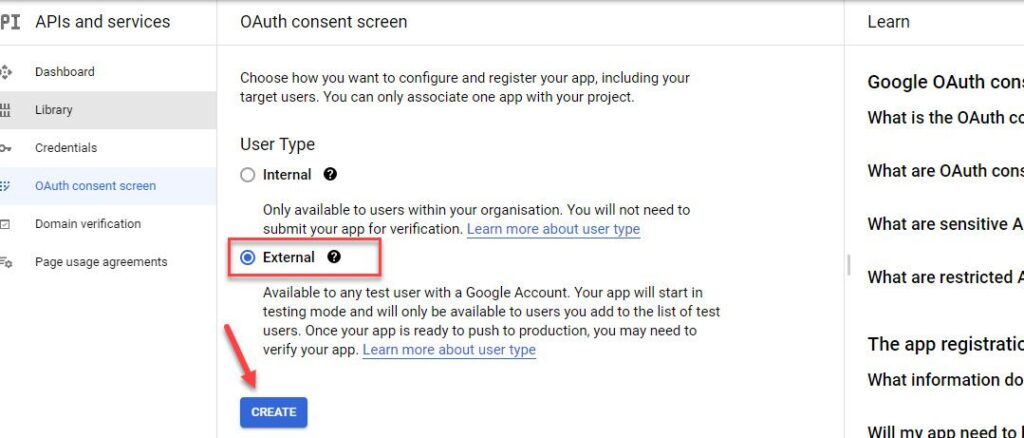
- You should now decide how you wish to configure and register your app. Select “External” and press the “Create” button for this stage.
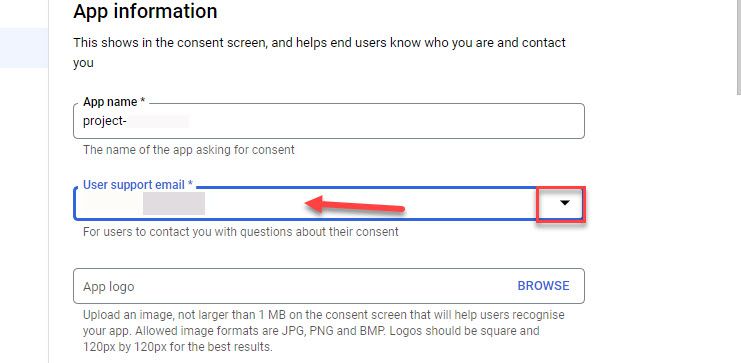
- Next, for the “User Support email,” enter your specified email address.
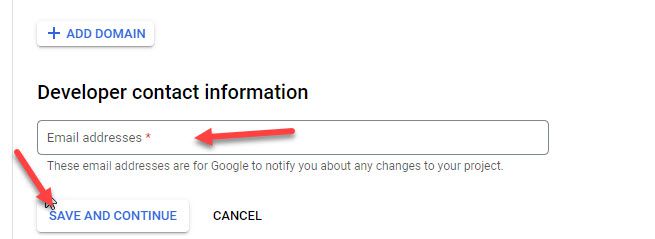
- Then, scroll down and input your email address in the Developer Contact Information box and click “SAVE AND CONTINUE.”
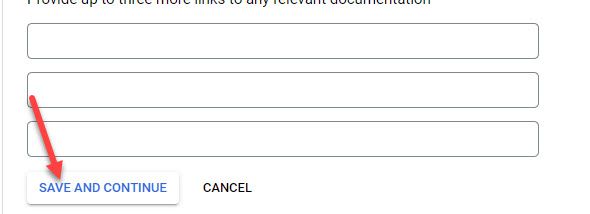
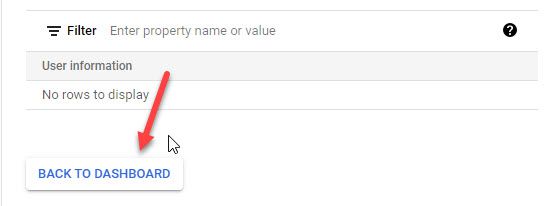
- On the next page, scroll down and click “SAVE AND CONTINUE.“
- Finally, on the last page, click “BACK TO DASHBOARD.”
Step 6. Add Test Users for OAuth Consent Screen
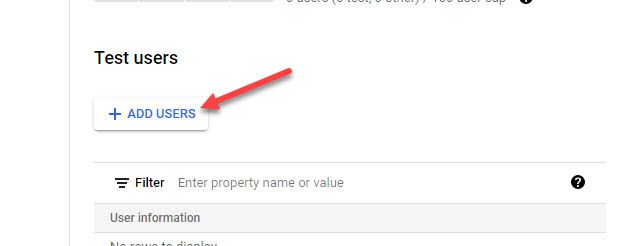
- After going to the dashbaord, Scroll down and under the Test Users section click on the “ADD USERS” button.
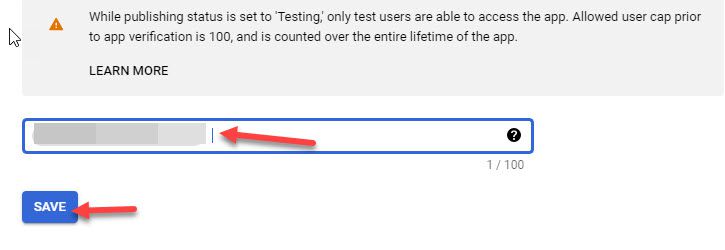
- Enter your email ID and click “SAVE.”
Step 7. Set up the Google Assistant app on Windows 11
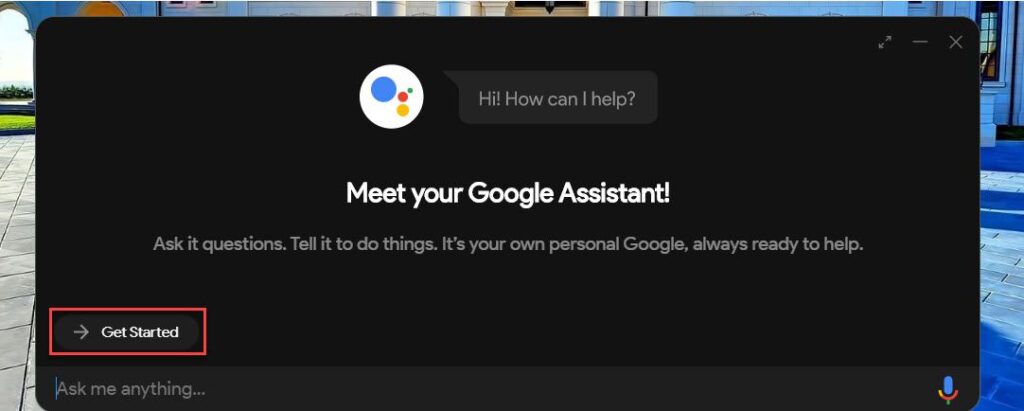
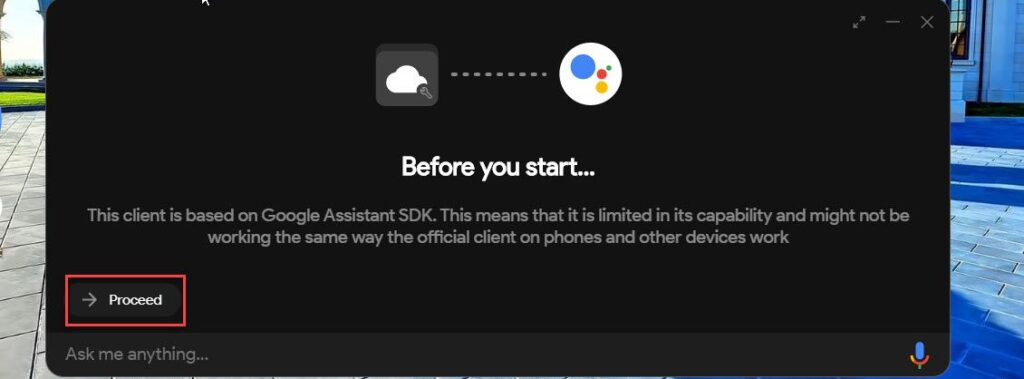
- After adding test users, open the Google Assistant app on your Windows 11 computer and select “Get Started.”
- Next, press the “Proceed” button.
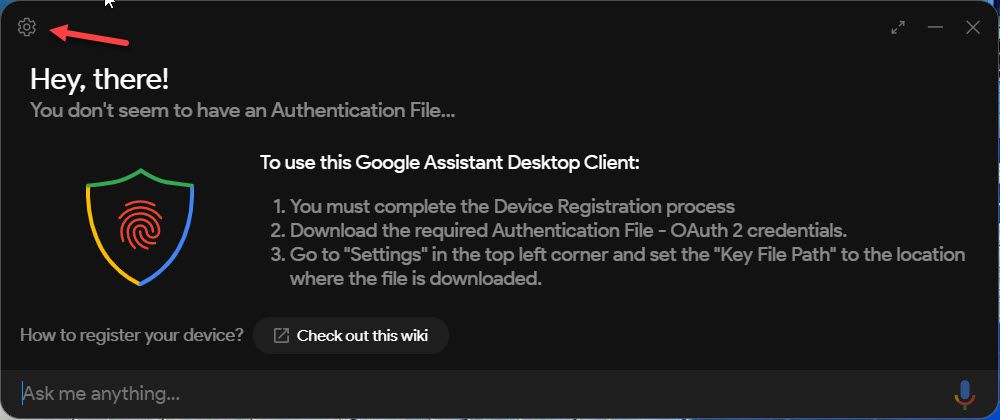
- Then, on the top-left corner of the Google Assistant screen, click the “Settings” button.
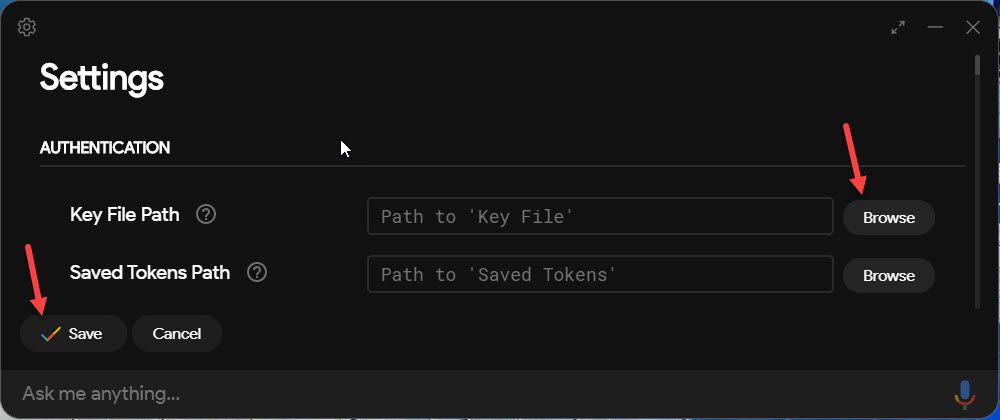
- Now, click the “Browse” button next to the Key file location, choose the JSON file, and then click “Save.”
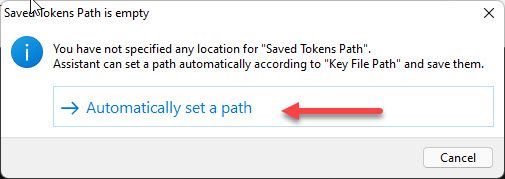
- Select “Automatically set a path” in the pop-up box.
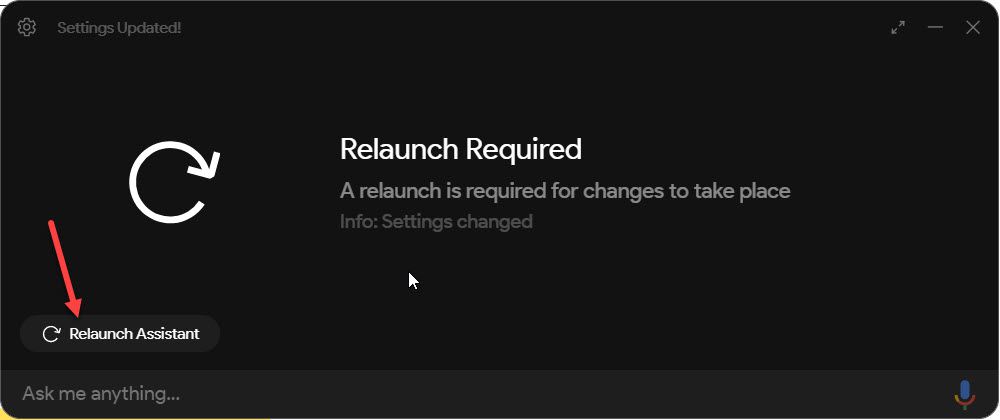
- Select “Relaunch Assistant.”
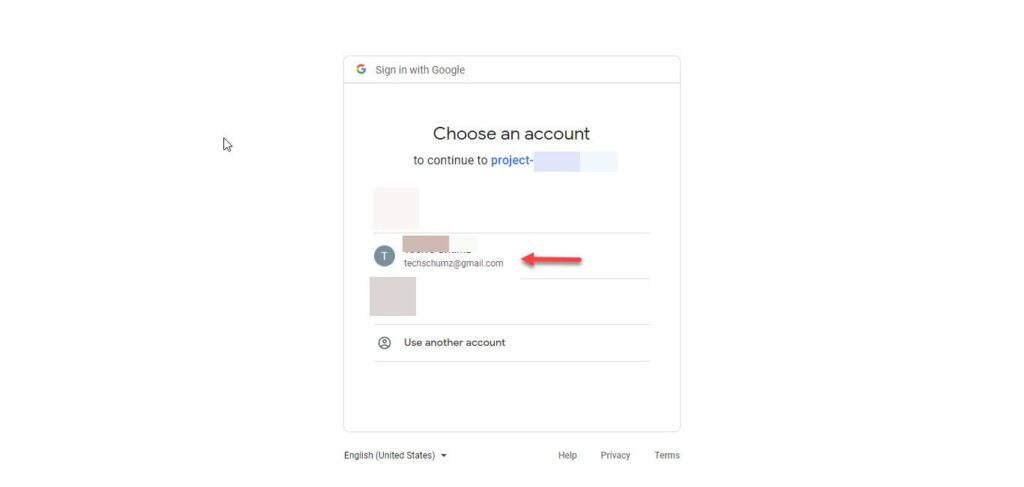
- You’ll be taken to a new web page to verify the app. From there, choose your Google account.
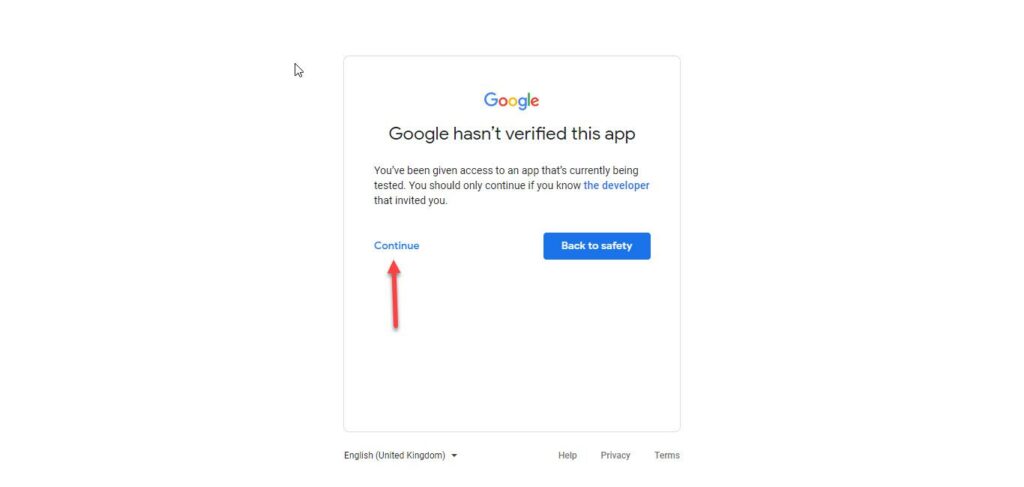
- Click the “Continue” button.
- On the new pop-up project that displays, choose “Allow.”
- Copy the token link.
- The Assistant app will prompt you for a token; just paste the token Web address into the Google Assistant app and press the “Submit” button.
- Relaunch the Assistance.
- That’s all! Google Assistant is now available for use on your Windows 11 computer or laptop.
Make sure that you have provided all the necessary permissions, such as a microphone, location, and others, for the Google Assistant to work smoothly.
Note: You can install and set up Google Assistant on your Windows 10 computer by following the above-mentioned steps.
Conclusion
That’s all! This is how you can install Google Assistant on your Windows 11 PC without using Python. The Google Assistant unofficial Windows 11 client that we installed on our computer is similar to Google’s official Google Assistant app. Finally, we hope you found this post helpful; if you spot any mistakes or have anything else to add, please use the comments area below.
Read also:
I’m getting authentication failure
Error: invalid key file
What do I do?
Nevermind… Clicked on wrong file… It works
It doesn’t work for me. What to do?
This is amazing. How can I allow it access to google calendar and gmail.
I am getting this.
Download the json file and choose that on setting.
ERROR:
Authentication Failure
The Key file provided is not valid. Make sure the file is of the form “client_secret_.apps.googleusercontent.com.json”
Error: Invalid Key file
i have the same problem
Same : I go and select the file that I previously downloaded and it says “The Key file provided is not valid. Make sure the file is of the form “client_secret_.apps.googleusercontent.com.json”
I went back to see if I was supposed to change the name of the file but nothing jumped out at me.
My file name is: client_secret_690#4#35#484-hrqrcnciulp##pe###ge0e#44t9nee12.apps.googleusercontent.com (changed some numbers to # for copying here for security)
If anyone knows the fix it would be greatly appreciated. Thanks
Go to the credentials page of your console.cloud.google.com project.
https://console.cloud.google.com/apis/credentials?project=my-project-name
and download the web-client (auto-created by Google Service) json. And use that.
Thanks, that gets me past that step and the web browser will open up with it asking me to sign in with my google account.
But then when I click the second continue button, I get this error:
Unable to process request due to missing initial state. This may happen if browser sessionStorage is inaccessible or accidentally cleared.
After following your instructions to download the web-client (auto-created by Google Service) json, the below error “Unable to process request due to missing initial state. This may happen if browser sessionStorage is inaccessible or accidentally cleared.”, was resolved 🙂
After that, am getting this error 🙁
“Failed to get Tokens
Assistant failed to fetch the tokens from server. Either the auth code is invalid or the rate limit might have exceeded.
Try selecting a different Google Account.
Error: Error getting tokens”
Any help with it would be appreciated!
It wont open the website for the token in the very last step….
Yeah, same.
I am getting this error.
“Unable to process request due to missing initial state. This may happen if browser sessionStorage is inaccessible or accidentally cleared.”
any solution for this? thanks
I’m getting: localhost refused to connect. – is there anyway around this?
I am getting the same session storage error. Can anyone help us all with this last step issue?
After following FERO’s instructions on download the web-client (auto-created by Google Service) json, the below error “Unable to process request due to missing initial state. This may happen if browser sessionStorage is inaccessible or accidentally cleared.” was resolved 🙂
After that, am seeing this error 🙁
“Failed to get Tokens
Assistant failed to fetch the tokens from server. Either the auth code is invalid or the rate limit might have exceeded.
Try selecting a different Google Account.
Error: Error getting tokens”