Some Android users prefer their full-screen caller ID over the pop-up caller ID that appears at the top of their device when they get a call. However, the pop-up is an attractive option for those who don’t want to be distracted while on the phone; some people like to see their caller ID on full screen. In Android 11, a new feature called “full-screen caller ID” has been added. In this guide, we will show you how to enable full screen caller ID on Samsung Galaxy phones running on Android 12.
Table of Contents
Enable Full Screen Caller ID on Samsung Galaxy phones
Follow the steps below to get a full-screen caller ID on Samsung (S20, S21, and S22).
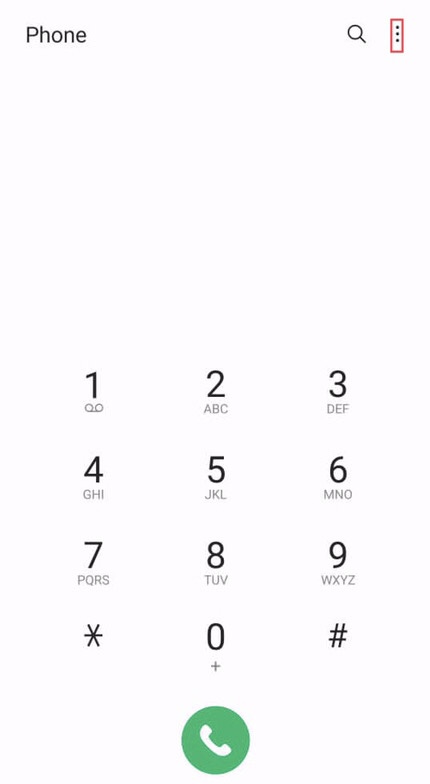
Step 1. Open the “Phone” app on your device to enable the full-screen caller ID on your Android device.

Step 2. Now, tap on the “Three dots” in the upper right corner of your device screen to access the settings.
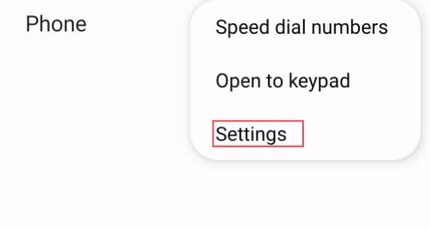
Step 3. Then, select “Settings” from the provided options.
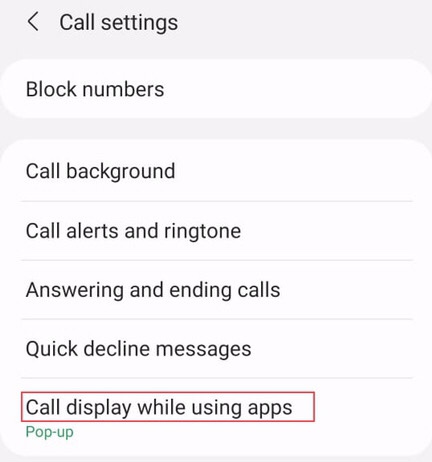
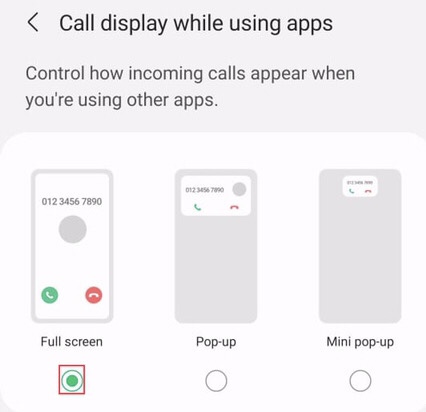
Step 4. Now, choose the “Call display while using apps” from the settings menu.
Step 5. Now select the “Full screen” caller ID option for your calls.
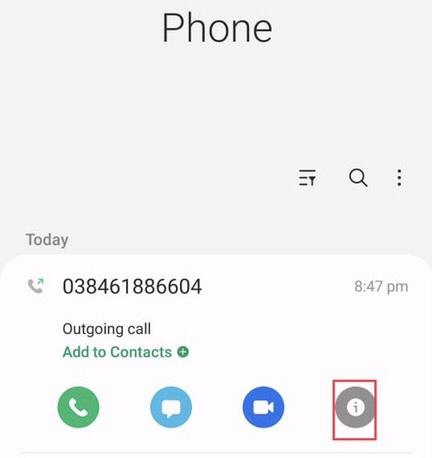
Step 6. If you want to add a picture to your contacts, go to the “Phone” app then, select any number from the contact list to add a photo, and tap on the “i” button to access more number settings.
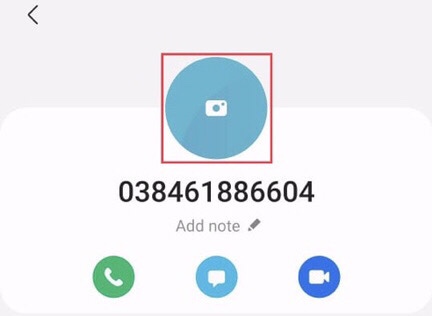
Step 7. Then, to add a photo to the chosen number’s “Profile,” tap on it.
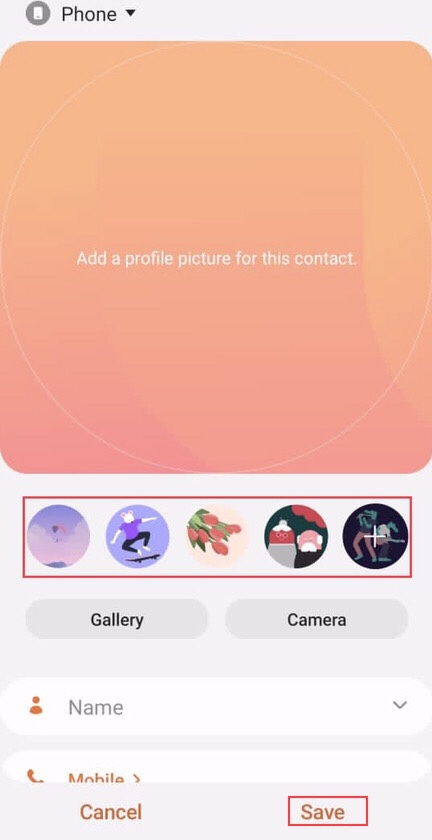
Step 8. On your Samsung phone, there are several types of images, and you may add your desired picture from the “Gallery” or “Camera” sections. After selecting the picture, select the “Save” button.
Step 9. You can now see that you have a number with a picture attached to it and that when this number contacts you, your device displays a full-screen caller ID.
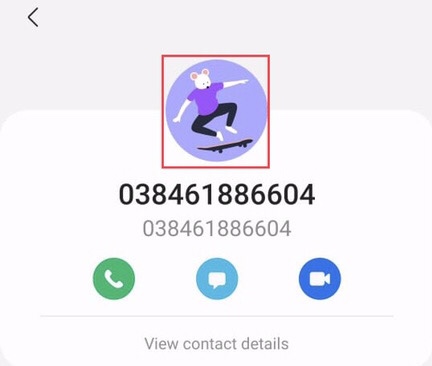
That’s it; now, the calls appear with the full-screen caller ID on your Samsung device.
Third party apps to get full screen caller ID on Android 12
Full Screen Caller ID
The most recommended app for having a full-screen caller ID with a photo on it before the call is displayed has a little caller ID with a name and picture. There are seven different call displays to choose from, each with different font size. Full-Screen Caller ID is a contact photo application that allows you to customize your contact images. This app can customize designs by changing the colors and text size of the notifications. It shows saved photos on the contact screen for incoming and outgoing calls.
Call Screen Pro
Call Screen Pro is one of the top third-party apps. You can have a larger picture of those that call you on your incoming calls. You can set a theme for your favorite contacts and decorate your call screen with many available GIFs. This software customizes your Android device’s incoming call screen with numerous templates that you may choose. You can also use a variety of photo effects to alter the appearance of the contact photo. It’s possible to use any mix of templates and effects.
Truecaller
Truecaller is a third-party app that allows you to see the full-screen caller ID of your contacts. It displays the caller ID even if the number isn’t in your contact list and informs you whether the unknown caller is a company or a spam caller. This program will automatically prevent spam callers, and you may use it as your primary text messaging app to send and receive messages, plan future messages, and more. Alternatively, you can save money by using chat instead of SMS.
CallApp
CallApp is a free app that uses caller tracing and phone number search features to identify unfamiliar callers and numbers. It will always tell you who called. This app protects you from fraudulent calls by displaying your incoming calls as a full-screen caller ID and allowing you to block spammers and robocallers. This program has an automatic call recorder that will enable you to record scam calls and calls from your favorite phone number.
Final Words
This article has shown you how to enable full screen caller ID on Samsung Galaxy phones, so now you have your calls with a bigger picture of the caller on your device. If you have any questions or suggestions, share them with us in the comments section below.
Read also
