The hosts file contains file storage information that assigns the hostname and IP address to the server. However, Windows will still synchronize the hosts file, although DNS is increasingly used to resolve IP addresses. The Windows 11 hosts file allows you to change resolving IP addresses. In this guide, I will show you how you can edit or modify your hosts file on Windows 11 PC & laptop.
Table of Contents
What is the hosts file on Windows 11?
Hosts file is a computer file used by the operating system to map hostnames to IP addresses. The host file is a plain text file that is traditionally called the host. For various reasons, it may be necessary to update the host file on your computer to correctly resolve the website by the domain name.
The most common reason is to allow people to view or publish web content immediately after purchasing a new domain name or transferring an existing domain name to another ISP (Internet Service Provider). There is a delay period for new and transferred domain names, ranging from a few hours to a few days. During this period, the information for the new domain or the transferred domain is spread on the Internet and is generally unavailable.
If you need to update your site immediately and cannot wait for the domain information to spread on the Internet, you can edit a file on your computer as a workaround. Whatever the reason, editing the hosts file in Windows 11 is pretty simple.
Back up Your Hosts File
Before you edit hosts file, you must create a backup of this file. If something goes wrong, you should be able to restore it to the working version.
For that, open the File Explorer on your PC and then navigate to the below address.
C:\Windows\System32\drivers\etc
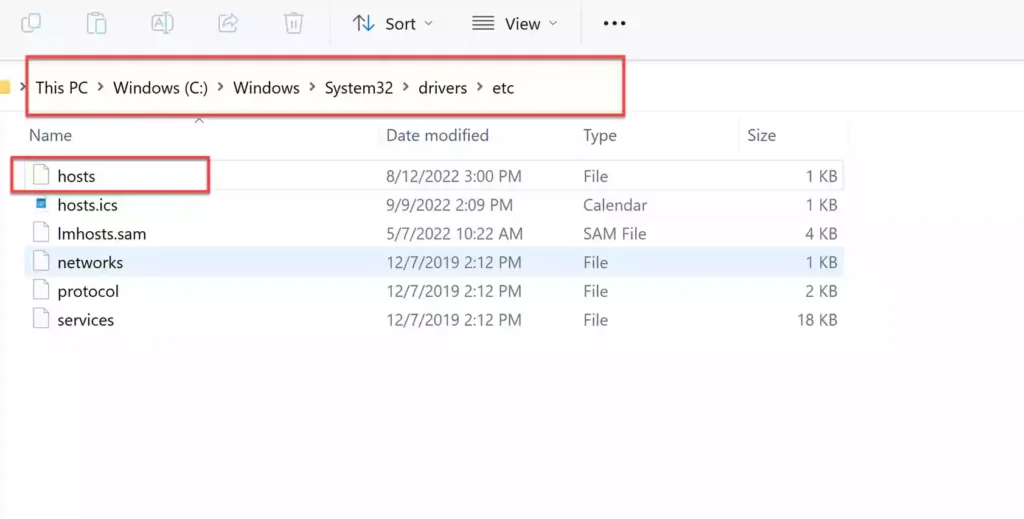
You will see a file called hosts in this folder. Copy the host file and paste it to another location for backup. You can also save it to the etc folder under another name, but doing so will require administrator privileges.
Change or Edit Hosts file on Windows 11 using Notepad
You can now simply modify, edit, or even change your hosts file after you back it up. For that, follow the below steps:
- First, open Notepad as an administrator. To do this, search for “Notepad” in the start menu, then right-click on the Notepad application icon and select “Run as administrator” from the menu.
- Now, a permission prompt will be displayed on the screen asking, “Do you want to allow this app to make changes to your computer?” Select ‘Yes’ from the dialogue box. Then, Notepad will be opened with administrator privileges allowing you to edit the hosts file.

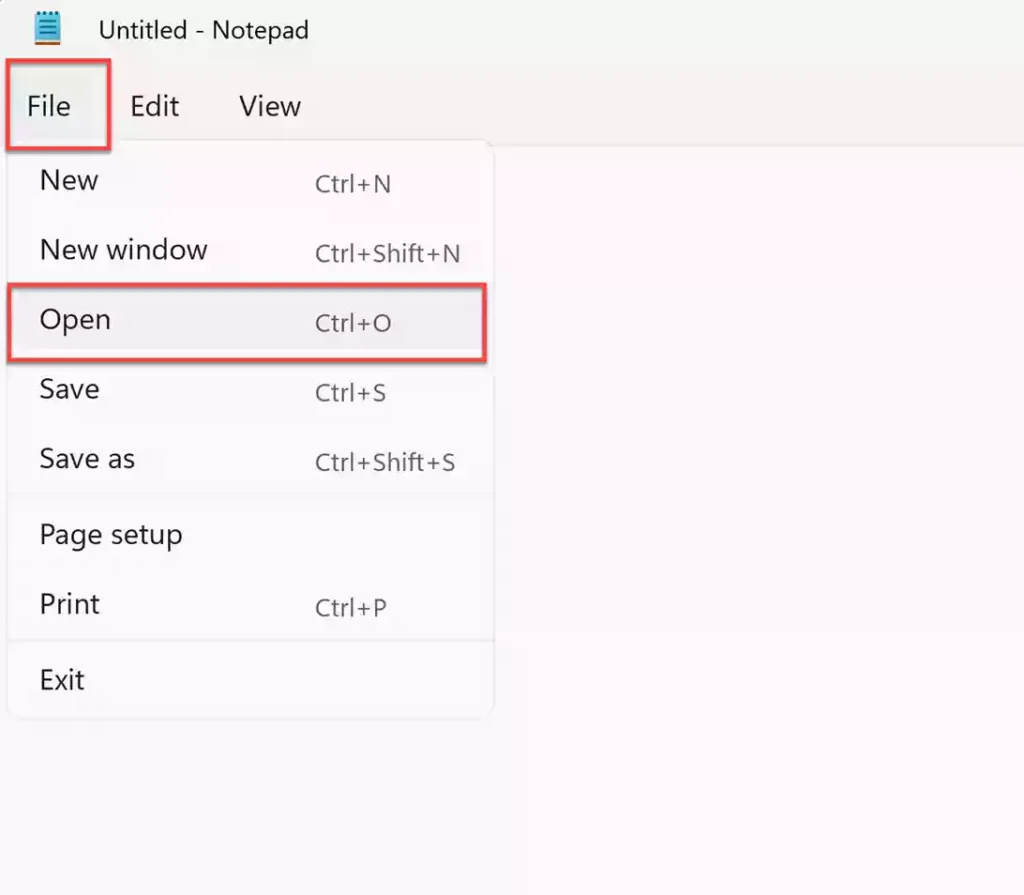
- Now, go to the “File” menu, click “Open,” and a window will appear requesting the location of the file. Browse to the host file and open it.
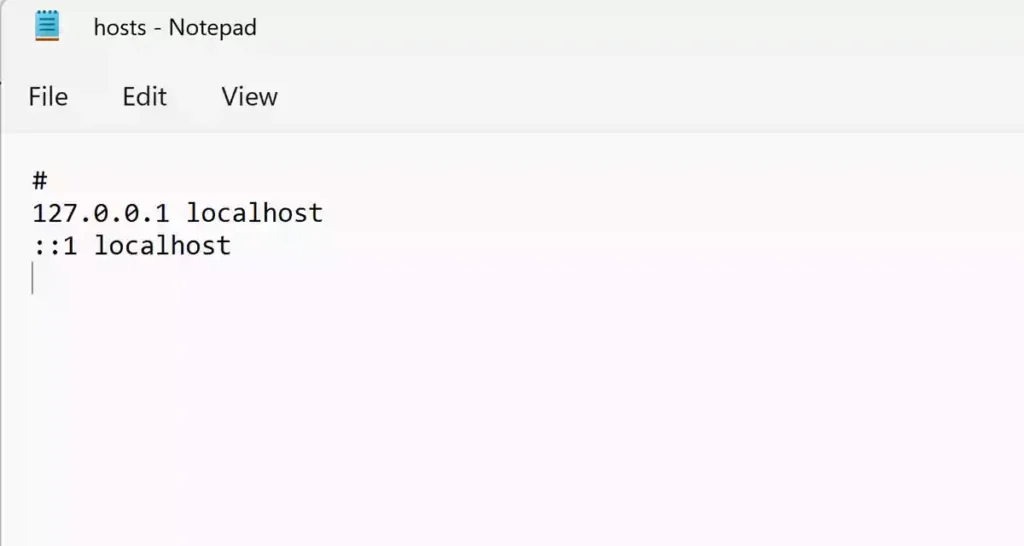
- Now, you can add the new IP address and domain name to be resolved to the end of the file, and use the keyboard shortcut Ctrl + S to save it. By opening Notepad in administrator mode, you can easily save files without additional permissions.
Tip: You can do the same with other text editor programs such as Notepad++.
Final Words
So this is how you can edit or modify your hosts file on Windows 11 using Notepad. There may be many visual differences between Windows 11 and Windows 10. The Windows system folder structure remains basically unchanged, especially files and folders. So now you are familiar with the Windows host file and its role; please be sure to send this article to those who need it.
Read also: