Dolby Atmos is one of the numerous characteristics that customers look for when purchasing a new soundbar or home theater system. Dolby Atmos enhances digital audio output to provide a unique sound experience. It allows the user to fine-tune the sound system to offer an experience that can only be found in a theater. In this guide, we will show you two simple methods on how to download and install Dolby Atmos on your Windows 11 PC or laptop (HP, Dell, Lenovo, and…). Before we go for the steps, let’s have some basic information about Dolby Atmos.
Table of Contents
What Is Dolby Atmos?
5 or 7 speaker channels, plus a subwoofer, are used in traditional 5.1 or 7.1 surround sound. When you view a movie or play a video game with surround sound, the movie or game sends 6 or 8 distinct channels of sound to your speakers.
Dolby Atmos is a more sophisticated type of surround sound. Instead of being split into multiple channels, sounds are mapped to virtual locations in 3D space and sent to your speaker system. These sounds are then positioned by a Dolby Atmos-enabled receiver using specially calibrated speakers. Dolby Atmos systems include ceiling-mounted speakers above you or speakers on the floor that bounce their sound off the ceiling. This feature requires Dolby Atmos-capable hardware, most notably a Dolby Atmos-capable receiver.
Is it worth installing Dolby Atmos on your Windows 11 computer?
It replicates cinema technology, so you’ll hear more dimensions than with standard speakers. So, if you want to hear life-like sounds while watching movies, Dolby Atmos-powered soundbars are worth it.
2 Ways to Download and Install Dolby Atmos on your Windows 11 PC or Laptop
You can enable Dolby Atmos on your Windows 11 computer in two different ways, which we will show you below. You can go either for the Dolby Access app from Microsoft Store or download software from a third-party website.
Method 1. Enable Dolby Atmos on Windows 11 via Dolby Access app
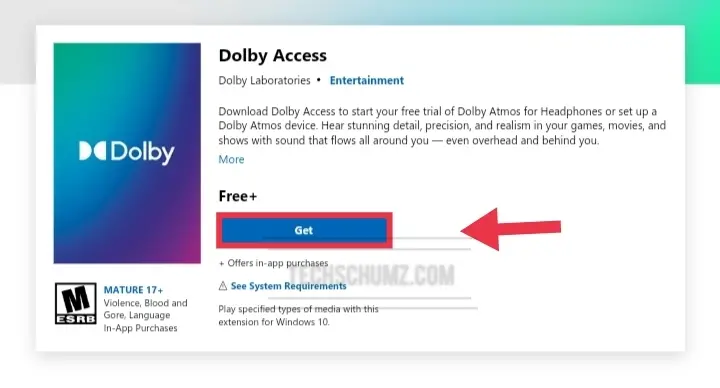
1. First, download and install the Dolby Access app from the Windows Store and launch it.
2. The software will walk you through the process. Select “With my home theater” if you wish to use a Dolby Atmos receiver with your PC. Select “With my headphones” if you wish to use any set of headphones.
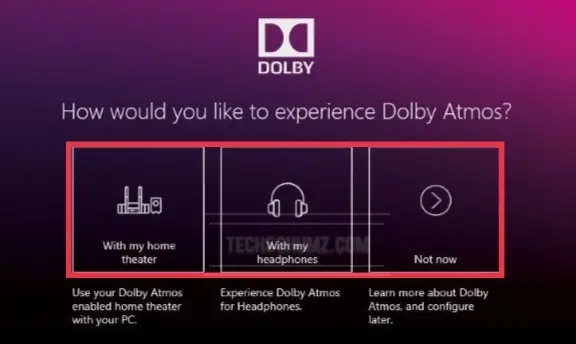
- If you choose a home theater PC, you’ll be directed to a link in the Windows Sound settings control panel to enable the “Dolby Atmos for home theater” option. The home theater option requires no extra purchases; all you need is the hardware.
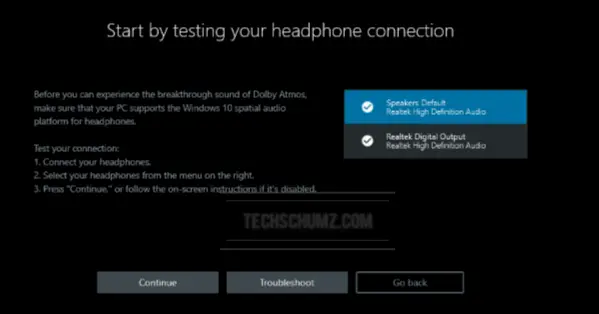
- If you choose headphones, you’ll be asked to check that your computer’s sound hardware supports the Windows 11 spatial audio platform for headphones.
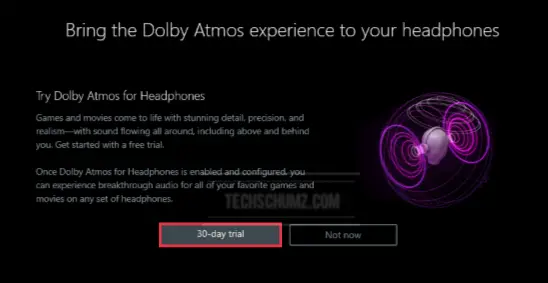
3. The Dolby Atmos for headphones feature isn’t free. However, you can still try Dolby Atmos headphones for free. To activate it, click the “30-day trial” option.
4. After enabling the free trial, you will be prompted to enable Dolby Atmos for headphones. Select “Configure PC settings” from the menu.
5. In the Spatial sound format box, select “Dolby Atmos for headphones.”
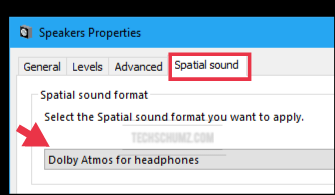
That’s it! You have successfully enabled Dolby Atmos on your PC or laptop.
Method 2. Add Dolby Atmos on Windows 11 via a Third-party app
To start using Dolby Atmos, first, you need to download the Dolby Atmos app from here and extract it. Before trying to enable Dolby Atmos on Windows 11 via this 3rd-party app, you need to tweak some settings. For that, just follow the below steps carefully:
Step 1. Enable Developer Mode
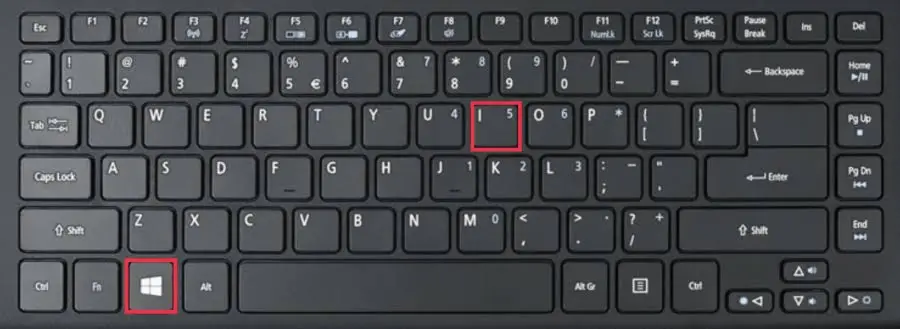
- Press the “Windows + I” keys to open Settings.
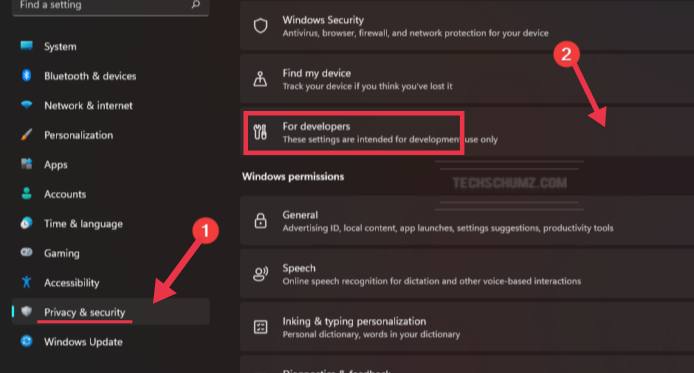
- Click Privacy & security from the left-hand side pane and then select For developers.
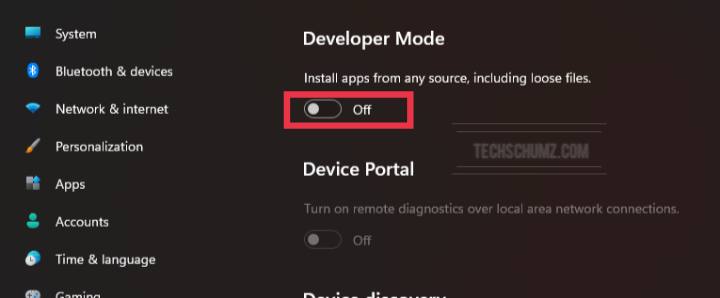
- Now, find the “Developer Mode” section and toggle the switch to the On position.
- After that, click on the Yes button from the overlay pane and that’s it.
Step 2. Disable Driver Signature Enforcement
- Open the Settings app by pressing the “Windows+I” shortcut keys.
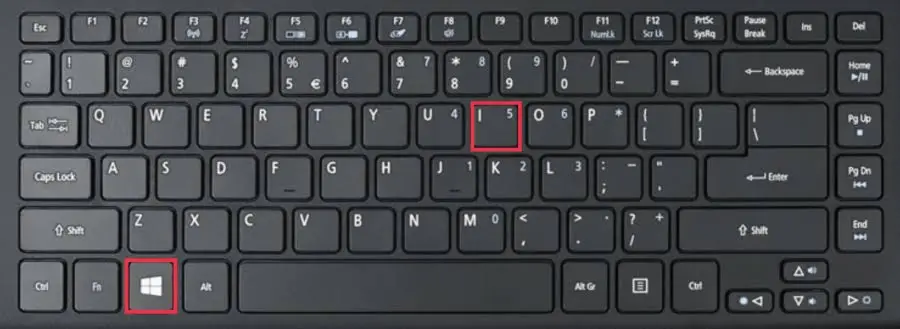
- Click “System” on the sidebar, then “Recovery.”
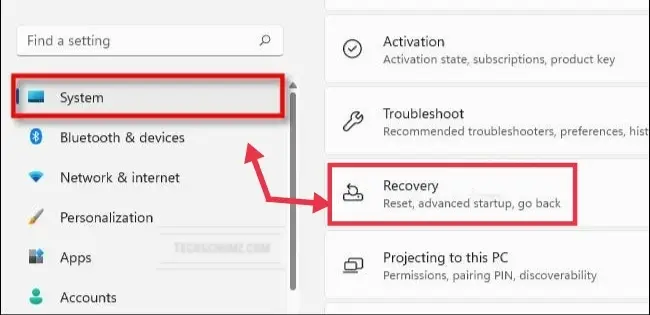
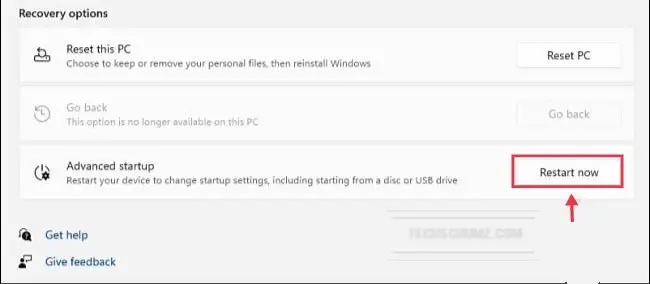
- Now, find the “Advanced Startup” option and click the “Restart Now” button beside it.
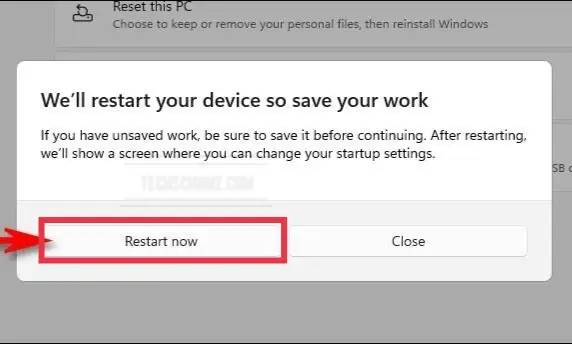
- Before restarting, Windows will prompt you with a pop-up dialog box asking you to save your work. When you’re ready, press the “Restart Now” button.
- Following that, Windows will shut down and restart into a blue-colored screen named “Choose an Option,” with a shortlist of options. Choose “Troubleshoot.”
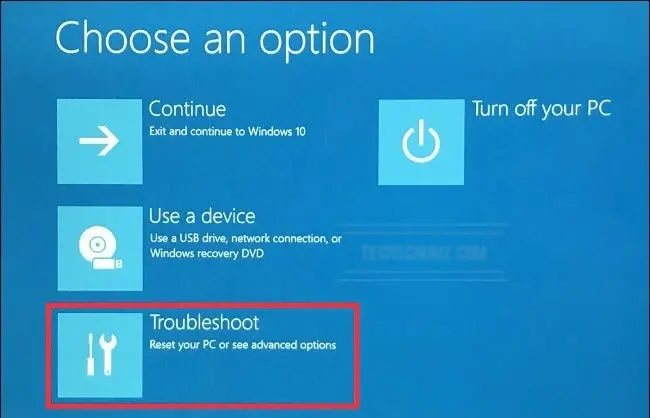
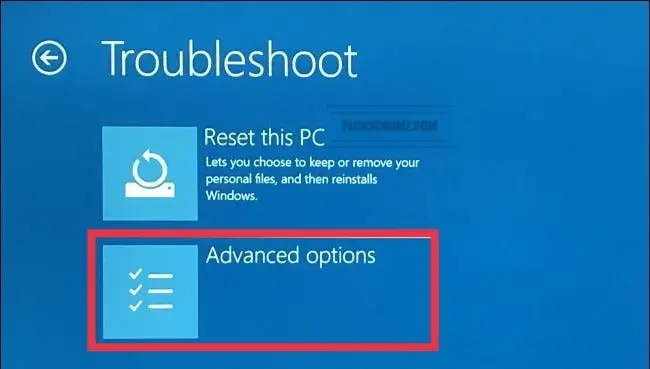
- Select “Advanced Options.”
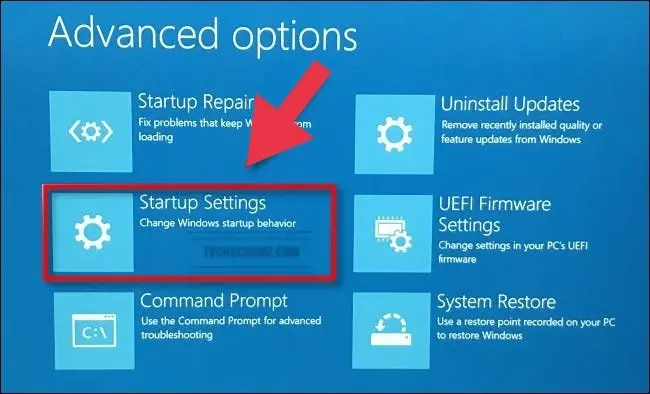
- Select “Startup Settings.”
- Click “Restart.”
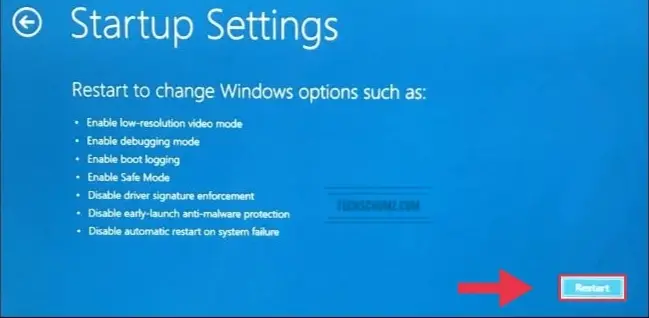
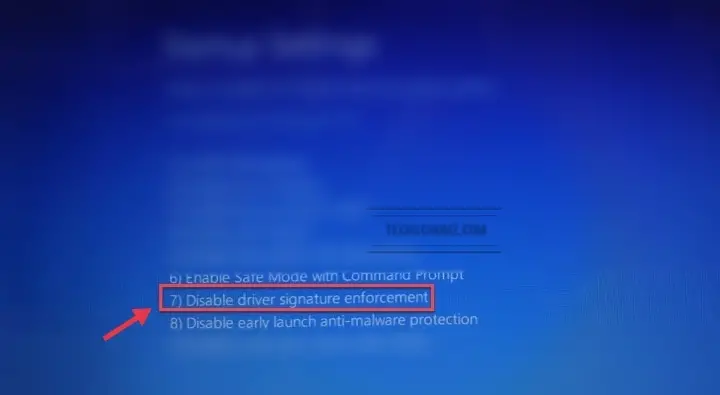
- Now, the PC will now restart into a “Startup Settings” menu with nine numbered options. Press 7 to disable driver signature enforcement.
Step 3. Update Sound Driver
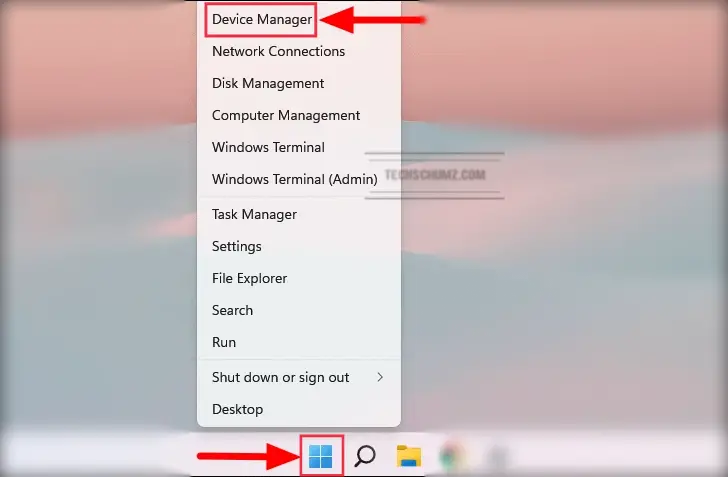
- First, right-click on the ‘Start’ icon in the Taskbar and select “Device Manager“.
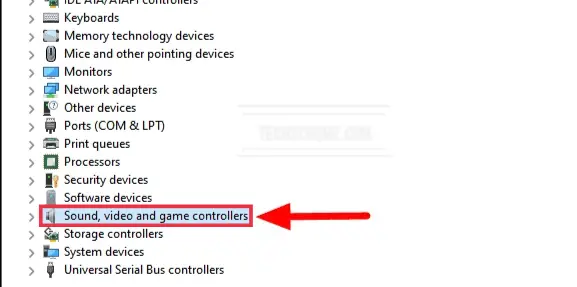
- In the ‘Device Manager’, locate and double-click on the ‘Sound, video and game controllers’ option.
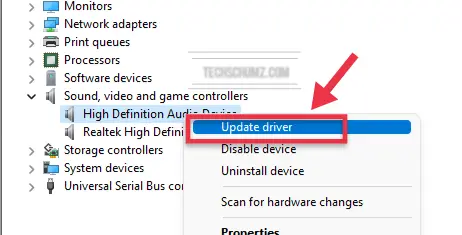
- Next, right-click on High Definition Audio Device and choose “Update driver“.
- You will now be presented with two options, either to let Windows search for the best drivers on your system or you can browse and install one manually. Click “Browse my computer for drivers“.
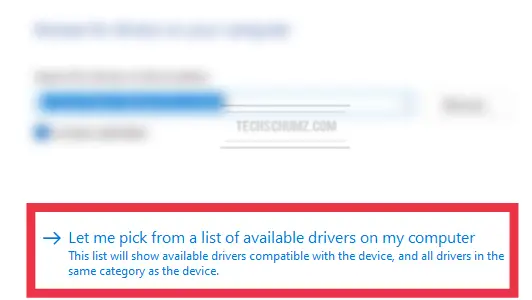
- Select “Let me pick from a list of available drivers on my computer“.
- Select “Have Disk” then click “Browse”.
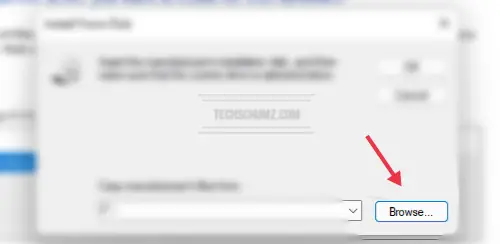
- Go to the extracted folder of Dolby Atmos > driver > Win11_x64, select the “hdaudio.inf” file, and then click “Open”.
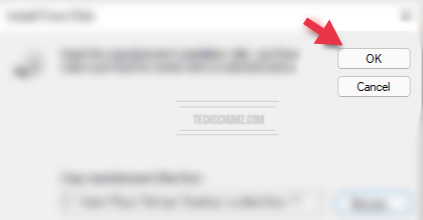
- Select “OK“.
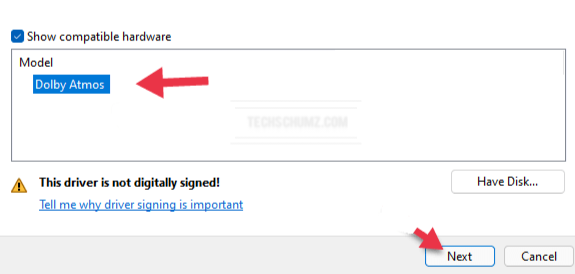
- Now, select “Dolby Atmos” and click “Next”. Click “Yes”.
- When installed, click Close.
Step 4. Install the Dolby Atmos App on Windows 11
After you have completed the steps above, now it’s time to install the Dolby Atmos app on your PC or laptop.
- To do that, first, go to the folder that you have extracted the Dolby Atmos files in, and open the “App” folder.

- Next, find and run the “app2021” file.

- Now, Click on the “Install” button to install Dolby Atmos.
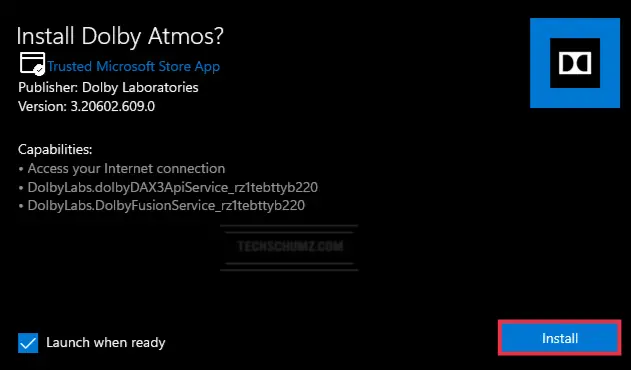
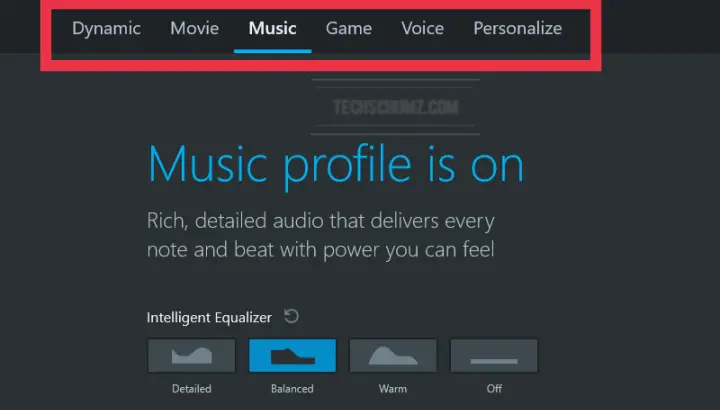
- Wait for the installation process to be completed. After it’s completed, you can experience Dolby Atmos on your Windows 11 computer. You can also go for some personalization settings if you wish.
FAQs
What’s the difference between Dolby Audio and Dolby Atmos?
Dolby Audio is a 2D audio technology that improves the overall sound of whatever you’re viewing, whether it’s a sporting event, a streaming movie, or even a DVD or Blu-ray.
Dolby Atmos, on the other hand, is a 3D immersive technology that allows a speaker or speaker system to ‘fool’ your brain into believing you’re surrounded by sound – it’s similar to the cinema experience, in that you appear to be surrounded by speakers even when you’re not.
Which is better to have Dolby Digital or Dolby Atmos?
Dolby Digital, on the other hand, uses your existing speaker setup, whereas Dolby Atmos requires both software and appropriate hardware. Because of the needed hardware, Dolby Atmos produces a better sound experience than Dolby Digital.
What is the use of Dolby Atmos?
Atmos adds a new height variable to conventional surround sound and alters how Dolby encodes audio channels. Atmos was developed primarily for cinema and high-end home installations, allowing residential and commercial theaters to put speakers in the ceiling for an extra height variable.
Conclusion
So these are two easy ways to download and install Dolby Atmos on your Windows 11 PC or laptop. Also, we have answered some frequently asked questions and told you all about Dolby Atmos. Lastly, we hope you find this article helpful, and if you face any issues, please use the comments section below to inform us.
Read also:

I can’t get Dolby Atmos to work outside of Dolby Connect App. Dolby Connect app plays via Dolby Atmos and can tell by not only by my AVS display but also how it sounds (doesn’t sound the same as 5.1 regular) However, outside of the app, regardless of it being able to play via Dollby Connect demo movies, I simply can’t get any audio including Netflix 4K movies with Dolby Atmos capability, such as The Witcher.
The same applies for DTS:X when I tried. It plays fine within the App but not outside of it. I however don’t have any DTS:X demos outside of the app.