Are you wondering how to transfer files from an iPhone to a Windows PC? Then follow this Techschumz article to transfer files from the iPhone to Windows using the Apple Devices app.
There are several ways to move files from the iPhone to Windows, including iCloud, iTunes, and third-party apps like Google Drive. However, this time Apple has given us the ability to move files between the iPhone, iPad, and Windows with the Apple Devices app.
Transfer files between the iPhone and Windows PC
By following the outlined steps below, you can quickly and securely transfer files between your devices.
Step 1. To begin, download the “Apple Devices App” on your Windows.
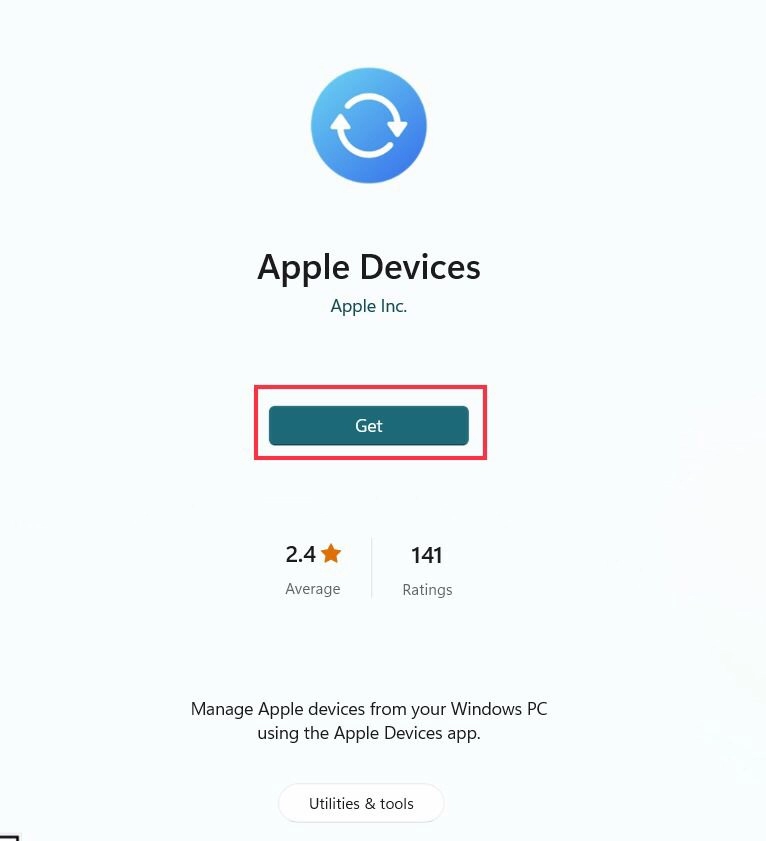
Step 2. Once installed, plug your ‘iPhone” into your “Windows PC” via the USB cable.
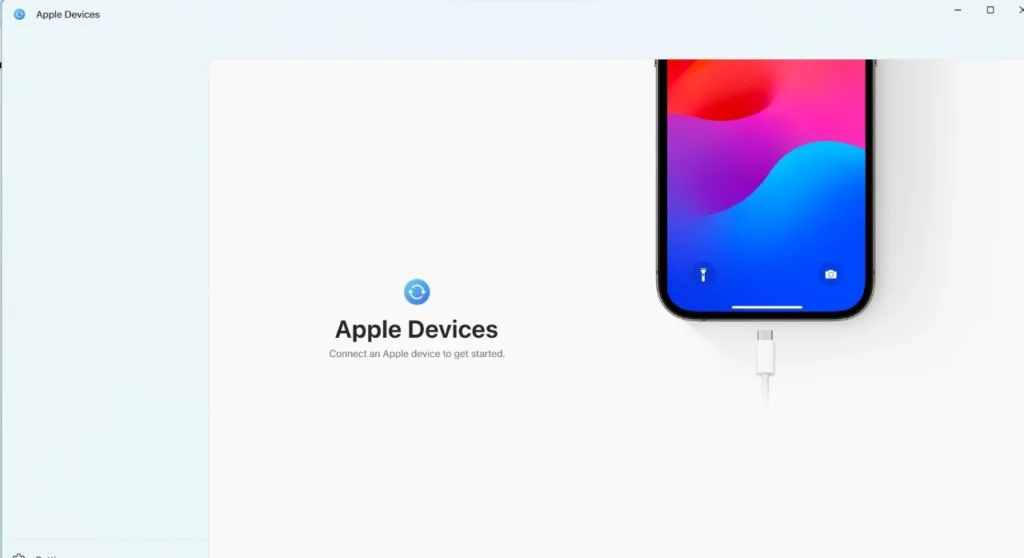
Step 3. You will be asked if you trust the PC or not on your iPhone, so tap the “Trust” button.
Step 4. Then your iPhone will be connected automatically.
Step 5. Now tap on “Files” on the sidebar.
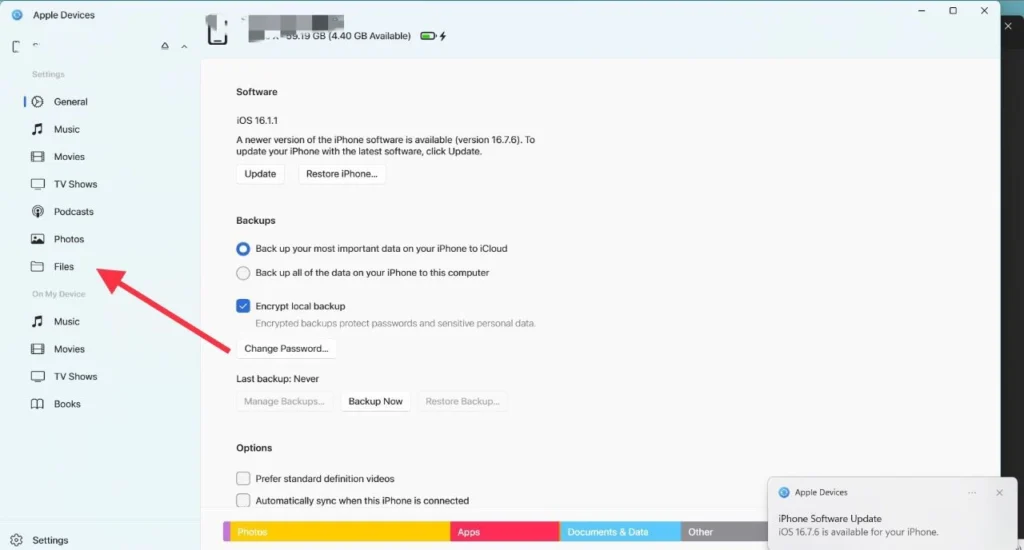
Step 6. Now, the app that is compatible with file sharing will pop up, and you can select “App.”
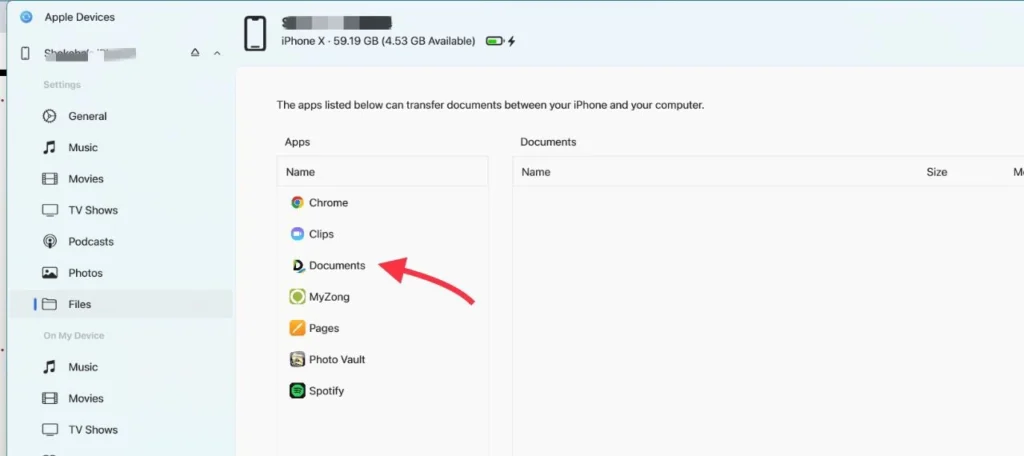
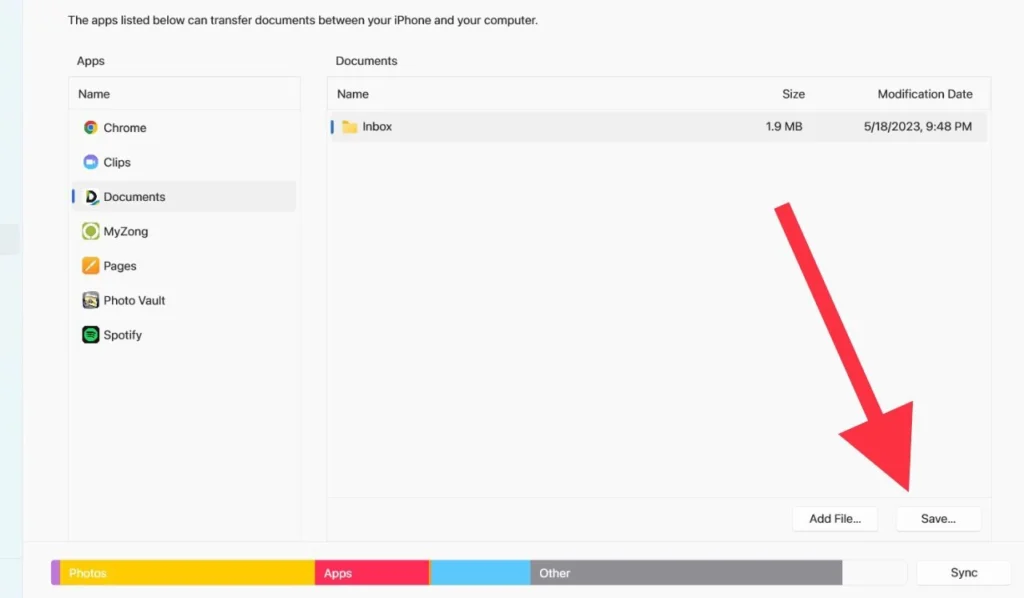
Step 7. Choose your file and tap the “Save” button.
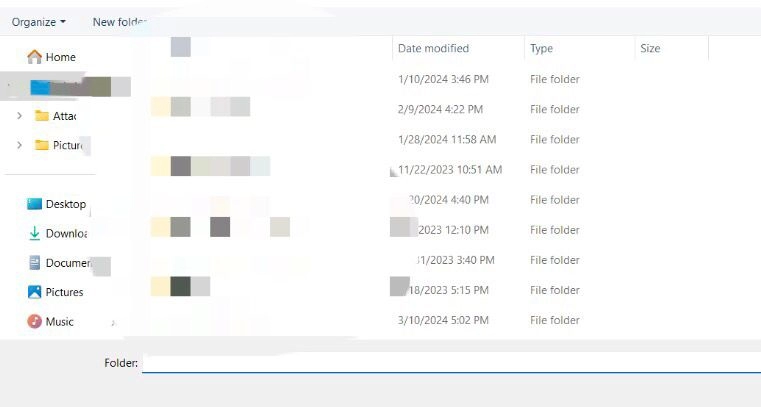
Step 8. Now choose a folder on your Windows PC to save your file.
Step 9. Finally, before you disconnect your iPhone, make sure to click on the “Eject” button.

Final Words
The Apple Devie app makes file transfers from iPhone to Windows easier and more convenient than ever before. Finally, if you have any questions or suggestions, post them below in the comments section.
Read also:
How To Fix iPhone Ringer Volume Gets Low On Incoming Call
[iOS 17] How to Fix iMessage Activation Error on iPhone 15,14,13
