This Techschumz article is about how to enable and use private WiFi address on iPhone on iOS 16.
When you connect your smartphone to a wireless network, your network will give it a unique MAC address; this is your network’s “private address.” This privacy feature was introduced with iOS 14, and it ensures that your connection to the network is safe and secure. In addition to protecting your privacy, this also makes it more difficult for networks to track you if you don’t have a permanent MAC (media access control) address.
As a result, the iPhone’s private Wi-Fi address, which employs MAC address randomization, increases communications security over unsecured wireless networks. With iOS 15 software update, however, the private address option is now enabled by default for all WiFi networks. You can check it in the Settings app on your iPhone or iPad; if the private wifi address is disabled, you can enable it by reading this article.
Enable and use private WiFi address on iPhone
To turn on private WiFi address on iOS 16, follow the given instructions.
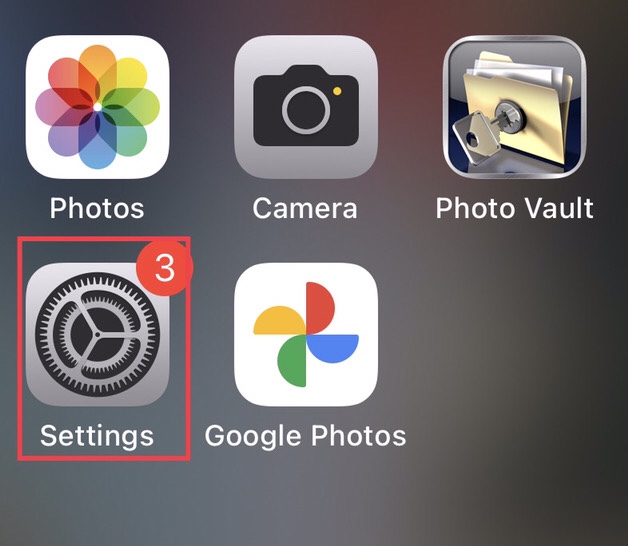
Step 1. First, open the “Settings” app on your iOS device.
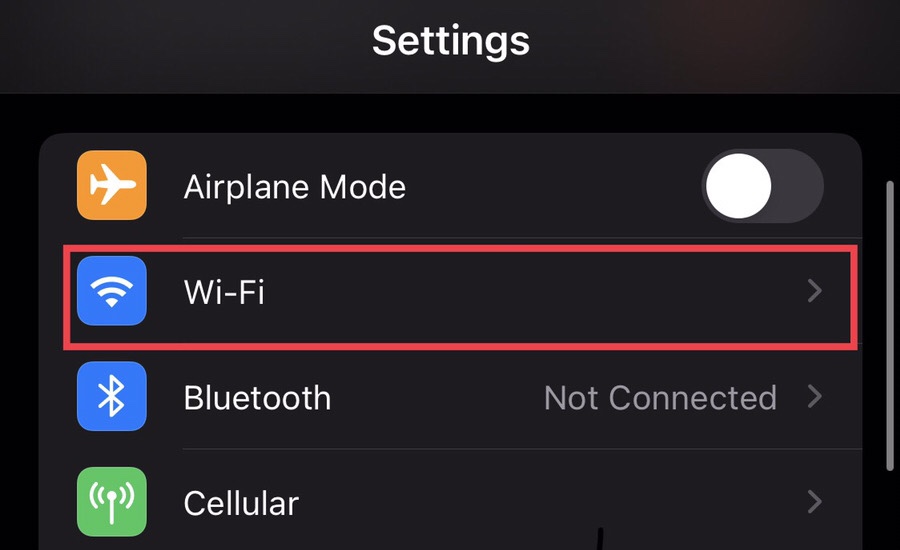
Step 2. Now select “Wi-Fi” from the settings menu.
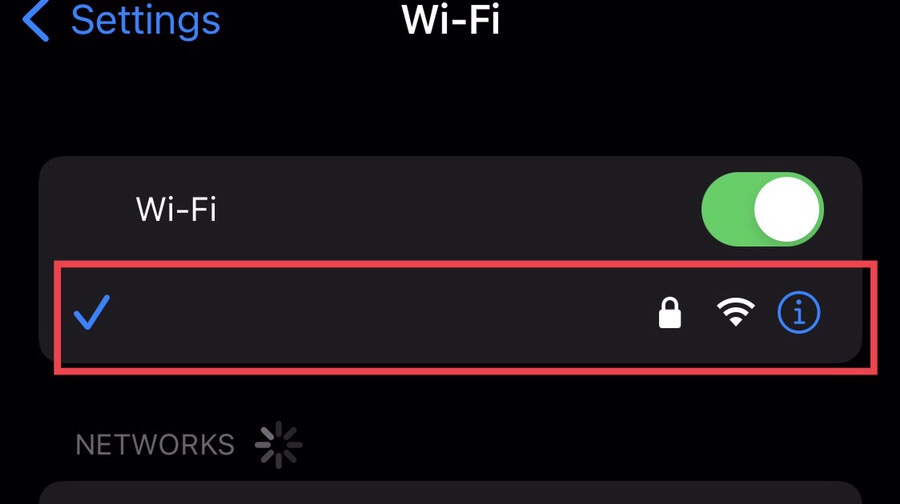
Step 3. Now tap on the “Wi-Fi Network” your device is connected to access more settings about the network.
Step 4. Now tap to turn on the “Private Wi-Fi Address” for your network.
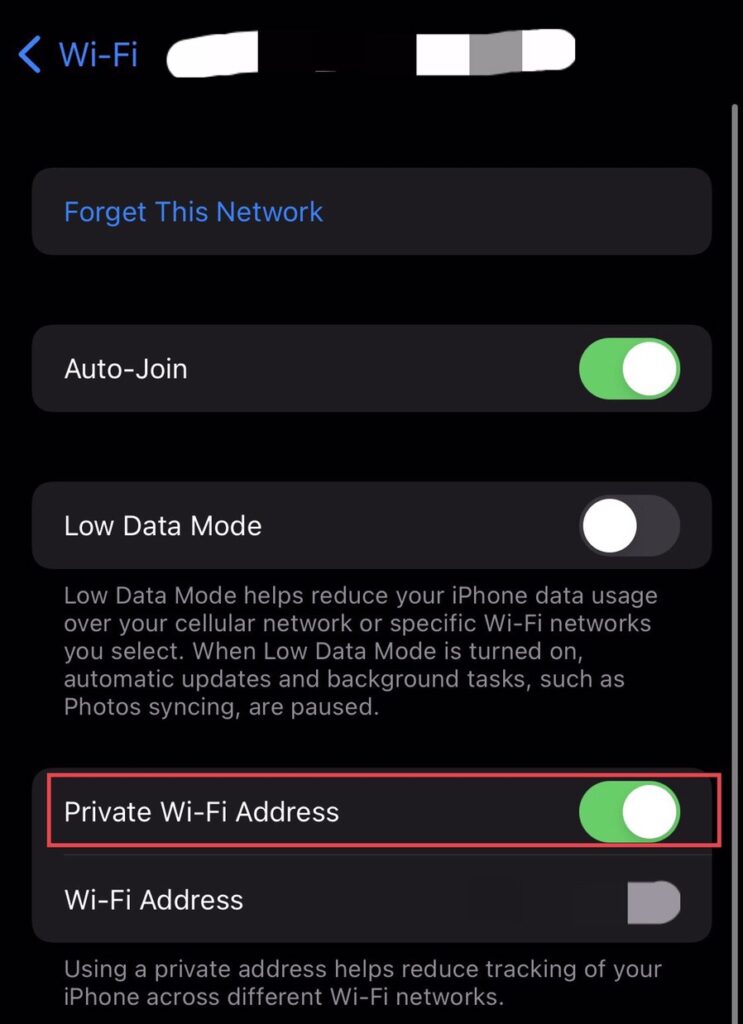
That’s it; you have enabled the private wifi address for your wifi network.
Final Words
After following the steps in this article, you can enable and use private WiFi address on iPhone on iOS 16 through the wifi settings, which keeps your wifi network more secure and confidential. Use the space below to share your thoughts and questions.
Read also
