This guide will show you different ways to install and use Windows Sandbox on Windows 11 to test apps and files in a virtual experience.
Windows Sandbox in Windows 11 allows you to test apps and files in a virtual environment separate from the primary operating system. This state will be destroyed when you close the Sandbox. Nothing is allowed to leave the Sandbox, and nothing is permitted to enter your standard Windows installation. Because of this implementation, you cannot directly run an app in the Windows Sandbox. You must first install the apps in the Sandbox before you can run them. Apps already installed on your host machine cannot be accessed from the Sandbox.
Furthermore, the Windows Sandbox feature first appeared in Windows 10 and is still present in Windows 11. It’s similar to a virtual machine that runs a different kernel to isolate a Windows Sandbox session from the host using Microsoft’s hypervisor and hardware virtualization. It is approximately 100MB in size, installs, and runs untrustworthy traditional apps independently from the main installation. So if you try Windows Sandbox on your Windows 11 computer, follow the instructions below.
Table of Contents
3 Ways to Enable Windows Sandbox on a Windows 11 PC
Below, you will find different ways to enable Windows Sandbox on your Windows PC or laptop. Also, please note that Windows Sandbox is not available in Windows 11 home editions. It is included in the Pro and Enterprise editions of the operating system.
Method 1. Install Windows Sandbox via Settings
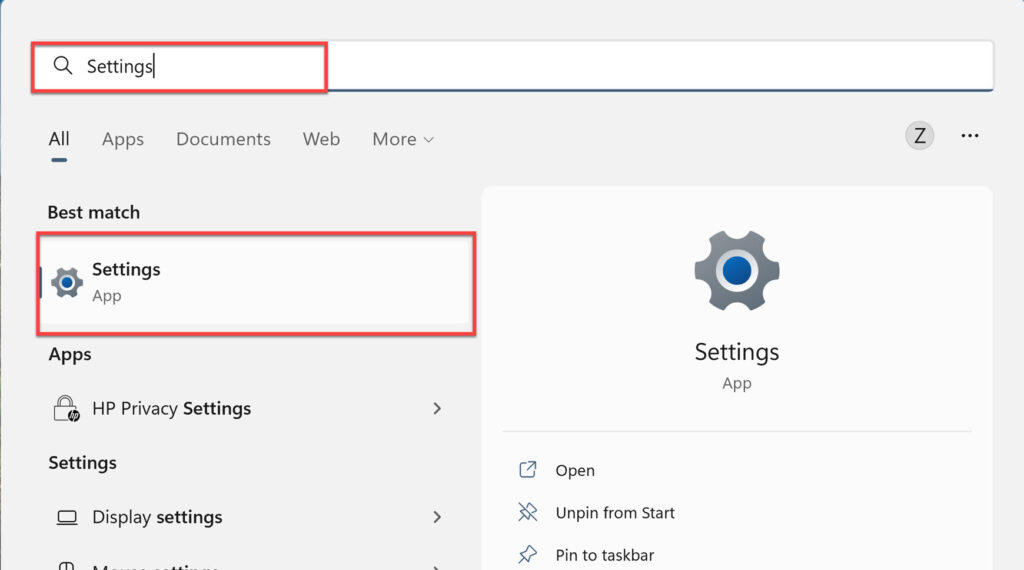
- To install Windows Sandbox, first. open the Settings app by searching for it in the Start Menu.
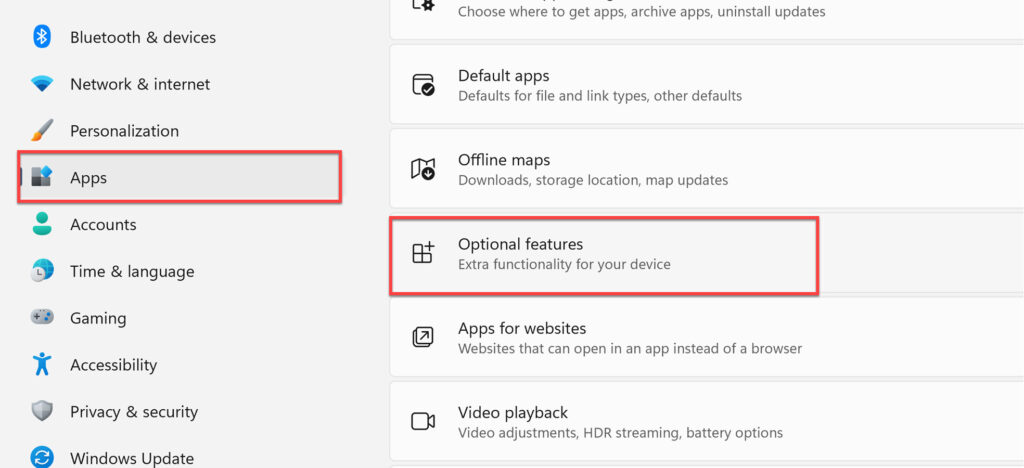
- Go to “Apps” on the right pane, and select “Optional features” from the right.
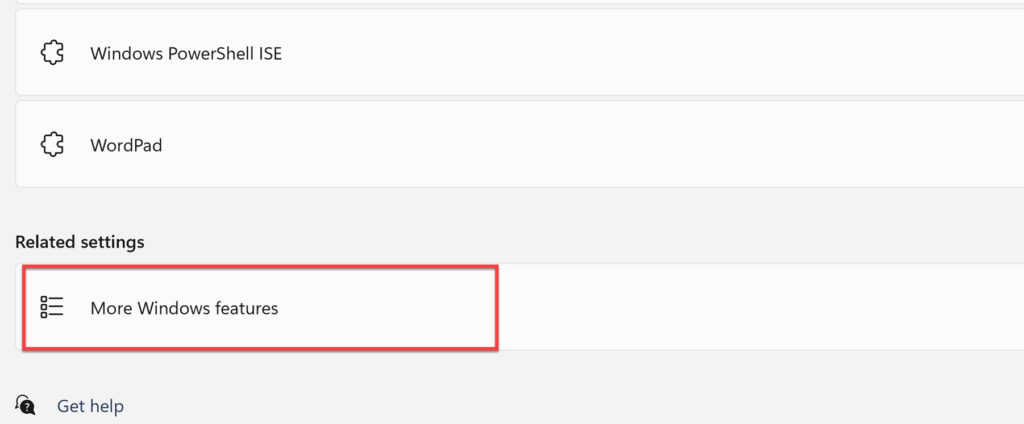
- Scroll down and select “More Windows features“.
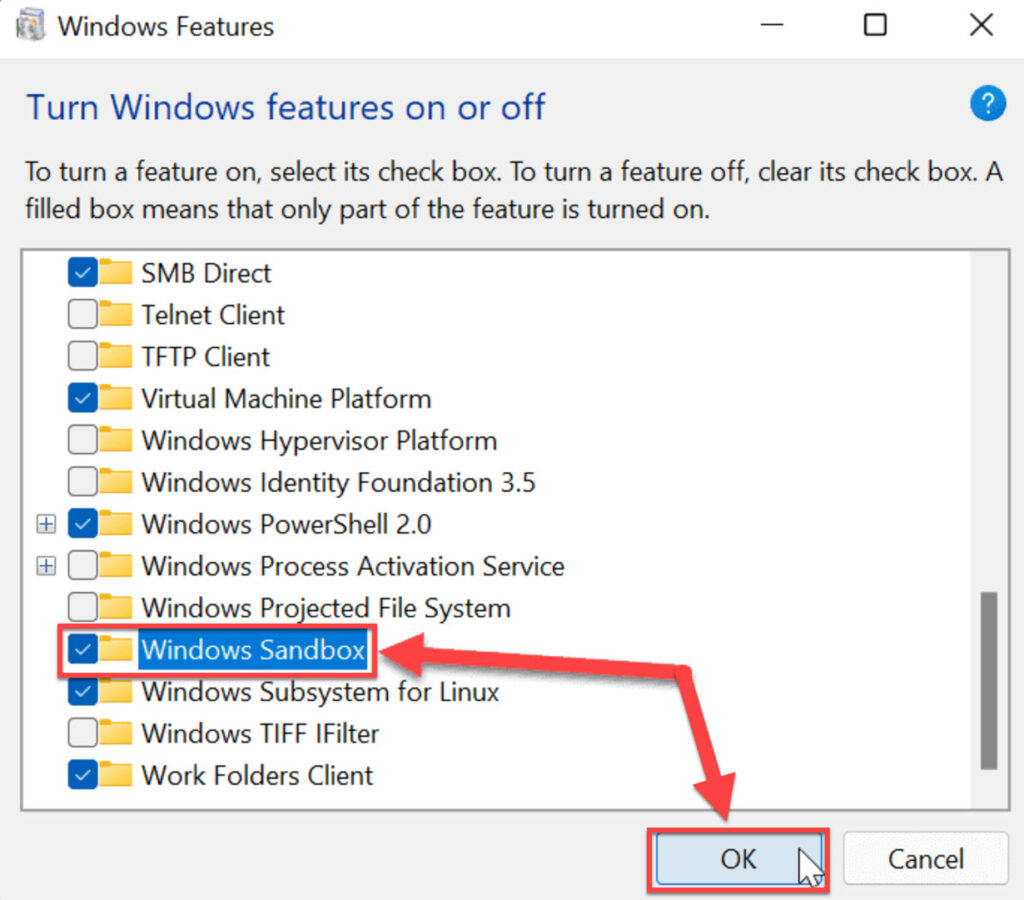
- When the Windows optional features panel opens, select “Windows Sandbox” from the list and click “OK” to continue.
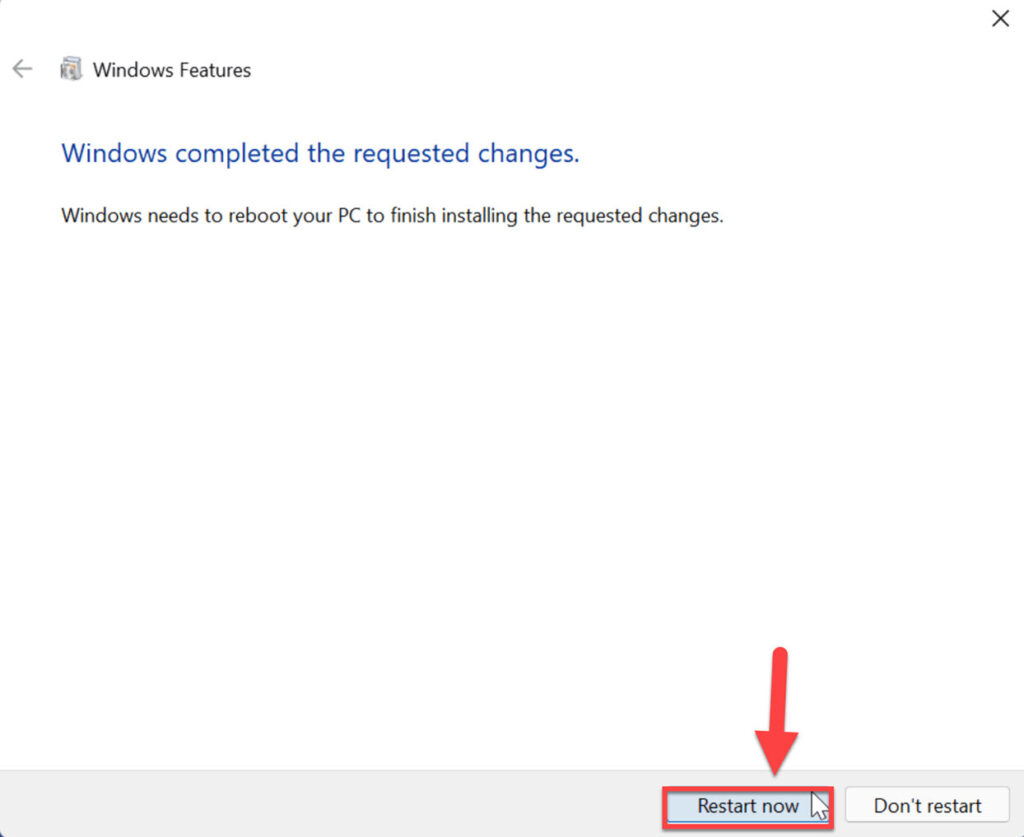
- Now, click on “Restart now” to restart your computer. This will install and enable Windows Sandbox on your Windows 11 PC.
Method 2. Enable Windows Sandbox using Command Prompt
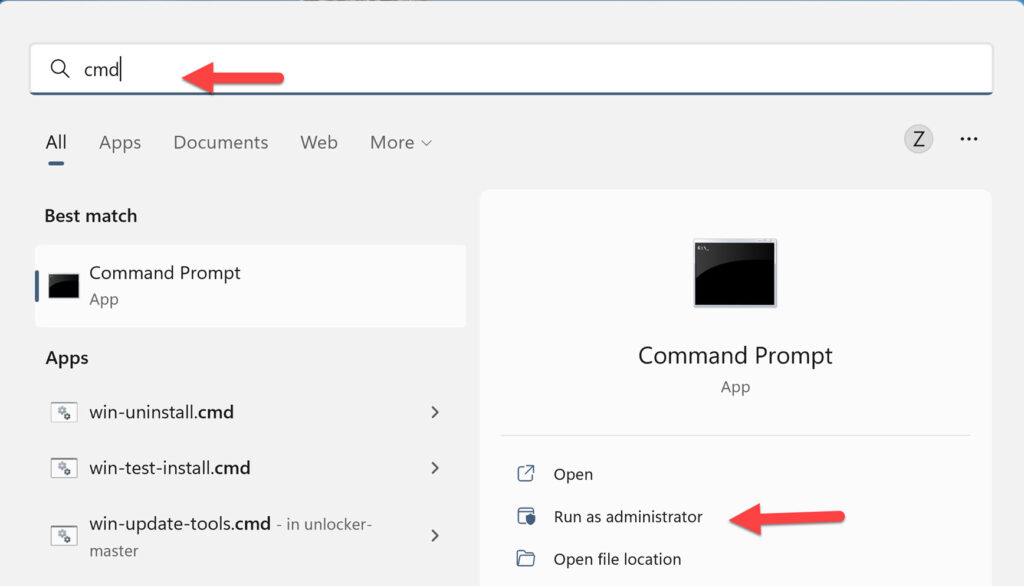
- To begin, type “cmd” into the Windows search box and select “Run as Administrator.“
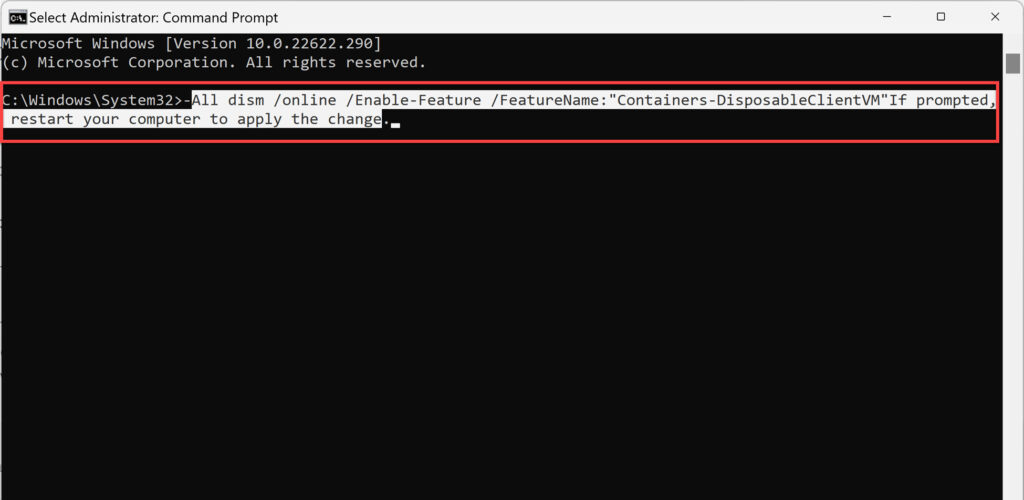
- To enable the Windows Sandbox, enter the following command and press the Enter key:
-All dism /online /Enable-Feature /FeatureName:"Containers-DisposableClientVM"
If prompted, restart your computer to apply the change
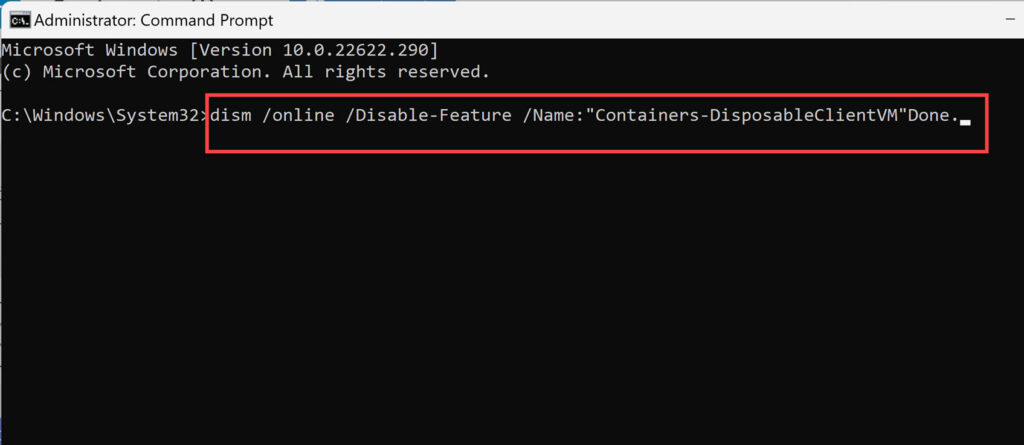
To disable Windows Sandbox using Command Prompt, enter the following lines and press Enter.
dism /online /Disable-Feature /Name:"Containers-DisposableClientVM"
Done
Method 3. Install Windows Sandbox using PowerShell
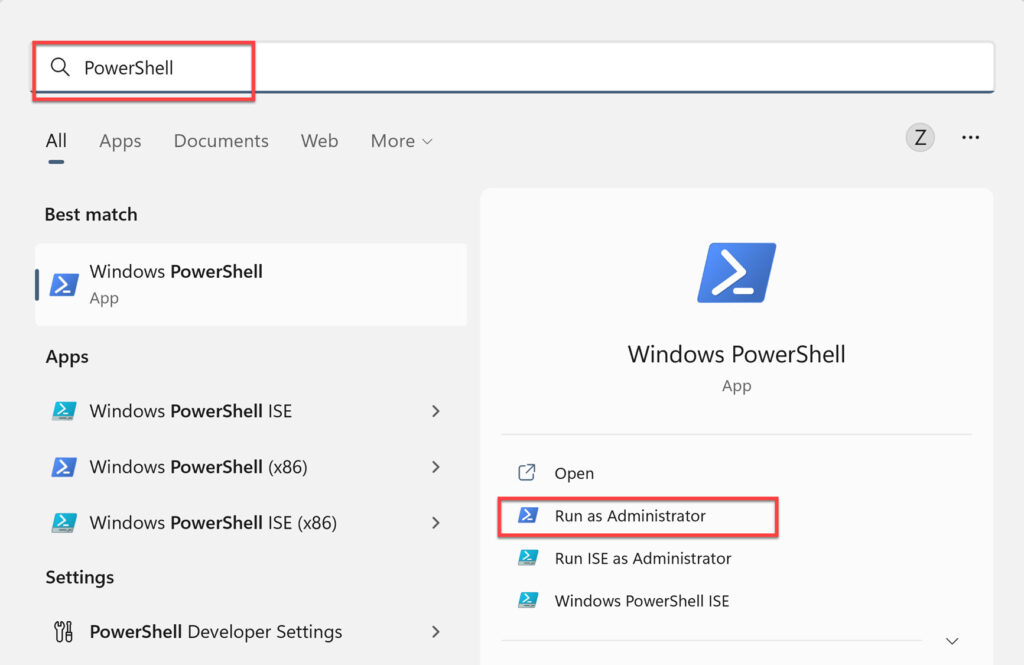
- To begin, type “PowerShell” into Windows Search and then click “Run as Administrator” to launch PowerShell.
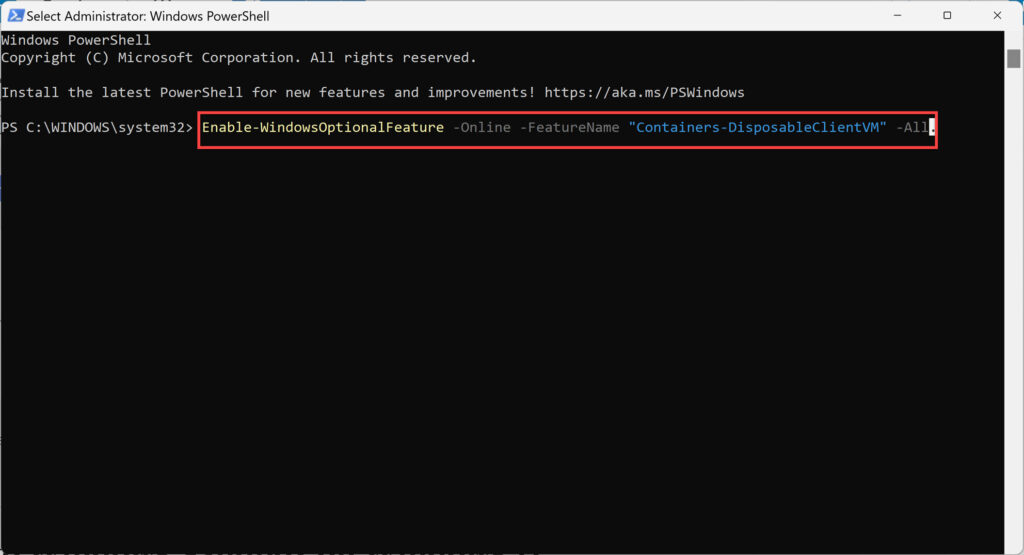
- Next, enter the following command and hit the “Enter” key to run it.
Enable-WindowsOptionalFeature -Online -FeatureName "Containers-DisposableClientVM" -All
- Finally, type “Y” and hit Enter to restart your PC.
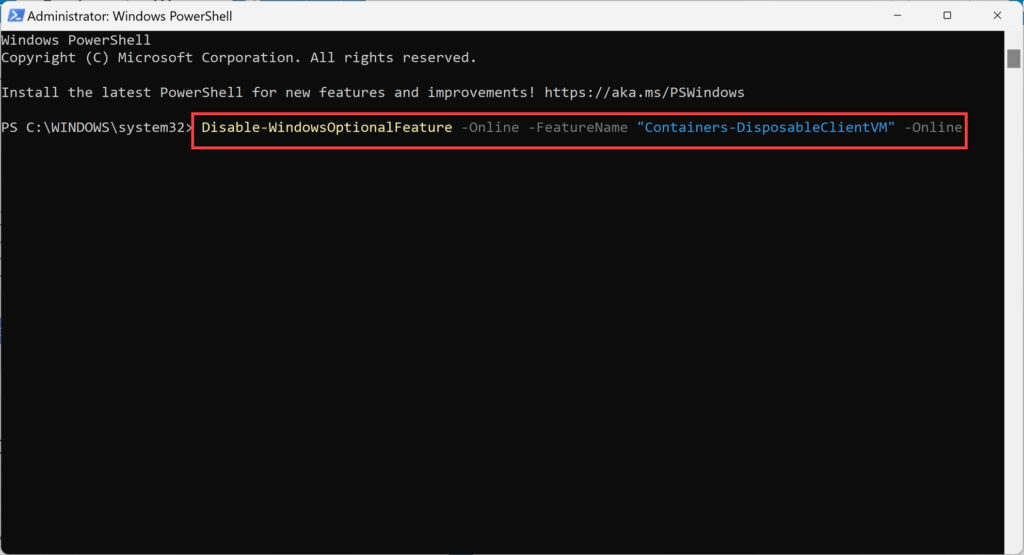
If you want to remove Windows Sandbox from Windows 11 using PowerShell, type the following command in the PowerShell and hit the Enter key.
Disable-WindowsOptionalFeature -Online -FeatureName "Containers-DisposableClientVM" -Online
How to Use Windows Sandbox on Windows 11
When you enable Sandbox in Windows 11, a virtual copy of your Windows 11 installation is created. However, it disables access to personal folders, leaving you with a clean Windows desktop and internet access.
To use Windows Sandbox in Windows 11, follow these steps:
- Open the Start Menu and look in the app list for Windows Sandbox, or simply search for it in Windows Search. To open it, simply double-click it when you see it.
- Then, if the UAC prompt appears, click “Yes.”
- Locate and copy the file that you want to run in the protected environment from the host machine.
- Paste the file into Windows Sandbox, then run it to install or load it.
- Once you’ve checked and tested the app, close the Sandbox window. The session will be terminated, and any extra data will be deleted, allowing you to begin again the next time you use it.
Final Words
That’s all! In this guide, we showed you three ways to install Windows Sandbox on your Windows computer. We also showed you how to use it. Finally, if you encounter any questions or have anything to add, please leave them in the comments section below.
Read also:
Windows Sandbox starts in Windows 11 and works as expected except for the following: If I choose Settings / Apps / Apps & Features, it hangs with an endless “wait circle” and does not display a list of the installed apps. Sandbox on Win 10 does not have this problem.