This Techschumz tutorial will discuss several methods to record calls on the iPhone 14 series with and without third-party apps.
Anyone may want to record these phone calls for legal reasons or to keep a record of a conversation with their fellows or friends for their studies or address, etc., and this capability is standard on Android phones, but unfortunately, due to the Apple privacy policy, the iPhone devices do not have this feature built-in, which may force users to record the calls with third-party apps because it can compromise the customer’s privacy.
There is a lot of interest in learning how to record calls on an iPhone. So several free and paid third-party apps allow this functionality and some alternatives for recording calls without using third-party apps.
Table of Contents
Record Phone calls on iPhone 14 without third-party apps
Method 1: via Google Voice
Google Voice is a free and convenient tool for making international and domestic calls, text and voice messaging, and call forwarding. Each user has a phone number through which they can receive calls. And having an account with this service also allows you to record incoming and outgoing phone calls, which you can do by following the steps outlined below.
Step 1. Go to the “Safari” app on your iPhone and search for “Voice.google.com” in the search box.
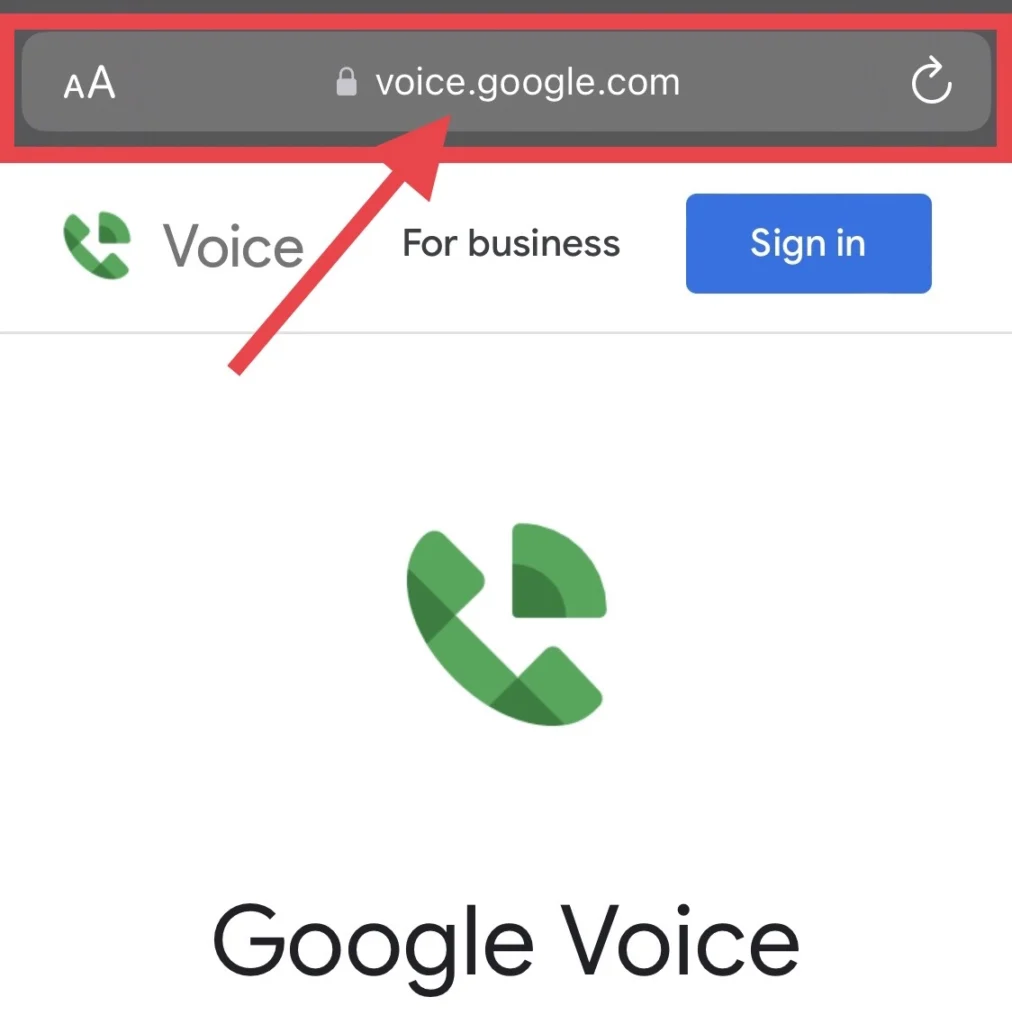
Step 2. There are two options: “for personal use” and “for business use.” You can tap on any of them that you want.
Step 3. Then tap on the “iOS” device.
Step 4. Next, tap on the “Install” button to get the app.
Step 5. After the installation, open the app and “Create” your account.
Step 6. Then tap “Three Line” in the upper left corner of the app screen.
Step 7. Then tap on “Settings.”
Step 8. Select “Calls” from the settings menu and toggle “Incoming Calls.”
Step 9. Now you can record the calls by dialing the phone number you want to record the conversation on, and by tapping on “4“, you can start and stop the recording.
Method 2: Via the Recorderator website
The web-based Recordator can record incoming, outgoing, and teleconference calls. Functional on any platform and network. Simple, dependable, and reasonably priced call recording site; all you need to do to use it is create an account, as detailed below.
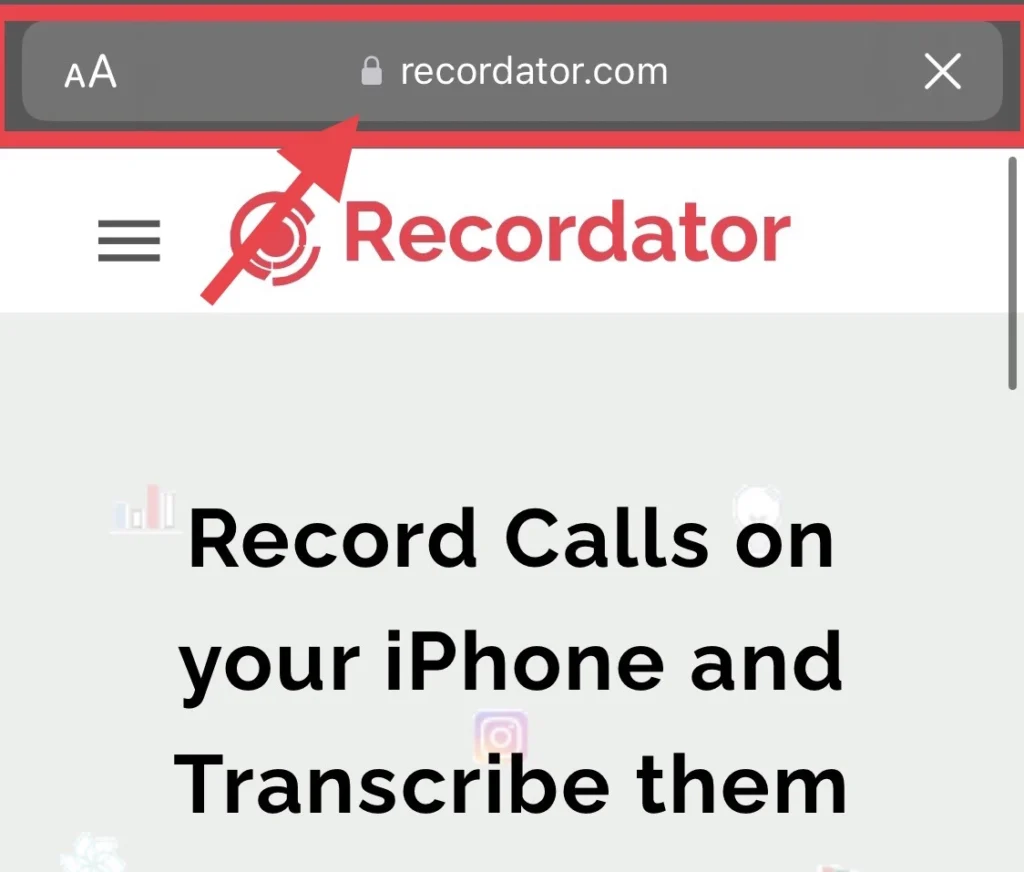
Step 1. Open the “Recordator.com” website on your phone.
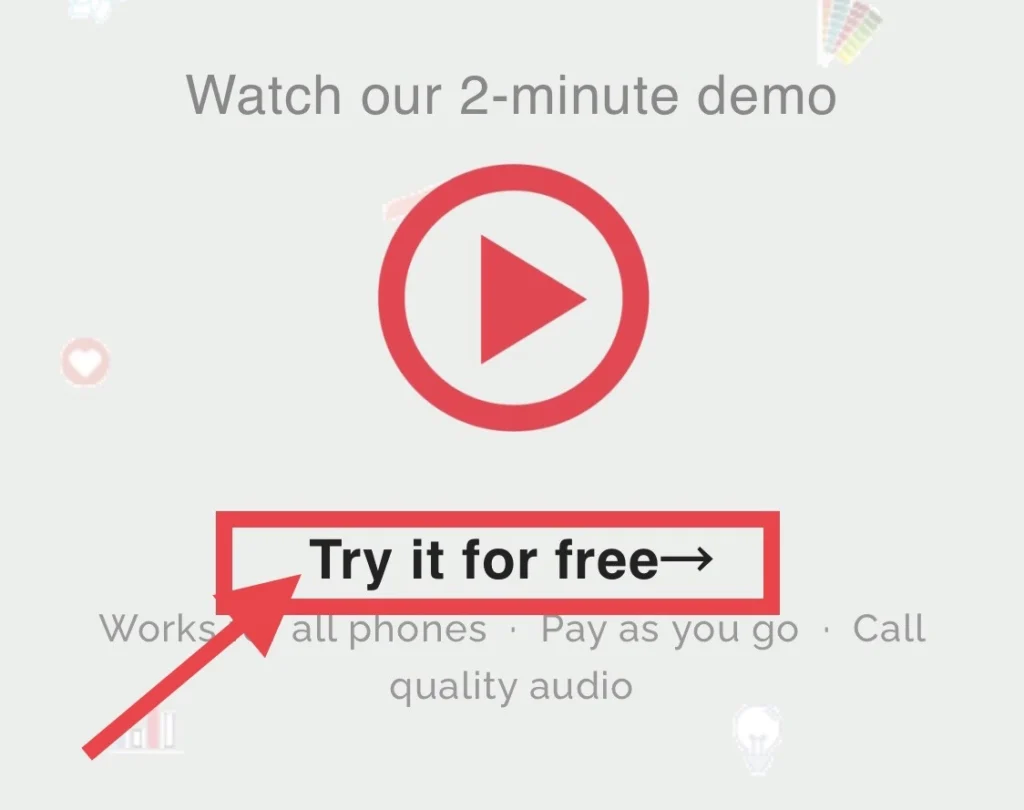
Step 2. Then tap the “Try for Free” option to create a free account.
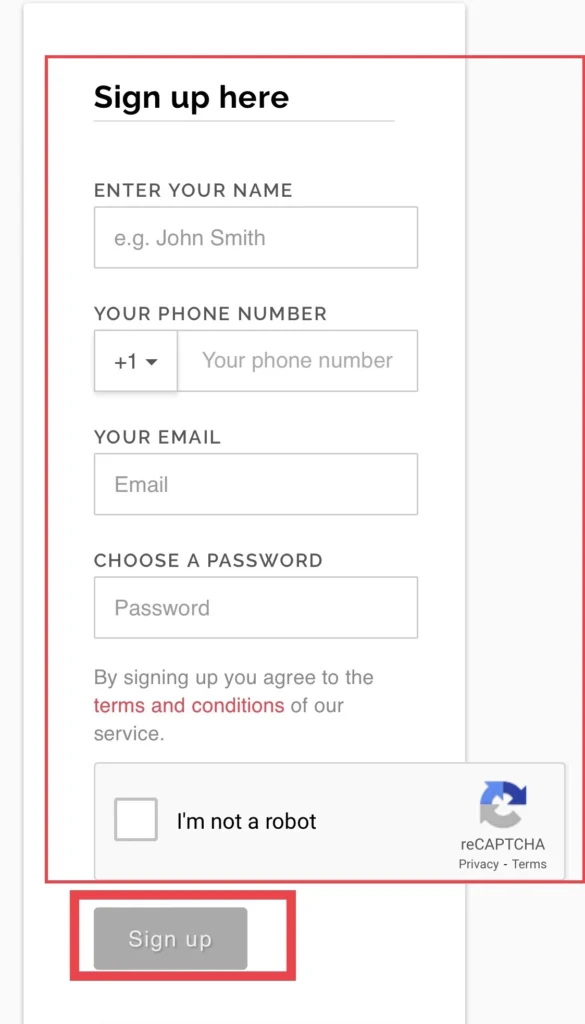
Step 3. To create your account, type your “full name, phone number, email address, and password,” then tap on the “I am not a robot” option and tap “Sign up.”
Step 4. After that, “dial” the appropriate number below for your country of residence.
Step 5: Select “Add Call” on the “Outgoing Call Interface.”
Step 6. Finally, dial the “number” you want to call and record the conversation.
Step 7. When on the call, tap on the “Merge” option to start the recording.
Step 8. You can download the “recorded file” in the “My Recordings” folder.
Method 3: Via Another Device
Sometimes, when you don’t have time to use the sites, you can use another device, like an Android or iOS device, to record calls, which is the easiest way to do so.
Step 1. Make a “call” that you want to record.
Step 2. Then, when the receiver picks it up, put it on “Speaker.”
Step 3. For recording on other devices, you can use the “Voice Recorder” app built into your phone.
Step 4. So after the call ends, you can tap to stop the “recording” on the other device.
Method 4: Via Voicemail
The fourth method is to use the voicemail on the phone app on your iOS device, which is always available and does not require you to create an account. Follow the steps below to record calls using the voicemail feature.
Step 1. Make a call to the person you want to record the call with.
Step 2. Then, while “ringing,” tap on the “Add Call” option.
Step 3. Then automatically, you will be directed to the “Contacts” list, where you can choose your own “Phone Number.”
Step 4. Then tap on the “Merge” option to merge the existing call from the voicemail recorder into a conference call.
Step 5. After the recording, you can find the “recorded file” in the Voicemail inbox.
Method 5: Via screen recording
Incoming and outgoing calls can be recorded by enabling the screen recording feature. To do so, you need to follow the instructions below.
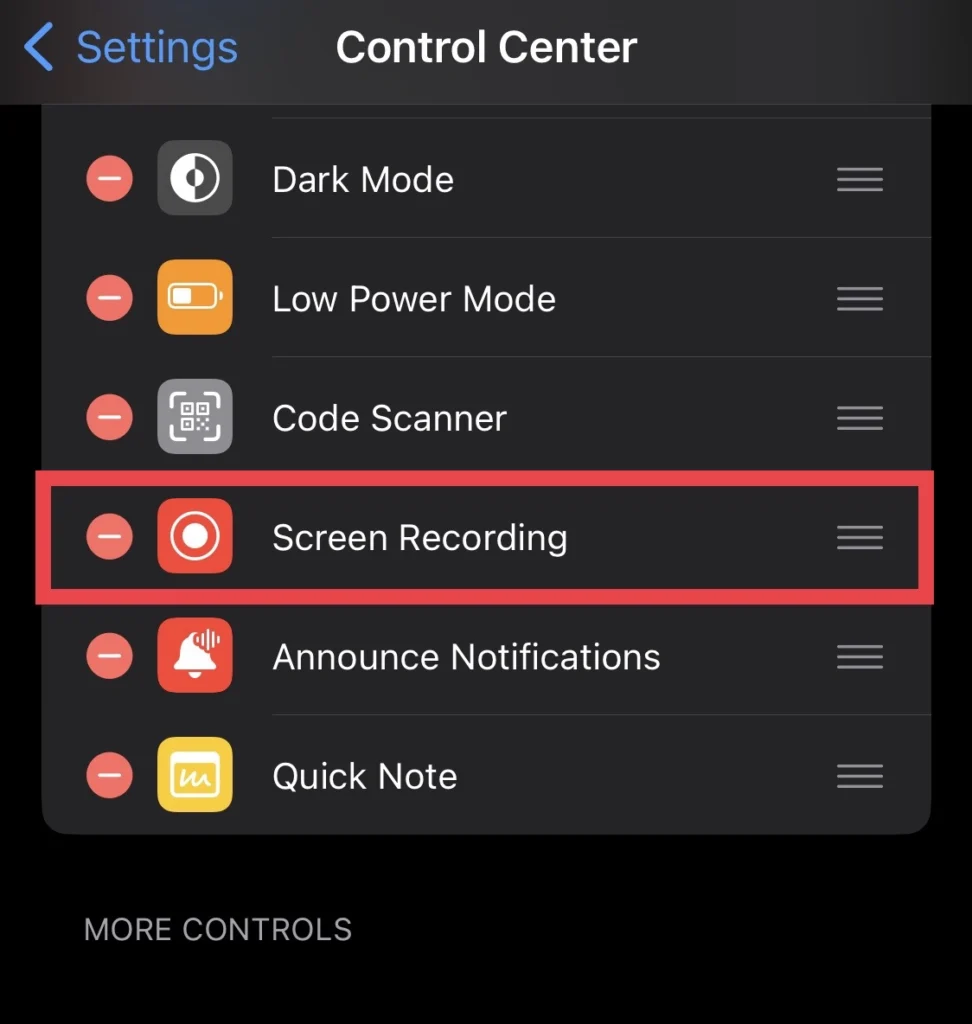
Step 1. Add the “Screen Recording” feature to the “Control Center” menu from the settings.
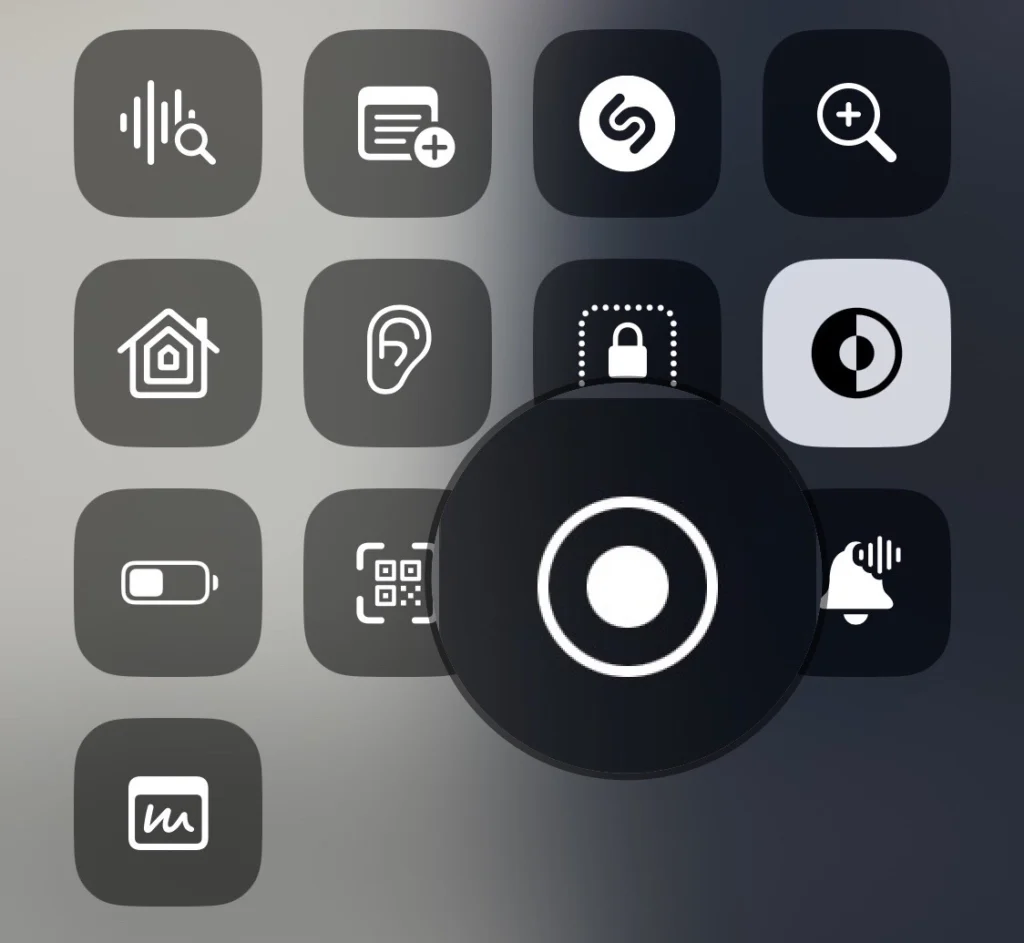
Step 2. Then open the “Control Center” and tap on the “Screen Recording” icon.
Step 3. Make sure that it is on the “Gallery” option.
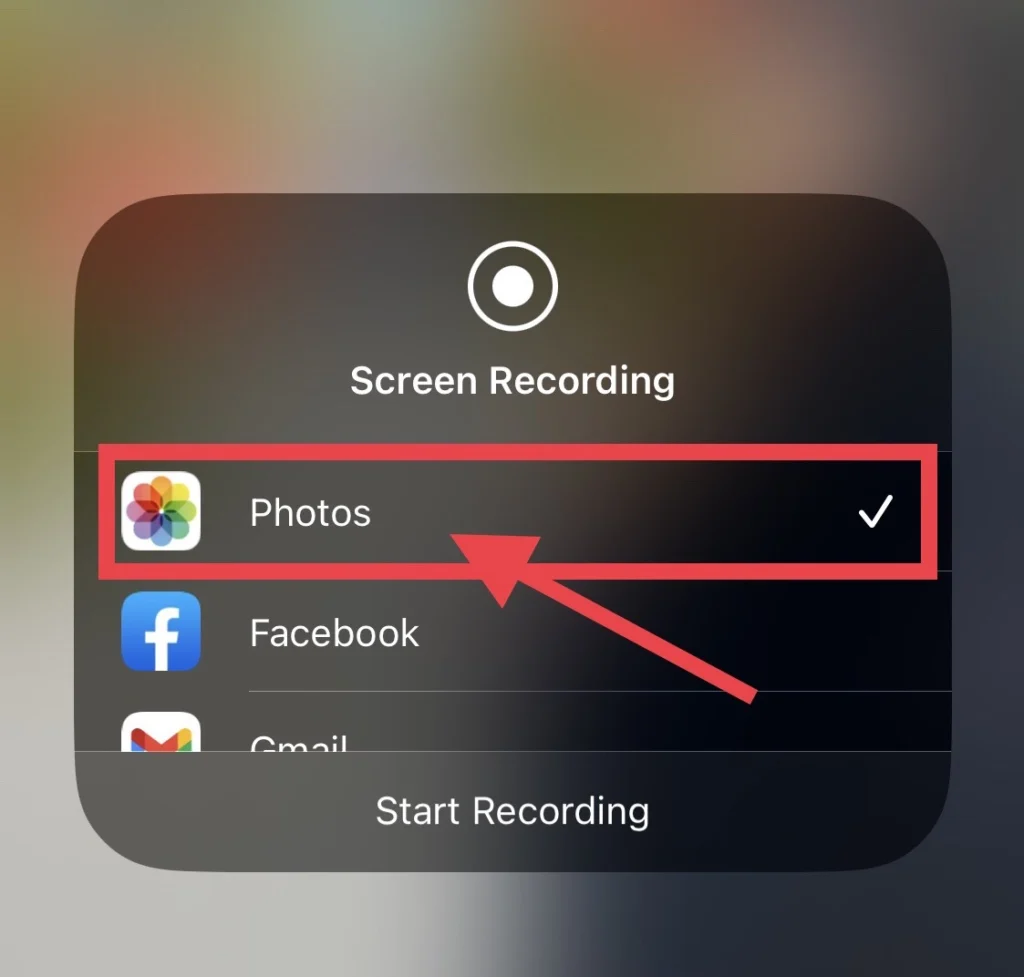
Step 4. And then toggle on the “Microphone.”
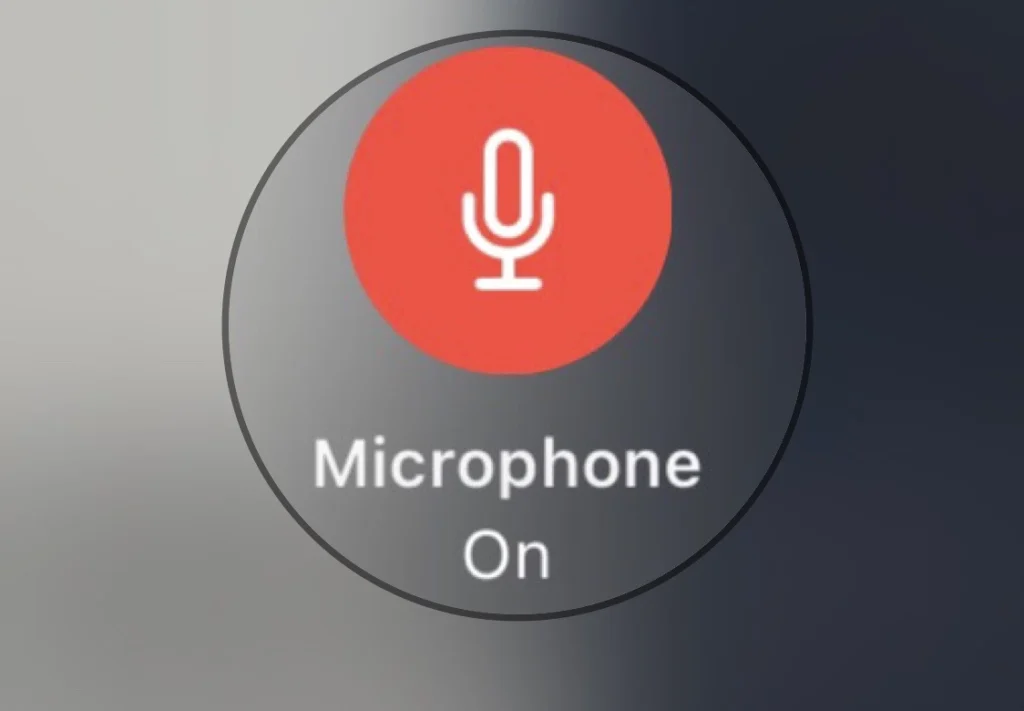
Step 5. Then go to the “Phone” app and make a call.
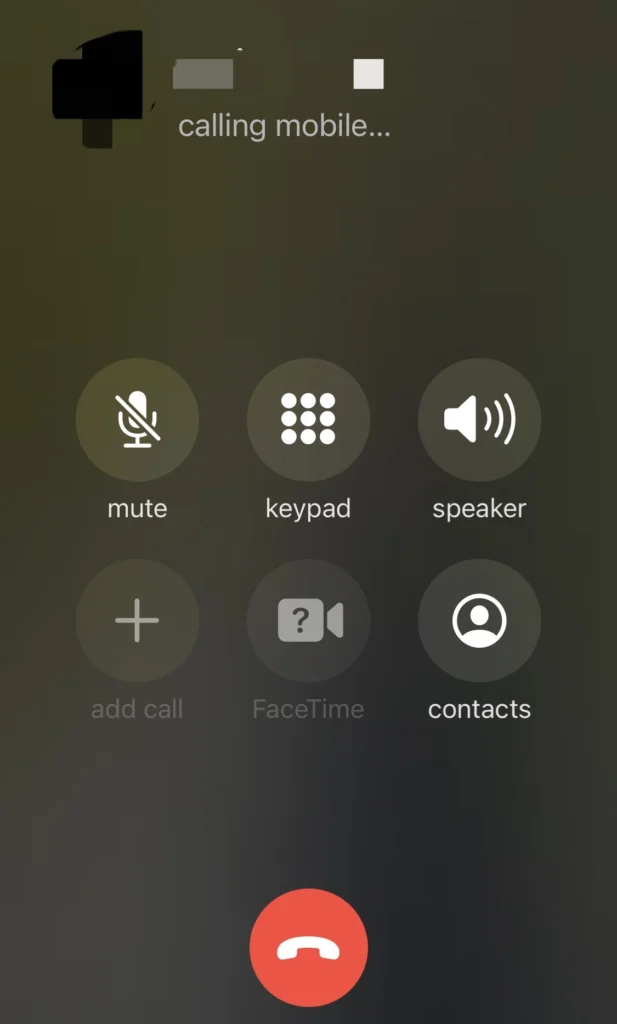
Step 6. When the call has been picked up, go to the control center menu and turn on “Screen Recording.”
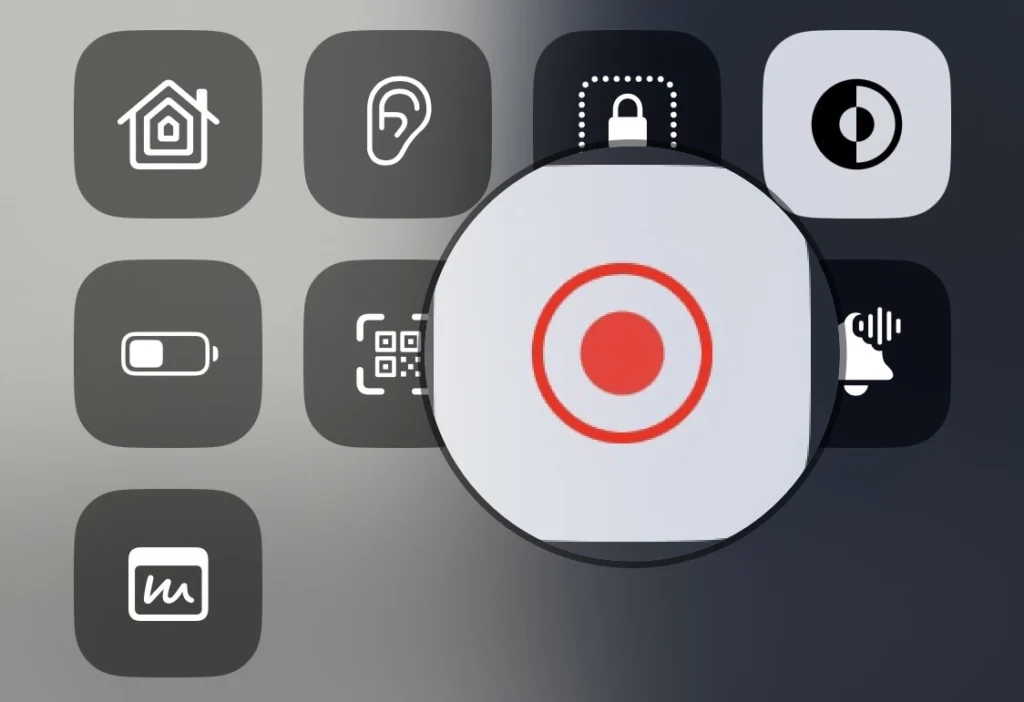
Step 7. You can check for the “Call Record” in the “Photos” app.
Record calls on an iOS 16 phone with third-party apps
Automatic Call Recorder
The Automatic Call Recorder is an easy-to-use, free app that records calls. This app is the most popular because it has features that work even when your iPhone is not connected to the internet, such as high-quality recordings, call recordings that are converted to text in 100+ languages and one-click file sharing.
Step 1. Install the “Automatic Call Recorder” app from the iPhone “App Store” app.
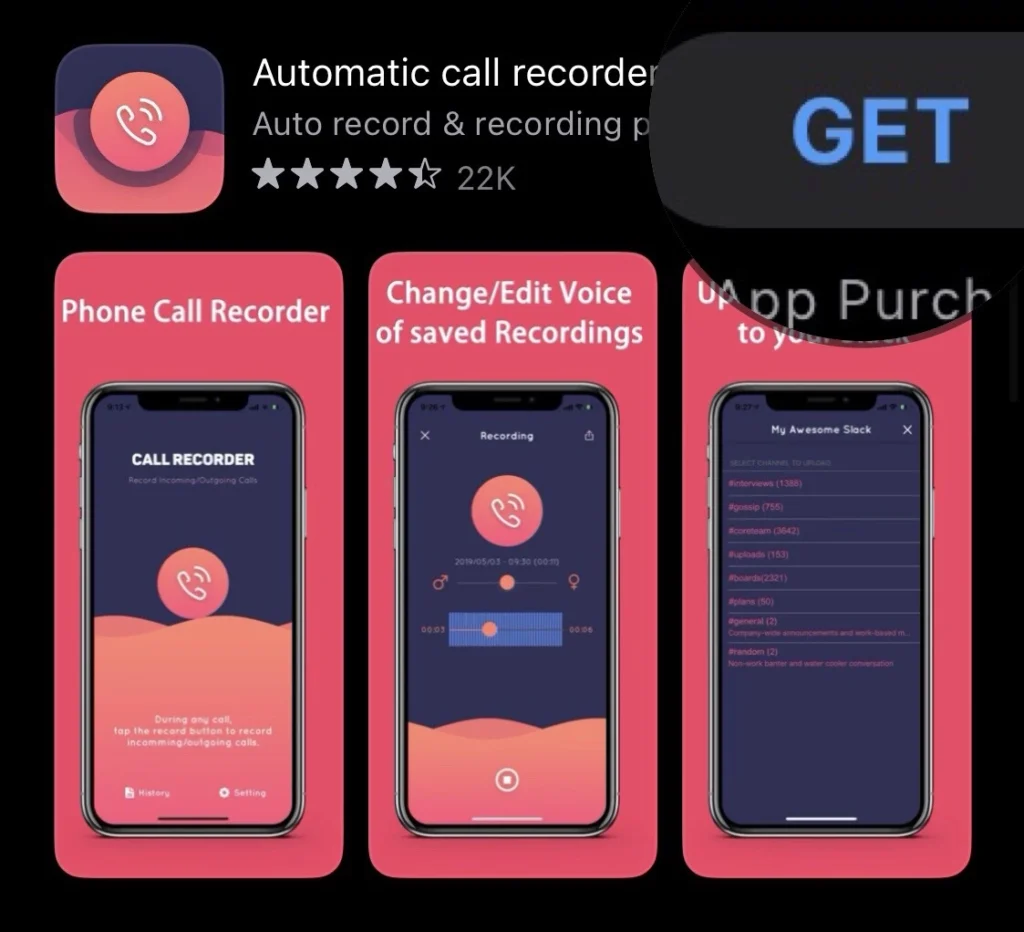
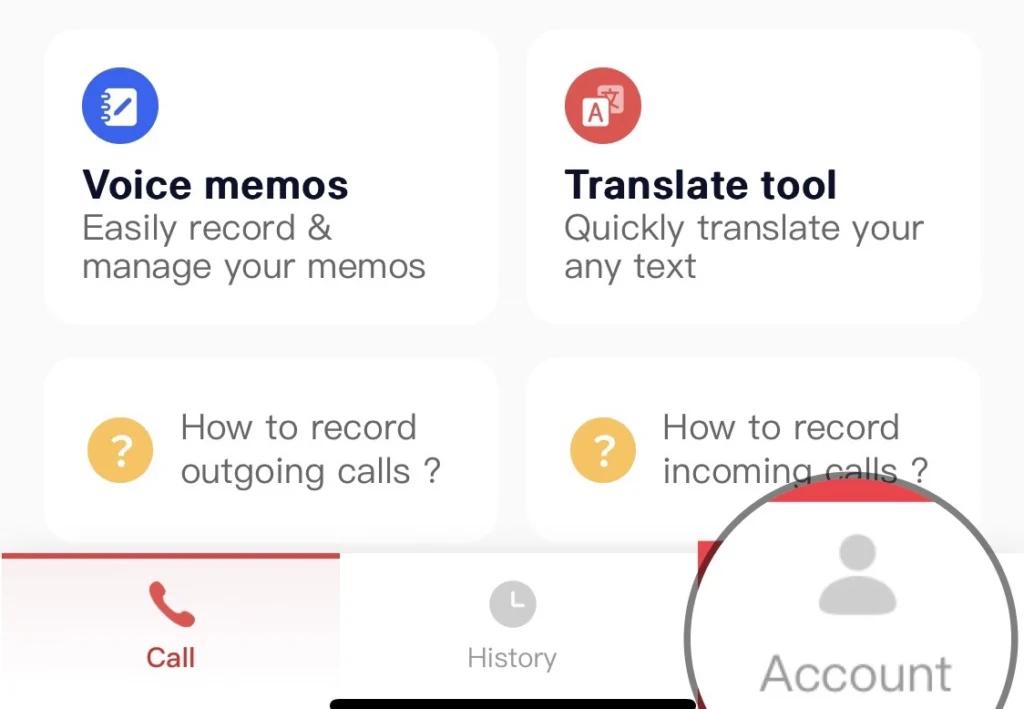
Step 2. After that, open the app and “set” your account by tapping the “Account” option at the bottom of the screen.
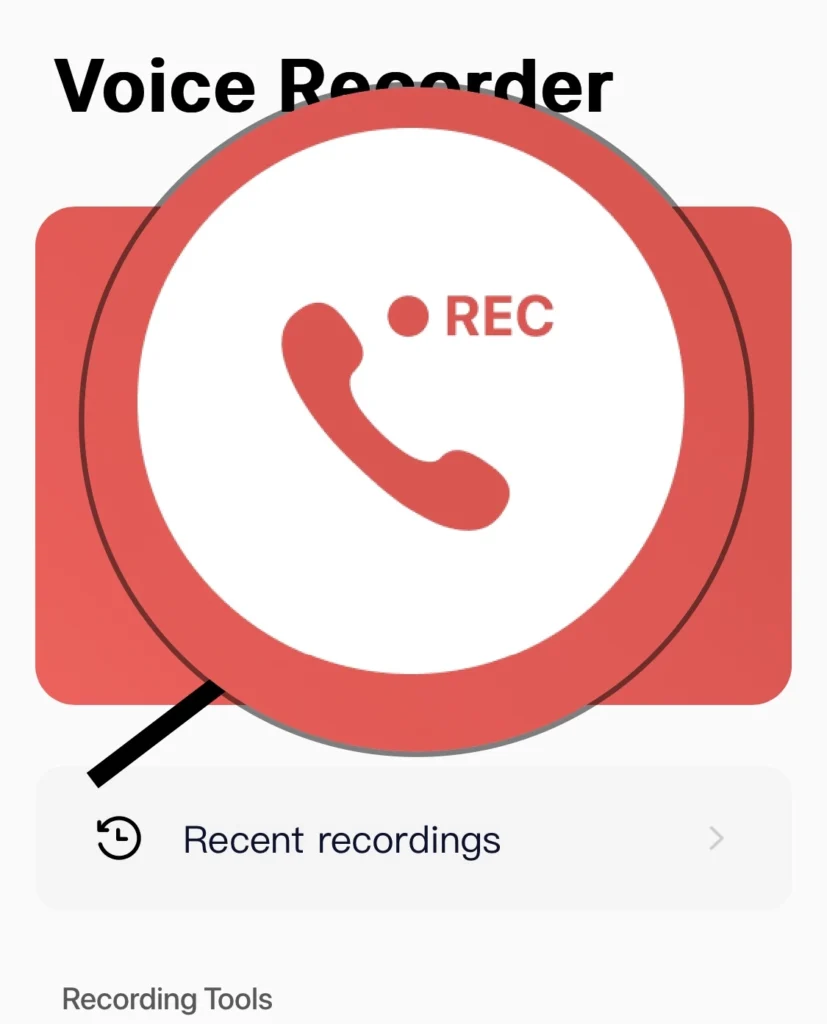
Step 3. Then make a “Call,” open the app, and tap on the “Recording” icon.
Step 4. Next, make a call to “Service Number” for recording.
Step 5. Select the “Merge Call” option, and the recording will begin.
That’s it. You have recorded the phone call using the third-party app.
Free recording apps for iPhone
The apps listed below are some free phone call recording apps that iPhone users most support.
Frequently Asked Questions
Final Words
You can utilize any easy and readily available methods for recording phone calls mentioned in this article. Moreover, we’ve presented some free apps for iPhone call recording; if you have any questions or suggestions, please let us know in the comments section below.
Read also:
iOS 16: How to Fix Contact Names Appearing As Numbers On iPhone 14 Pro/Max
iPhone 14 Series: Screen Doesn’t Sleep/Lock When Pressing The Power Button
