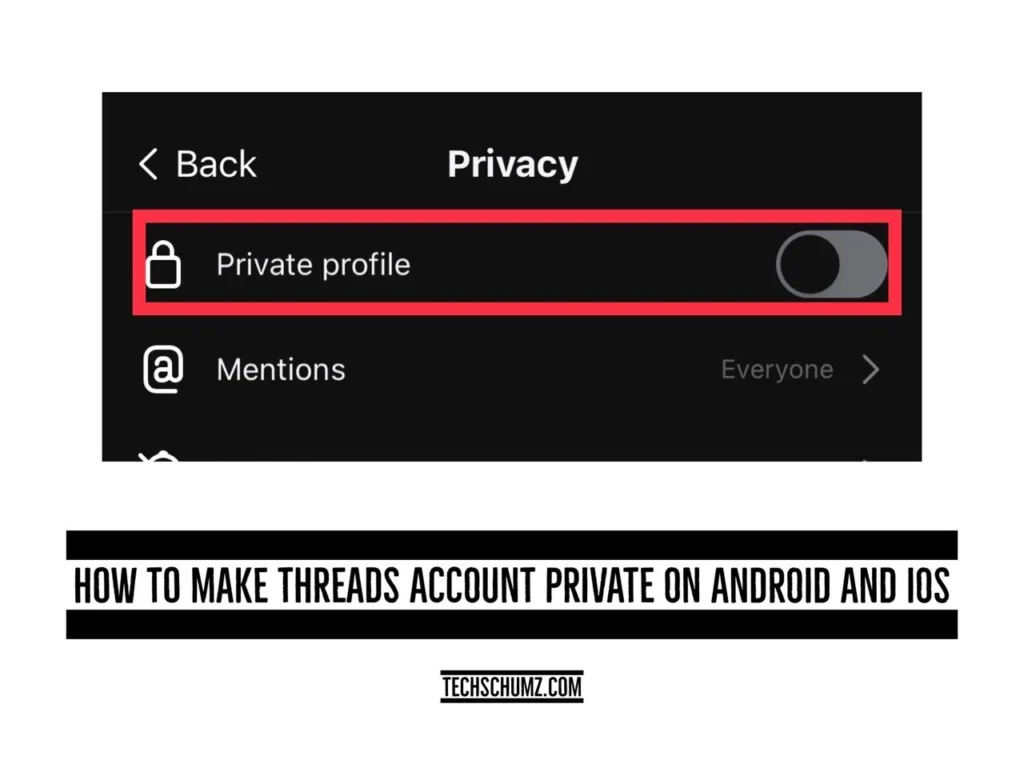
Threads is an Instagram app for text sharing. By default, your account is public, allowing anyone to view your content. However, if you value privacy, you can make your account private on Android and iPhone devices using Techschumz’s guidelines.
Instagram’s Threads messaging app offers an elegant, intuitive interface with a delightful user experience. With millions of users, it shares similarities with Twitter, with a public setting allowing all app users to view content regardless of follower status. Threads’ aesthetics and impressive features have made it popular for users looking for a more engaging and accessible messaging experience.
Table of Contents
Make your Threads Account Private On Android
To make your Threads account private on Android, you can easily adjust your privacy settings within the app, as described in the steps below.
Step 1. To start, go to “Threads” on your Samsung device.
Step 2. Then tap on your “Profile.”
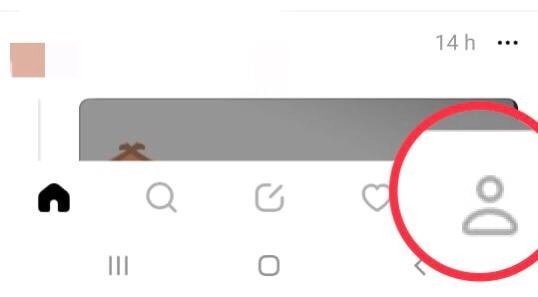
Step 3. Then click on “Two Lines” in the upper right corner.
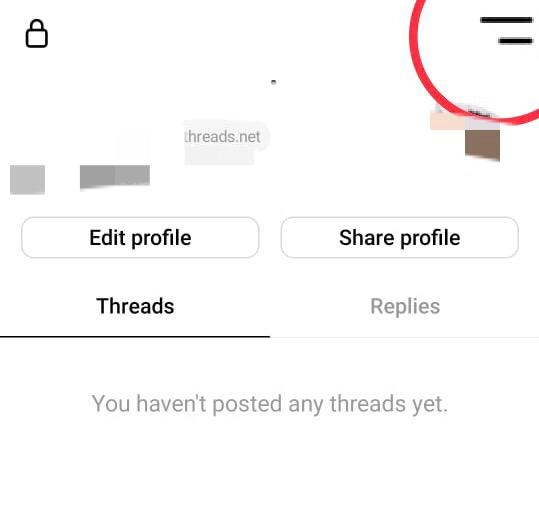
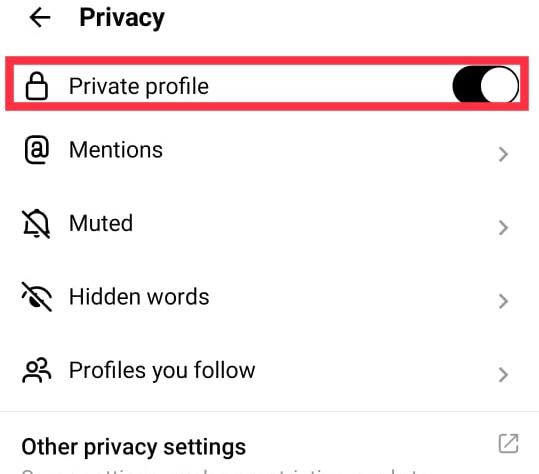
Step 4. Next, choose “Privacy.”
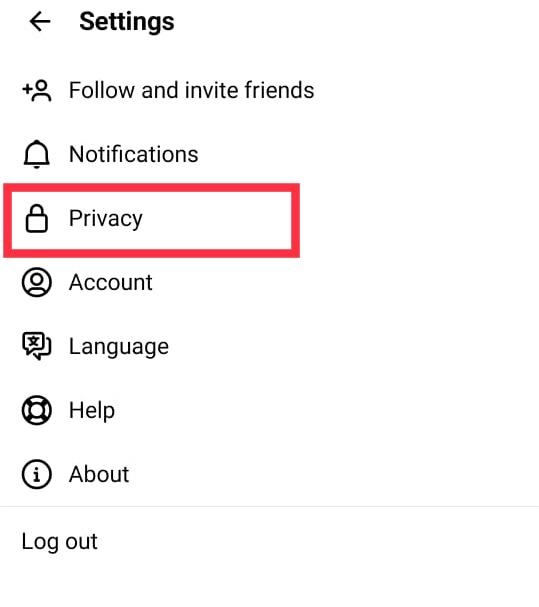
Step 5. Now turn on the “Private Profile” option.
Step 6. Now you will be asked if you want to “Switch to a Private Account.” To confirm it, choose “OK.”
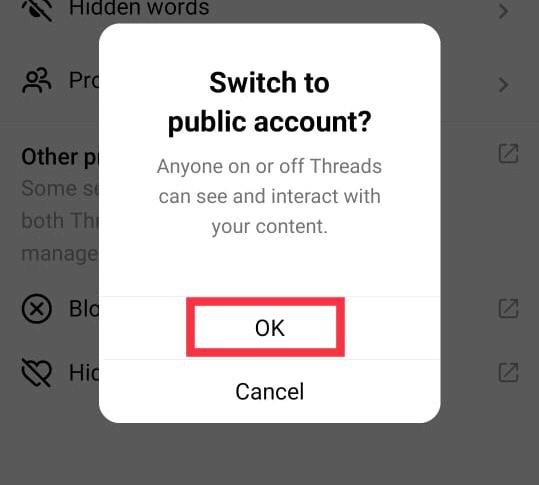
Here you go. By turning on the Private File option, you can switch to a private account from a public one.
Switch to a private thread account from Public on iOS phones
Follow the instructions below to make your Threads account private on your iPhone.
Step 1: Open the “Threads” account on your iOS phone.
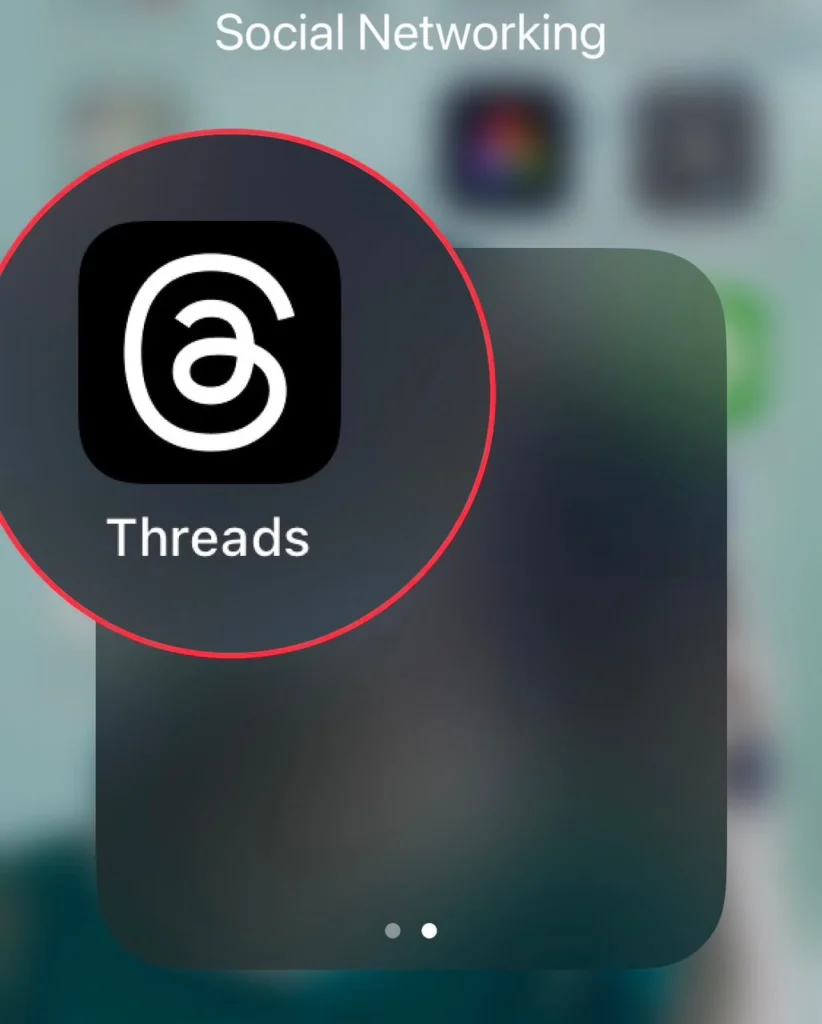
Step 2. Click on the “Circular” icon.

Step 3. Toggle on the “Private Profile” option on your iPhone.
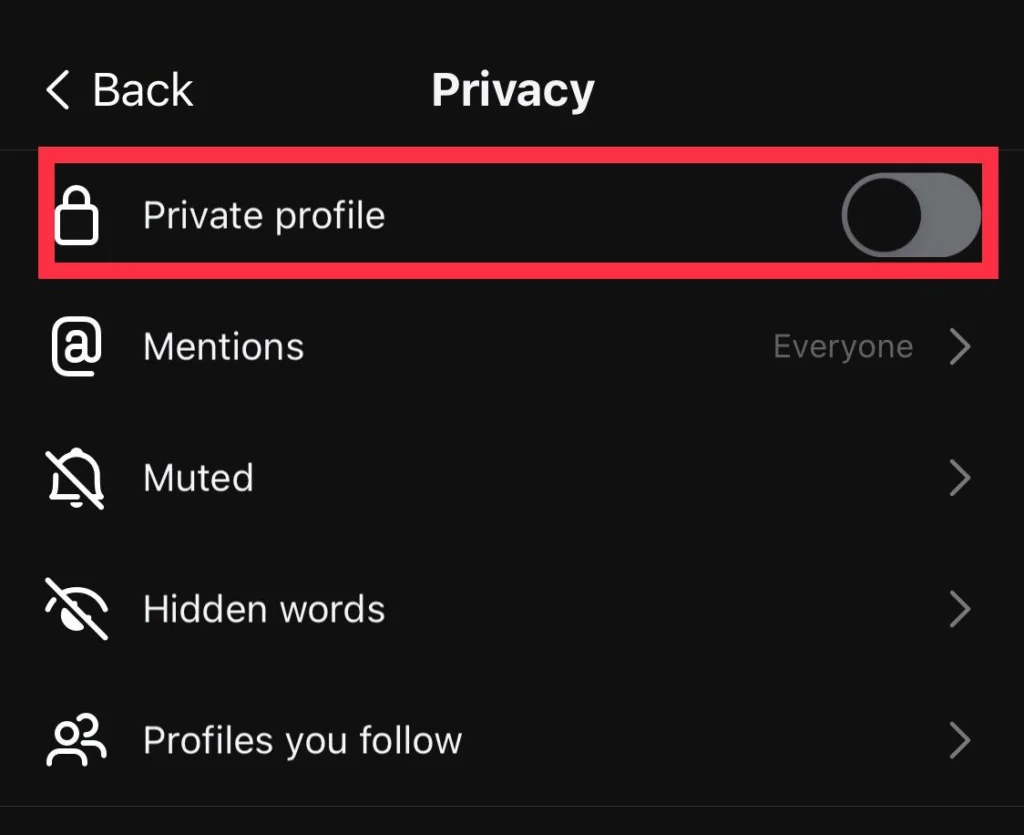
Step 4. Choose “OK” for Confirmation.
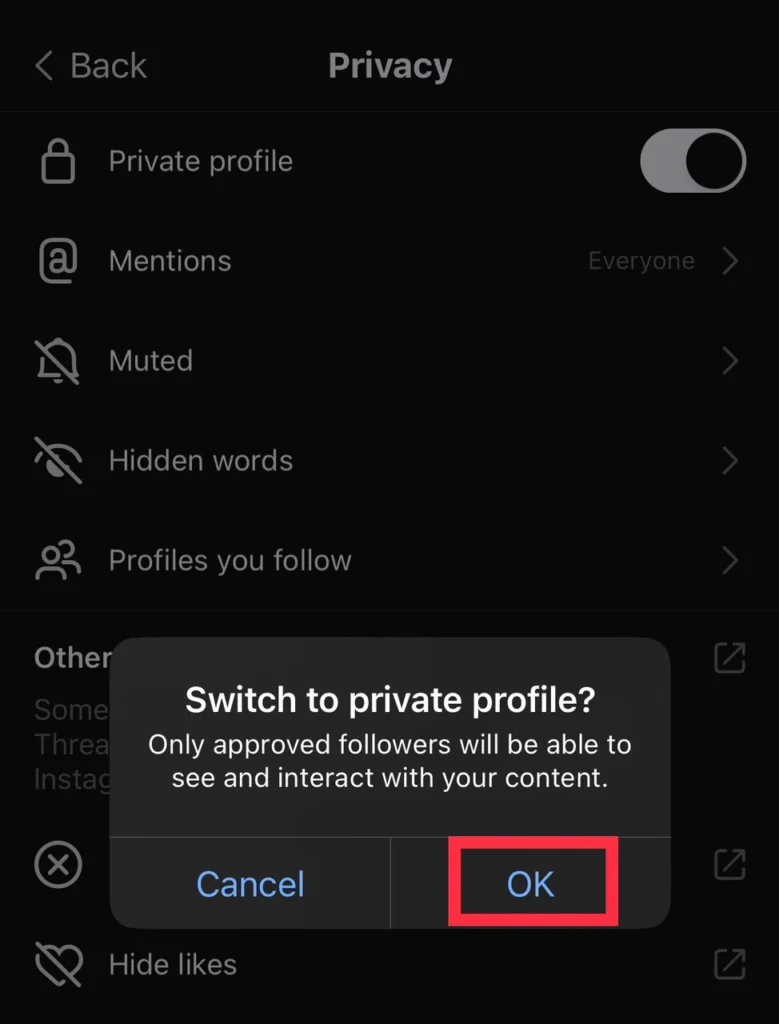
Your Threads account is now private on your iPhone.
Final Words
You have switched from a public thread to a private profile via the steps in this article. By switching to a personal account, you can control who can view your posts and information on Threads. This provides you with more privacy and security. Finally, share your thoughts and queries in the comments section below.
Read also:
How To Download And Install iOS 17 Beta On Your iPhone: A Step-by-Step Guide
