To project your Windows 11 PC to another device or vice versa, you must first add and install the wireless display optional feature in Windows 11. Without it, the PC will be unable to use the wireless display feature and will not be recognised as a wireless display capable device. In this guide, you will learn how to install or add Wireless Display on Windows 11, if it’s not already installed. Besides, you’ll learn how to uninstall it and some common fixes when you are not able to install it.
Table of Contents
What to Consider Before Installing Wiresless Display?
Installing a wireless display is always useful, and it can actually clear the clutter from your desk as well as eliminate the wear and tear problems associated with the cable connection. However, in order to install, connect, and use a wireless display, your device must have Miracast technology.
Miracast is a Wi-Fi Alliance standard that allows wireless content mirroring from a compatible PC, smartphone, or tablet screen to a TV or monitor. It is commonly referred to as HDMI over Wi-Fi because it is wireless and can replace the all-too-familiar HDMI cable.
Is your device compatible with Miracast?
To check if your device is Miracast compatible, go to Settings, then System from the left pane, and Projecting to this PC from the right pane.
If you see a screen like the one below, that will display the message This device doesn’t support receiving Miracast, so you can’t project to it wirelessly, which means your device doesn’t have the capability.
The fact that your device lacks Miracast capability may prevent you from installing a wireless display, so you should double-check this. If your device lacks this capability, you can always purchase a separate Miracast dongle to connect to your device and use, but make sure the display is also Miracast compatible.
How to Install or Add Wireless Display on Windows 11
After you check that your device is Miracast compatible, you can now simply go for Wireless Display installation on Windows 11.
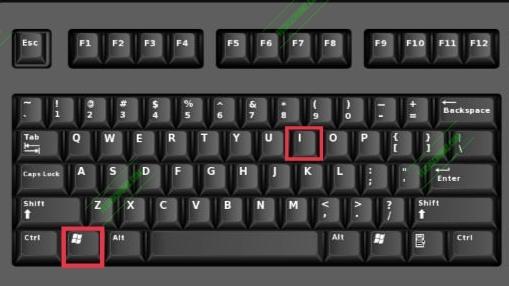
Step 1. To install Wireless Display on your Windows 11 computer, first, open the Settings app by using ‘Windows + I‘ shortcut keys.
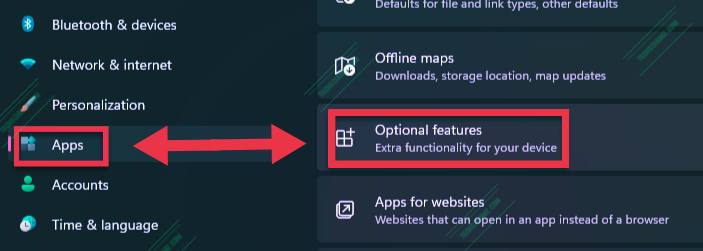
Step 2. After the Settings window opens, tap ‘Apps‘ from the left pane of your screen and select ‘Optional features‘ on the right side pane.
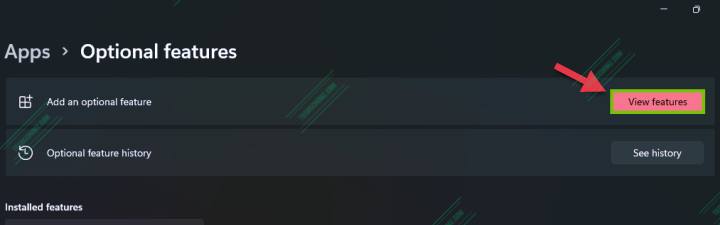
Step 3. Now, in the new windows click ‘View features‘ next to Add an optional feature.
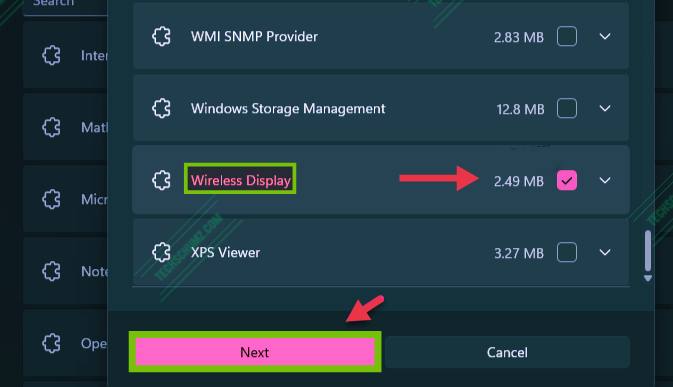
Step 4. Now, find and select thr ‘Wireless Display‘ option and click on the ‘Next‘ button.
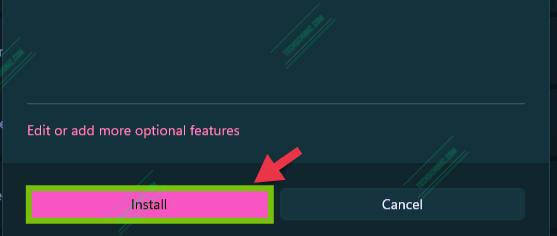
Step 5. Then, you see an ‘Install‘ button, click on it to start installing Wireless display. Wait for some moments and you are ready to go.
That’s it!
How to Uninstall Wireless Display on Windows 11
- Open the ‘Settings‘ app, then click ‘Apps’.
- Now, in the Apps & features section, click on the ‘Optional features’.
- Finally, fin and click on the ‘Wireless Display’ and click ‘Uninstall’.
- That’s it! Now wait for some moments.
Fix Wireless Display Install Failed error in Windows 11
Here are some of the possible reason of the Install failed error when attempting to install Wireless Display features on Windows 11:
- You might not be connected to an active internet connection.
- Poor internet connectivity can be another reason for the wireless display installation to fail.
- If you have turned on the metered connection, it may cause installation failure.
Now, let us have a look at the fixes to resolve this error on Windows 11.
1. Install Wireless Display on your Windows 11 Computer via Command Prompt
- Run ‘Command Prompt‘ as an administrator.
- Then copy and paste the following command, then hit the Enter key:
DISM /Online /Add-Capability /CapabilityName:App.WirelessDisplay.Connect~~~~0.0.1.0

- Now, you’re able to view the progress in the Settings App menu.
2. Connect to the Internet
Aside from the fact that Windows 11 cannot run on devices without Internet access, users may forget to connect to the Internet before attempting to install the software. This is supposed to be the quickest and easiest way to add extra features to your wireless display. As a result, we strongly advise attempting to connect to it and then reloading the process.
3. Try a different Internet source
If the previous solution did not work, it could be a random bug that is causing poor Internet connectivity. The next step is to try connecting to another Internet source.
4. Turn off the metered connection
- Open the ‘Settings’ app.
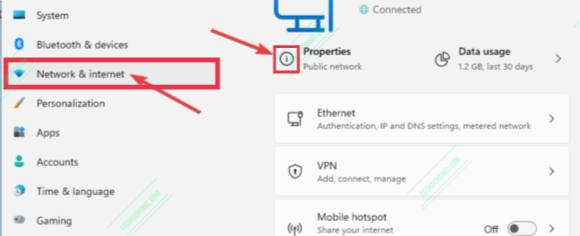
- Tap on ‘Network & Internet‘, then select ‘Properties’.
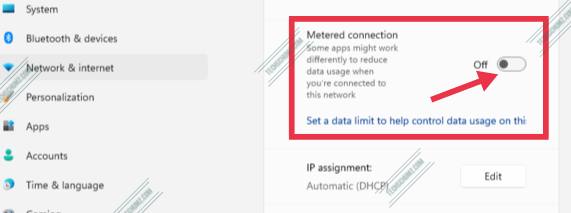
- Now, find and turn off the ‘Metered connection’.
- Now, try to reinstall the wireless display.
Final Words
Wireless Display is a useful feature if you know how to use it. In this guide, we showed you how to add Wireless Display on Windows 11. Also, we have shown you some fixes if you failed to install Wireless Display on your Windows 11 computer. We hope you find this article useful and if you have any questions, please use the comments section below to let us know.
More Windows 11 related articles: