While Windows 11 includes a native internet bandwidth manager, it lacks an internet speed tracker. It means you can’t see how much internet your system is using in real-time. This is where internet speed meter tools come in handy. In this guide, we will introduce two different apps that you can use to enable and show the internet speed meter on Windows 11. These tools can show you the current internet upload and download speed on your Windows machine.
This information is extremely useful. It can assist you in determining whether or not your machine is using more internet bandwidth than expected. Internet speed monitoring can also assist you in tracking down connection issues in your network.
Table of Contents
Show the Internet Speed Meter on Windows 11
We will use third-party apps to track internet speed because Windows does not support it. There is both free and paid software on the market that can do this. We tested several internet speed meter tools for Windows and found and recommend the Net Speed Meter and DU Meter to be the best.
1. Enable the Internet Speed Meter on Windows 11 Taskbar via Net Speed Meter
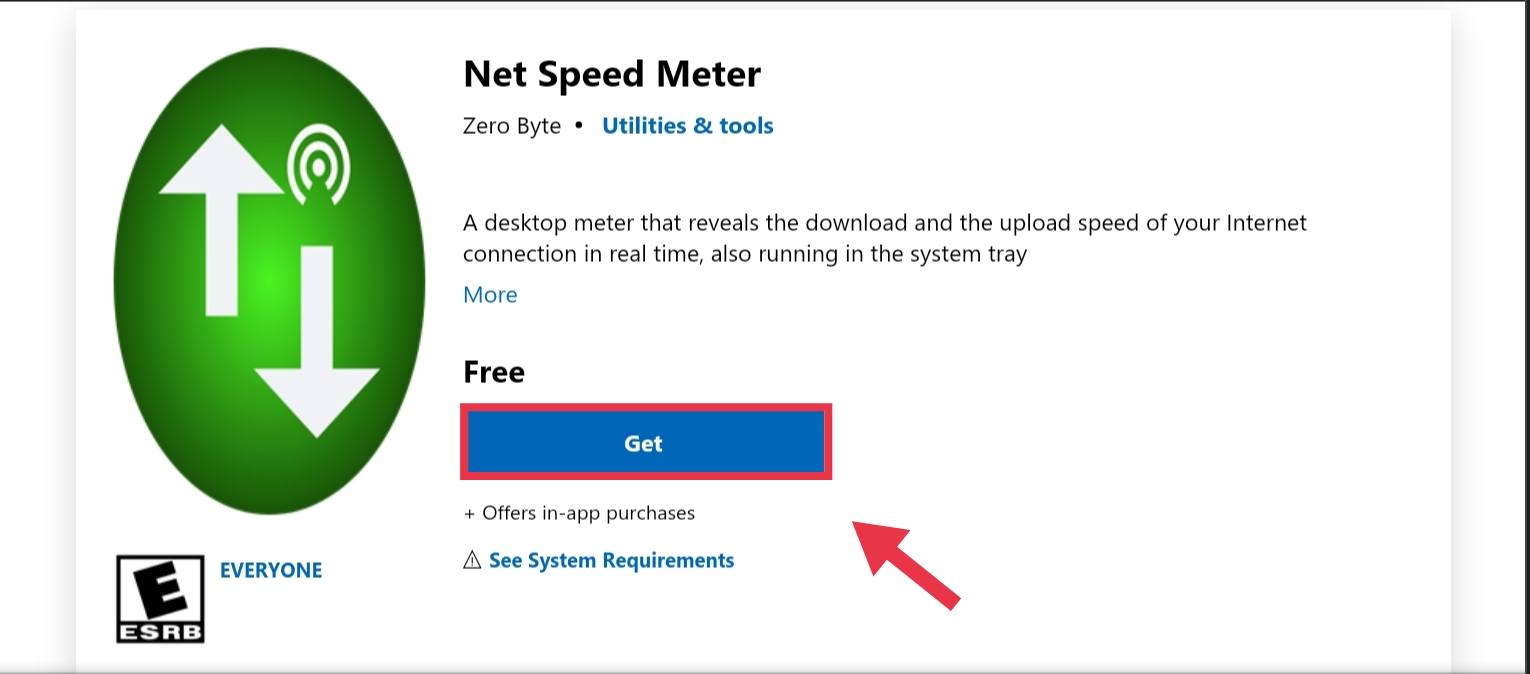
Step 1. First, Click here, it will take you to the Net Speed Meter download page, and click on “Get“.
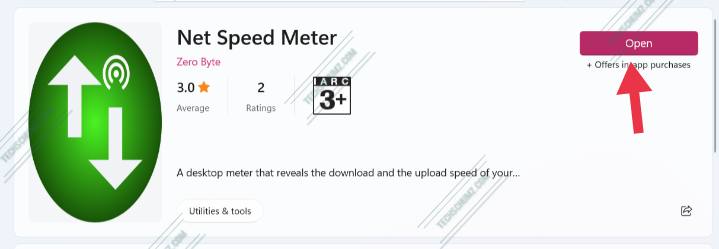
Step 2. Install the app on your system and then open it when it’s done.
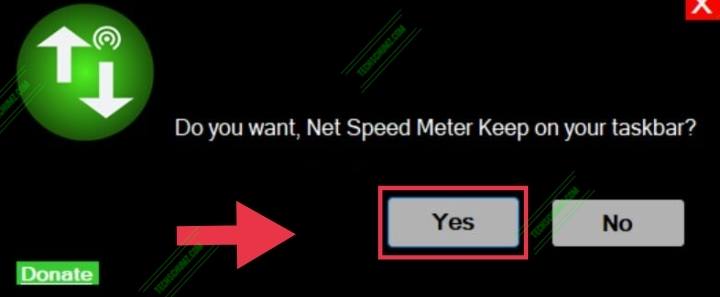
Step 3. Now, you’ll be asked if you want the Net Speed Meter on your taskbar, click “Yes” if you want.
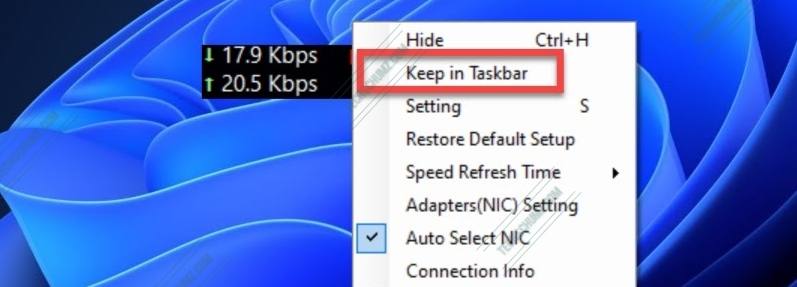
Step 4. Finally, you have the Net Speed Meter ready. Now, right-click on the Net Speed Meter and then click “Keep in Taskbar” if you want to keep it on your Taskbar.
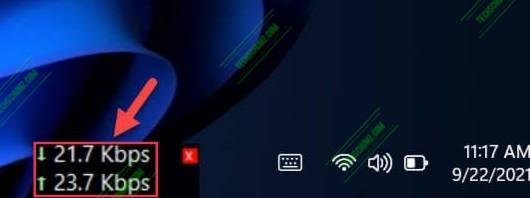
Step 6. Now, the Net Speed Meter app is on your Taskbar, and you can check your real-time internet speed from there.
That’s it! These are the steps for installing and using Net Speed Meter to enable and display the internet speed meter on your Windows 11 taskbar.
2. Display Internet Speed on Taskbar on Windows 11 via DU Meter
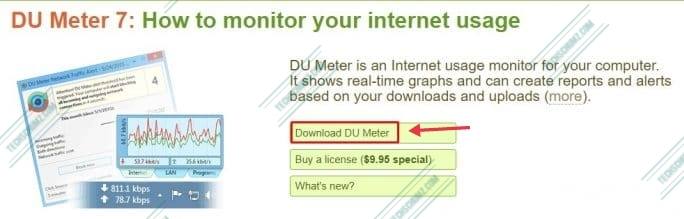
We will use DU Meter, a premium app, to turn on and display the internet speed meter on the Taskbar. However, the tool is free to download and you can use it for a 30-day trial period. So, let’s see how yon use it to add internet speed meter on your taskbar.
Step 1. First of all, download the DU Meter by going this link.
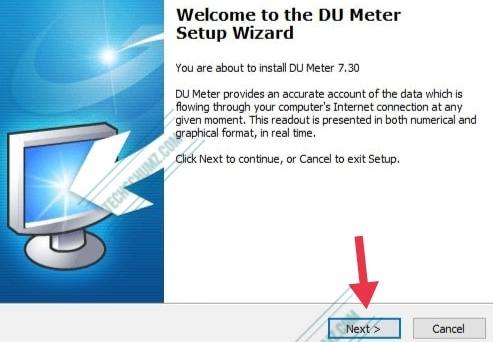
Step 2. After downloading it on your computer, run the installation file and follow the setup wizard.
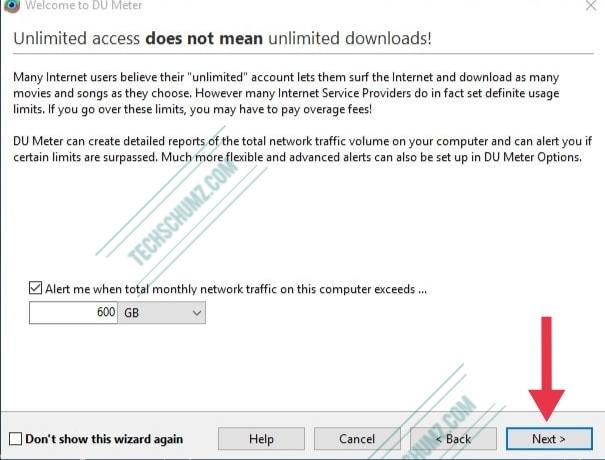
Step 3. Next, you can set a limit for your monthly usage of internet if you want.
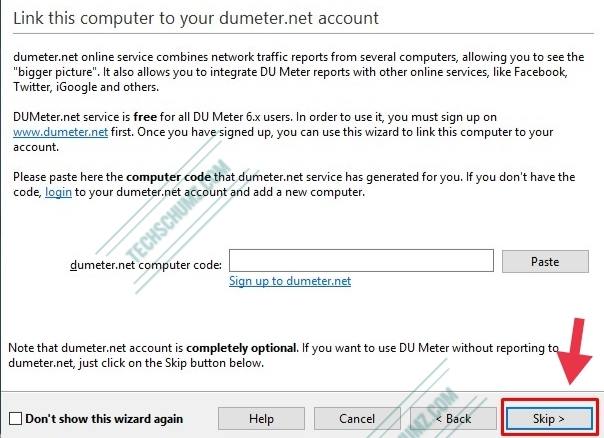
Step 4. Now, just click on “Skip“.
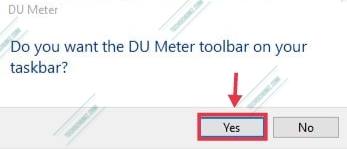
Step 5. Following the configuration of DU Meter, a popup will appear asking you to enable DU Meter on the taskbar. Simply press the “Yes” button.
Step 6. Now, The upload and download speeds are now visible on the Windows 11 taskbar.

This is how you can display the internet speed meter on Windows 11 Taskbar.
Final Words
These are two recommended apps that you can use to show the internet speed meter on Windows 11, One you can download from Microsoft Store and the other from your browser. They both are easy to use and will show you the real-time speed of your internet.
More Windows 11 Related Articles:
A comparison between the two solutions would have been great.