In this guide, we will show you four ways to split your screen on Windows 11 into two, three, and 4 sections.
If you want to be more productive on your Windows 11 PC, you can use the split-screen feature, also known as Snap layouts. It enables you to split your screen into multiple sections to increase productivity. You can view and access multiple windows at the same time. It even lets you display up to four apps at once, with each window taking up a quarter of the screen. The Split Screen feature makes multitasking easier than ever before, and it comes with a variety of snap layouts to choose from. Below, we’ll show you how to split your screen on a Windows 11 PC to boost creativity. However, to use this feature, first, you need to enable the “Snap windows” feature from the Settings app.
Table of Contents
Enable Snap Windows on Windows 11
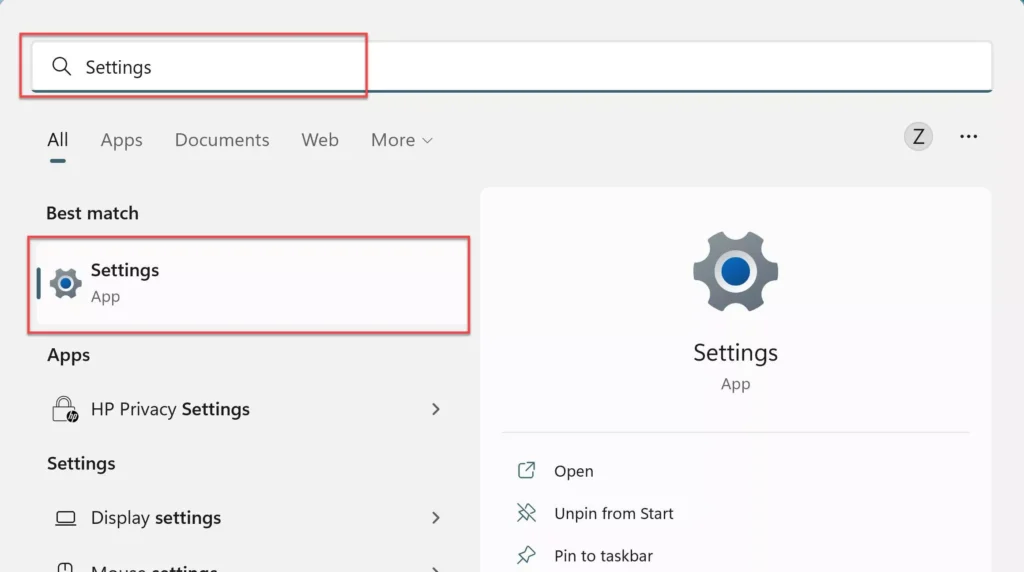
- Open the Settings app by searching for it in the Start Menu.
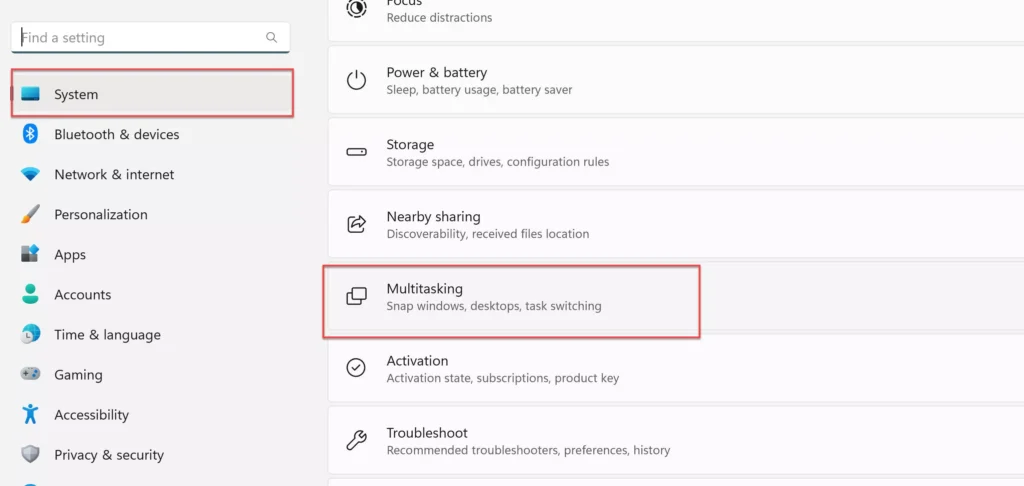
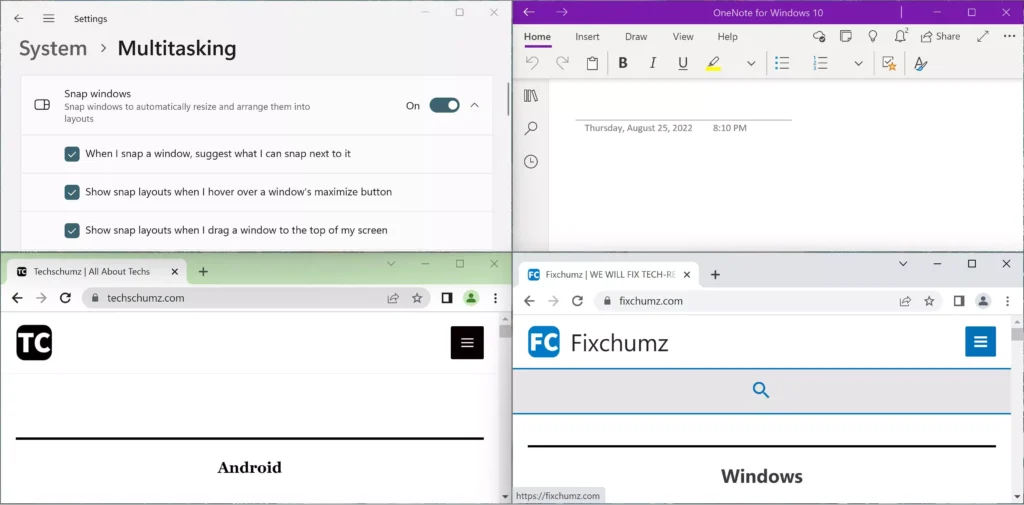
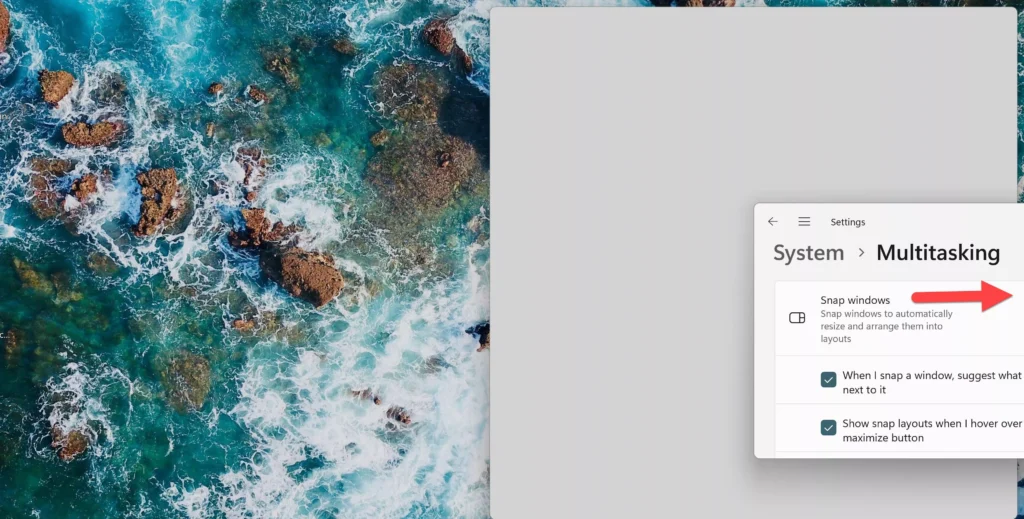
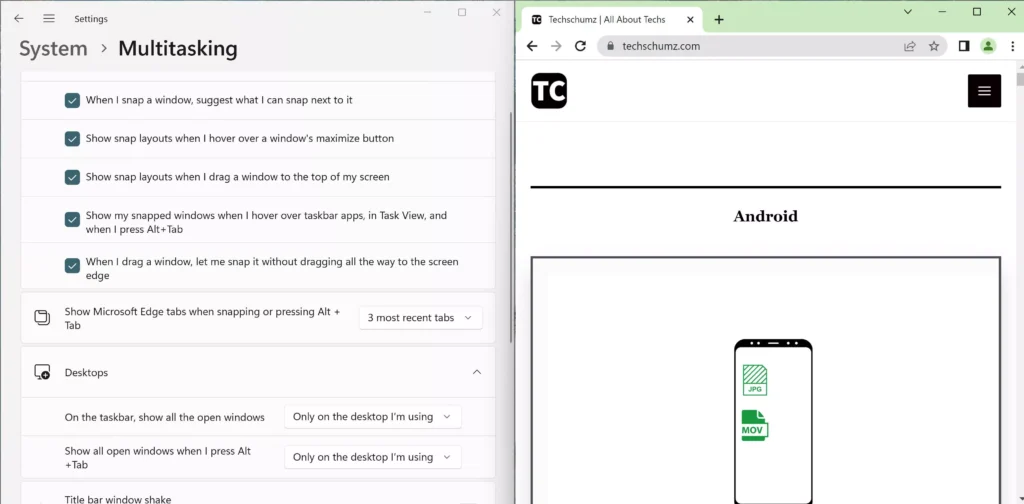
- Go to “System” from the left pane, and select “Multitasking” from the right.
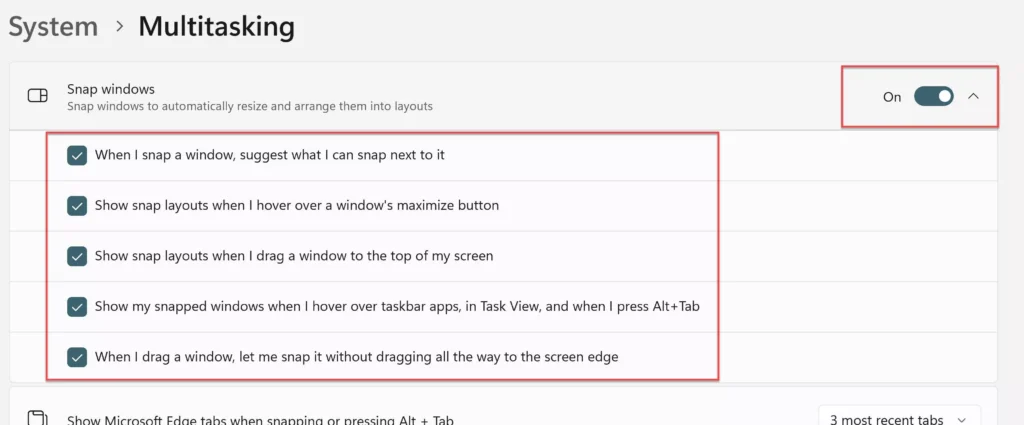
- Now, enable “Snap Windows“, and check the boxes next to the various suboptions as needed.
4 Ways to split your screen on Windows 11 PC & Laptop
When using the split-screen feature in Windows 10, the process was significantly different. Windows 11 made it a lot easier, but it kept the traditional approach, which will be discussed in the following section.
Method 1. Split your screen on Windows 11 using the Maximize button
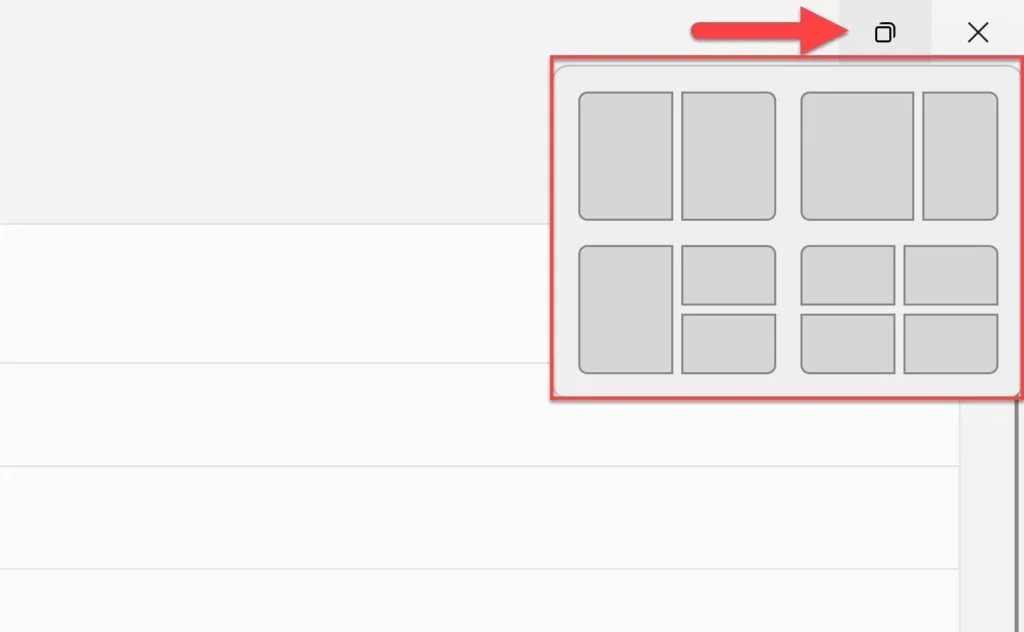
With Windows 11, splitting the screen has become much easier and faster. Now you don’t have to scroll hold to drag windows or use keyboard shortcuts to display multiple windows on the screen. To split the screen on Windows 11, you can simply move your cursor over the maximize button and select from four options for a split screen.
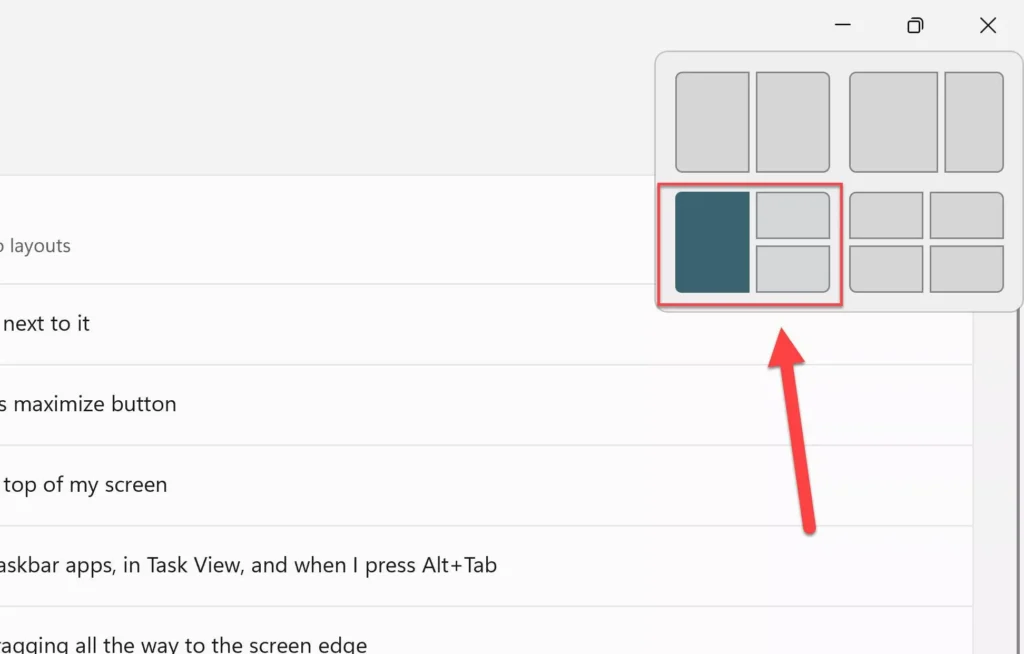
- With the first option, you can split your screen into two identical parts, so both window screens occupy the same space.
- With the second option, you can also split the screen into two, but there is an uneven distribution in terms of the screen space it occupies.
- With the third option, you can split the screen into three, taking the left half into one window and the right half into two quarters.
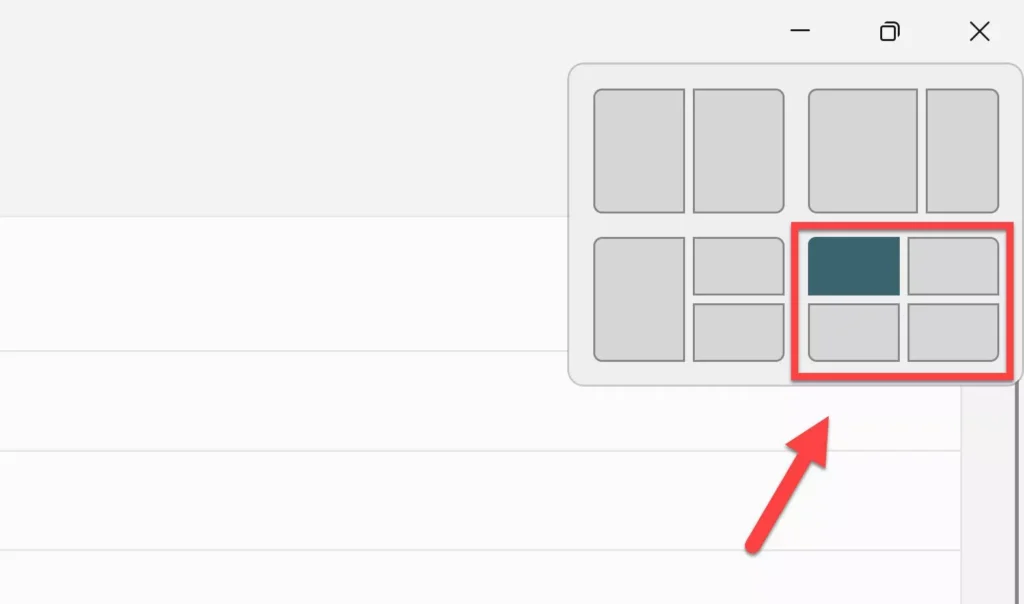
- And finally, with the fourth option, you can split the screen into four parts, with each window taking up a quarter of the screen.
Now, let’s see how you can split your screen in Windows 11 into two, three, and four sections.
Split your screen into two sections
If you want to use two apps simultaneously, there’s an option to split the screen into two.
- Move the cursor over the maximize button, and select one of the parts of the first option.
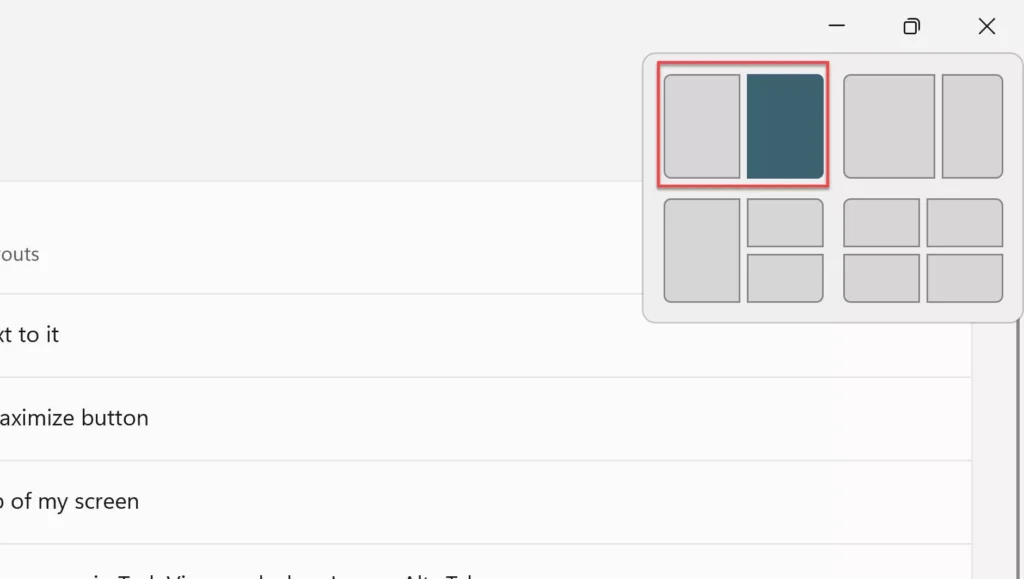
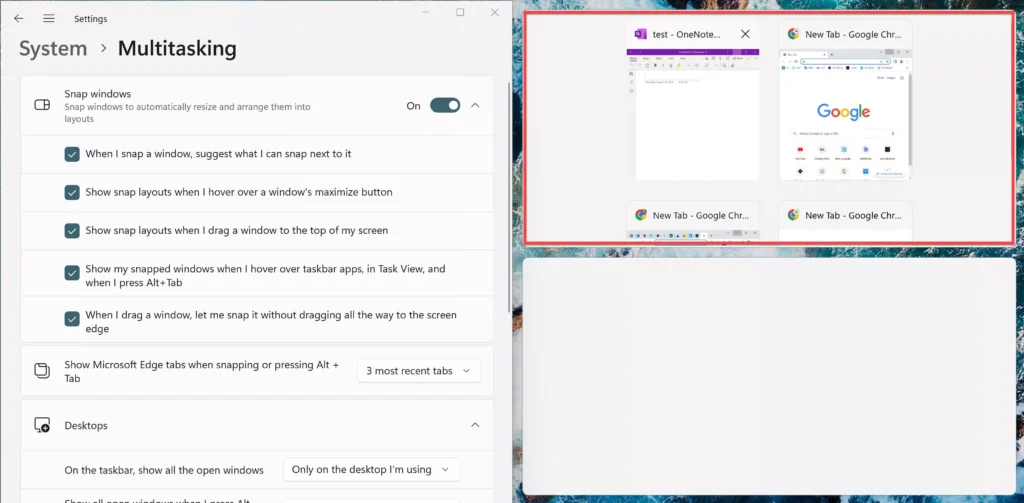
- Now, the current application window will occupy the selected half of the screen, and you will find other applications open in the other half as thumbnails. Select the one you want to add to the other half of the screen.
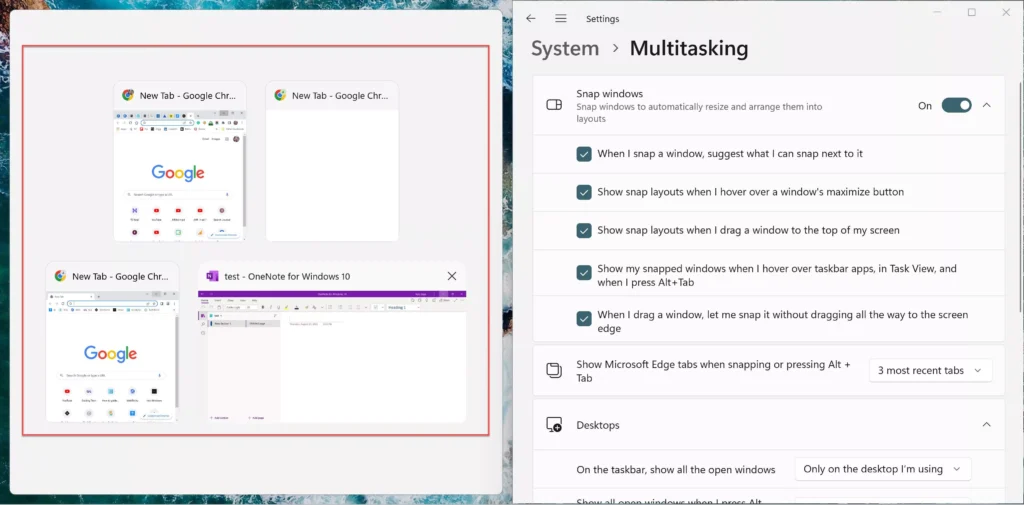
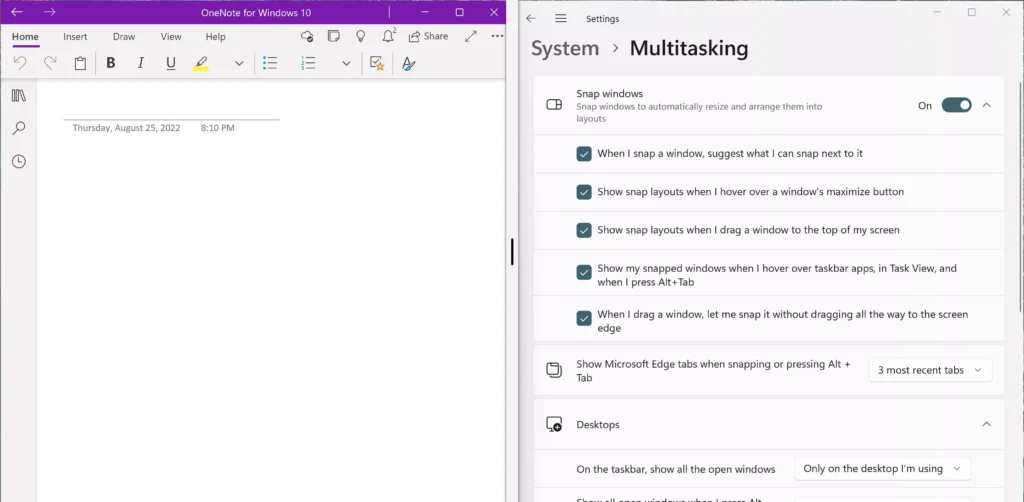
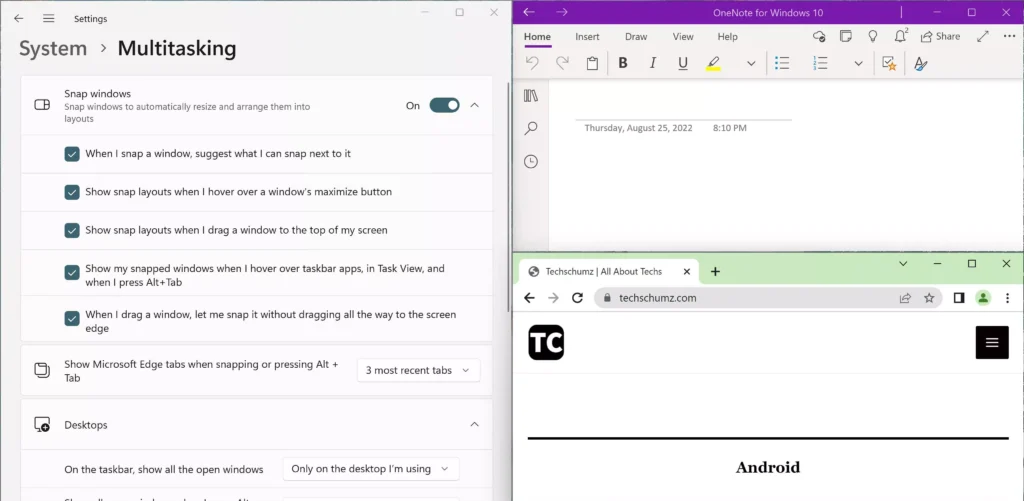
- Finally, you have two app windows on the screen and can access and work on them simultaneously.
Split your screen into three sections
If you plan to work on three apps simultaneously, there’s an option to split the screen into three.
- Move your cursor over the maximize button and choose either of the three parts in the third option.
- Now, for each of the opened windows, select your desired app to continue working.
- Finally, you now have three open windows on the screen, split according to your choice.
Split screen into four sections
Splitting the screen into four is pretty much the same as what we discussed in the last section.
- Hover the cursor over the maximize button of the current window, choose the desired quarter in the last option.
- Now, select the other apps to be on the split-screen accordingly.
- You now have four app windows on the screen, and can access and work on them at the same time.
Note: Splitting the screen into three or four windows affects the visibility and clarity, thereby nullifying the whole purpose. Hence, it’s recommended that you do it on a larger display only.
Method 2. Split your screen on Windows 11 by manually snapping windows to the sides
There are four ways to split the screen to view multiple windows at the same time. The second way is to hold down the opened window and drag it to the corner. From there, you start splitting your screen into two, three, and four. For that, follow the below steps:
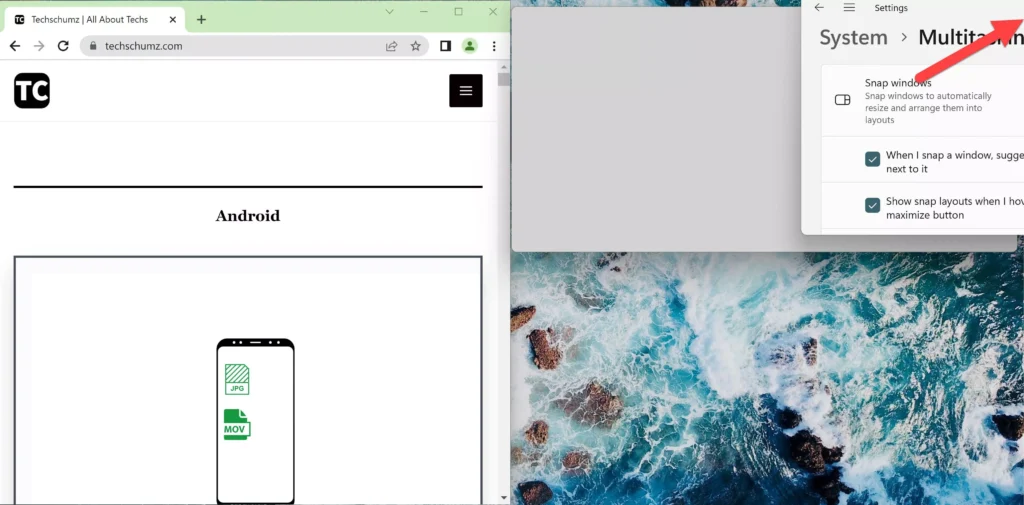
- To split the screen into two by manually snapping windows to the side, Hold down and drag the desired window to either side until the cursor moves. Release the cursor when you find a fuzzy outline indicating the position that the background application should occupy. Using the default settings, once one of the windows occupies half the screen, the other open windows will show up in the other half. Select the one you want to add to the other side of the screen.
- Similarly, you can split the screen into three and four sections and view and access the same number of application windows at the same time. This makes multitasking very easy.
Method 3. Split your screen on Windows 11 with Snap Bar
The third way to snap your screen into multiple section is by using the snap bar.
- For that, simply move the window to the top-center of the screen to reveal the Snap bar.
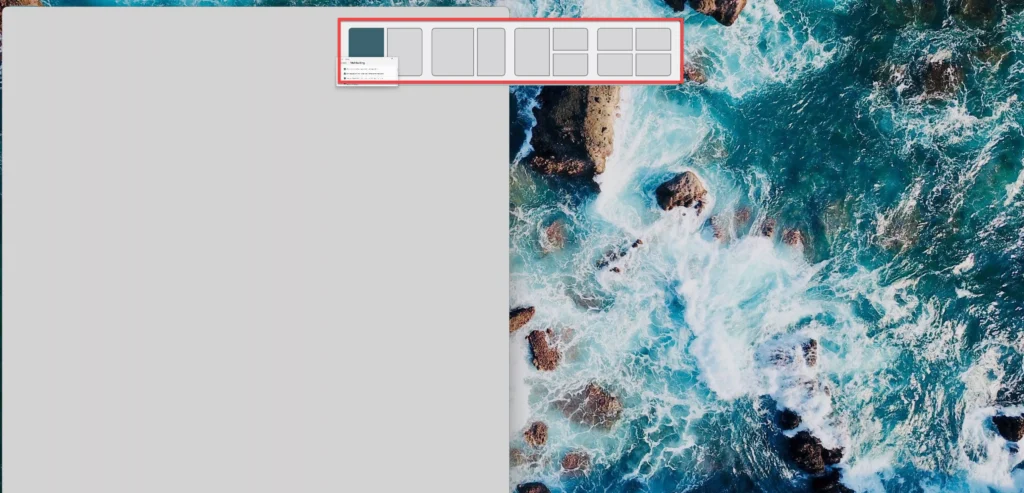
- Once the Snap bar appears, drag the window to your desired layout and you’re done!
Method 4. Split Screen on Windows 11 using keyboard shortcuts
You can also use keyboard shortcuts to quickly split your screen on Windows 11. For that, follow the below steps:
- Press “Windows + Z” on an active window, and the Snap layout will appear.
- Now, you will see numbers associated with each snap layout. Simply, press the corresponding numbers on your keyboard to split the screen to the desired position on your Windows 11 PC.
Final Words
That’s all there’s to how to split your screen on Windows 11 PC & laptop into two, three, and four sections using two easy methods. You can use the new method introduced in Windows 11 or any of the existing methods, whichever is appropriate, to use multitasking that was not previously available.
Read also:
Hi, thank you for this.
I wanted to ask a question regarding a dim feature that occurs when I split my screen or unused backgroud browsers.
So on normal full screen view, it is bright but when I do a split screen, if I click on the window, that will stay bright and the other one screen will automatically have its brightness reduced.
How do I change my setting back to normal. I have tried going into edit power plan -> change advanced power setting, but I am unable to see which is the right section to change the setting back.
When my laptop is on and off charge, it still does the same.
At this point, I have no idea how to explain to get the right trouble shooting support.
When I split my screen into two broswers.
I click on one of the browswer (eg on the left) so the left half will be brighter than the right half which will be dimmed.
And the same if I split it into four, for example.
Which ever browser/tab I click on, that will be the brightest while the other stays dimmed
I am using HP Edge, windows 11
I’m having this issue, did you resolve it?
Yes I managed to resolve it.
I went into HP COMMAND CENTRE and there was a tab that said FOCUS MODE.
I turned it off and now I do not have that issue.
I hope this has helped 🙂