AMPPS is an Apache, MySQL, MongoDB, PHP, Perl, and Python WAMP, MAMP, and LAMP stack. AMPPS allows you to concentrate on using programs rather than on their maintenance. You can create a website with AMPPS by installing any of the 435 apps, personalizing it, and then publishing it to the internet. This guide is for you if you wish to try the program on your PC. In this guide, we will show you how to download and install AMPPS Stack on Windows 11 PC or laptop.
Table of Contents
What is AMPPS Stack?
Softaculous’ AMPPS is a desktop software stack that allows for the automatic installation of Apache, Mysql, MongoDB, PHP, Perl, Python, and Softaculous. This software offers everything you’ll need to create a website. This enables you to run software such as WordPress, Joomla, Drupal, Magento, phpBB, and many others on your server.
Furthermore, you will not have to wait days for the most recent PHP version to test your app. PHP versions 8.1, 8.0, 7.4, 7.3, 7.2, 7.1, 7.0, and 5.6 are supported by AMPPS. You can install the required PHP versions with a single click. The Softaculous Auto Installer, which contains a feature-rich WordPress Manager, includes AMPPS. This program lets you manage and upgrade your WordPress plugins and themes and set up staging environments to test new updates.
AMPPS Stack offers numerous other features that will make your tasks easier. Simply begin installing it on your PC and seeing everything firsthand to understand more. Please see the guide below for more information.
Steps to Install AMPPS Stack on Windows 11
AMPPS is compatible with Windows 11, 10, 8, 7, and Vista and Windows Server 2022, 2019, 2016, and 2012. Please remember that you must have administrator privileges on your computer to run AMPPS. It’s simple to download and set up AMPPS on your Windows PC. The steps below can help you with that.
Step 1. To start, click on the link below to get to the AMPPS download page.
=> https://ampps.com/downloads/
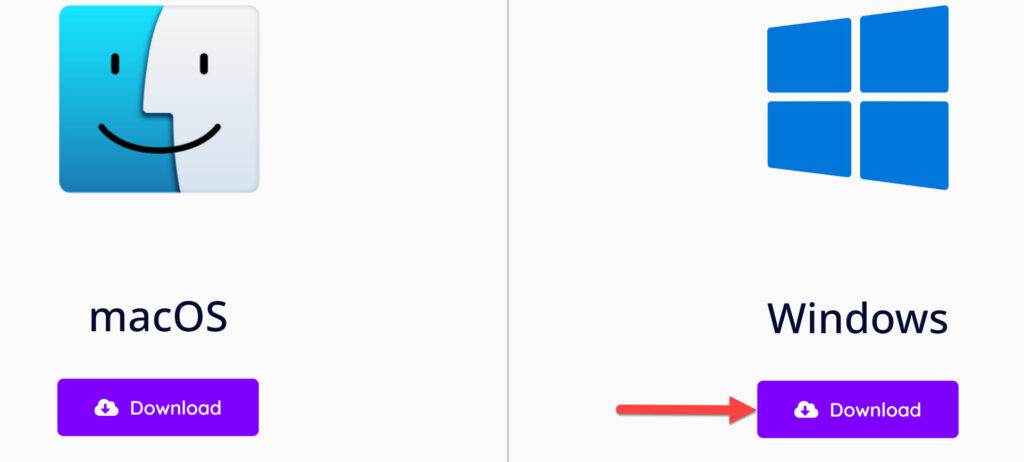
Step 2. Now, click on the “Download” button under the Windows section. It’s also available for macOS if you have a Mac in your hand.
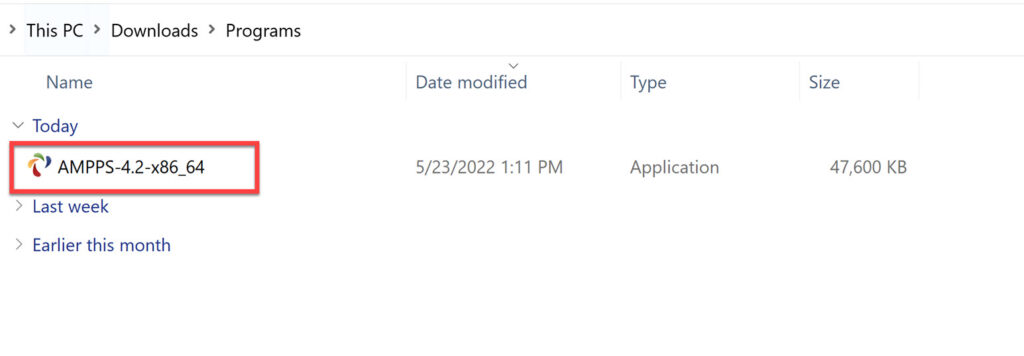
Step 3. Next, find the downloaded installer on your PC and double click to run it.
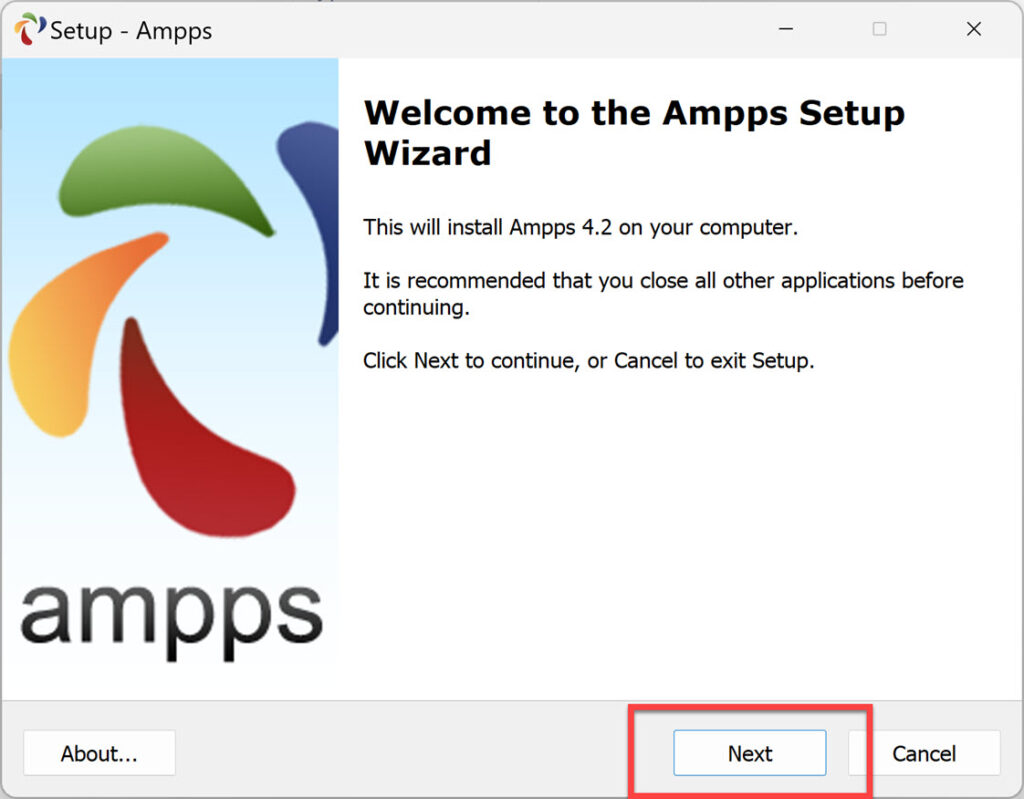
Step 4. You will see the installer welcome page. Click “Next” to continue.
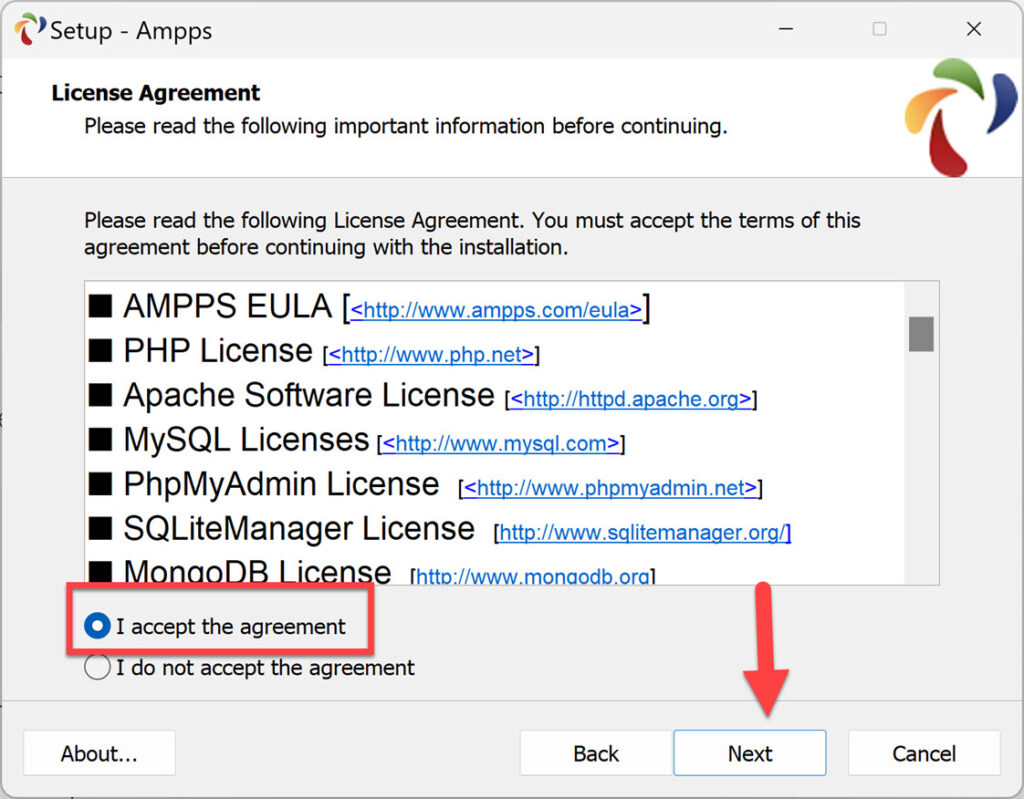
Step 5. Now, accept the license agreement for the installed packages. For that, select “I accept the agreement” and click “Next.”
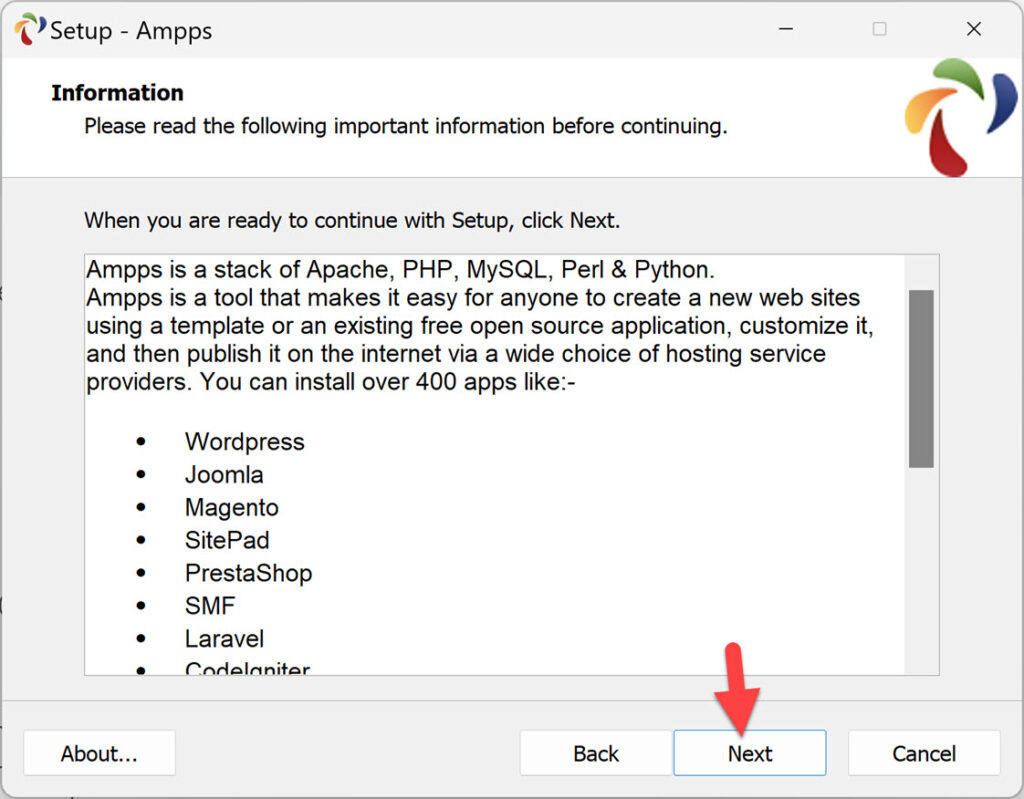
Step 6. Next, you will see AMPPS-related information. Read it and click “Next” to continue.
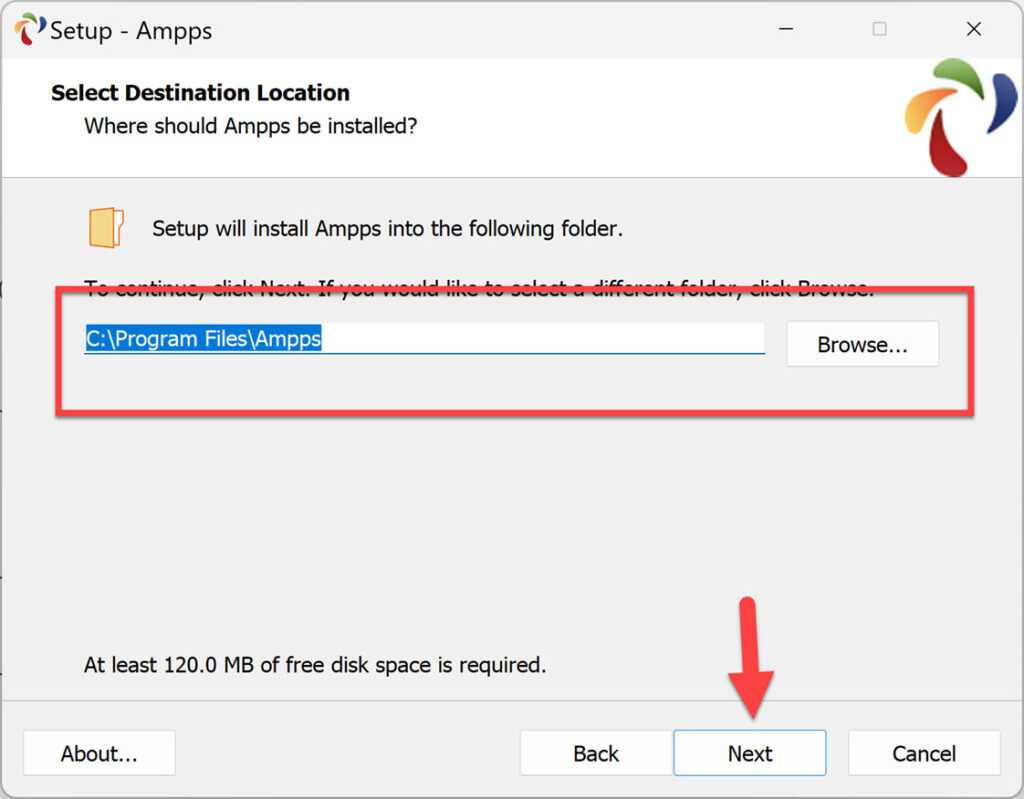
Step 7. Here, you can select the destination location. If you would like to select a different folder rather than the default, click “Browse.” If the default one is okay, simply click Next.
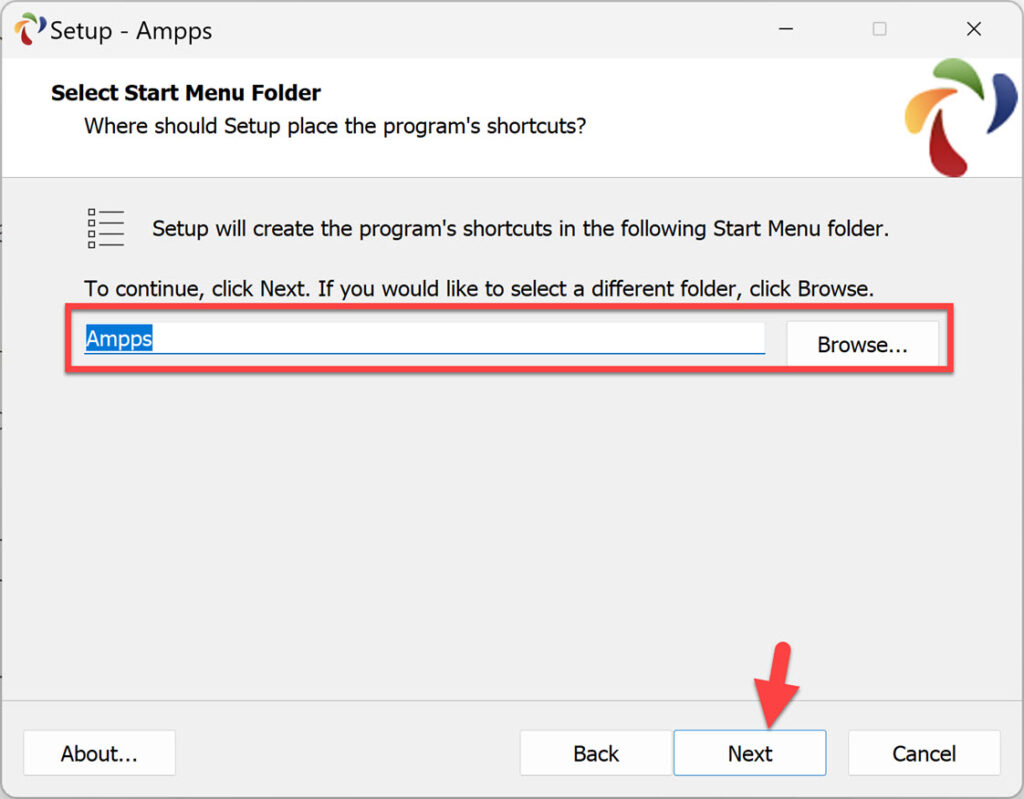
Step 8. Now, select the Start Menu folder. To continue, you can simply click Next, but if you want to change the folder, click “Browse” and select the folder.
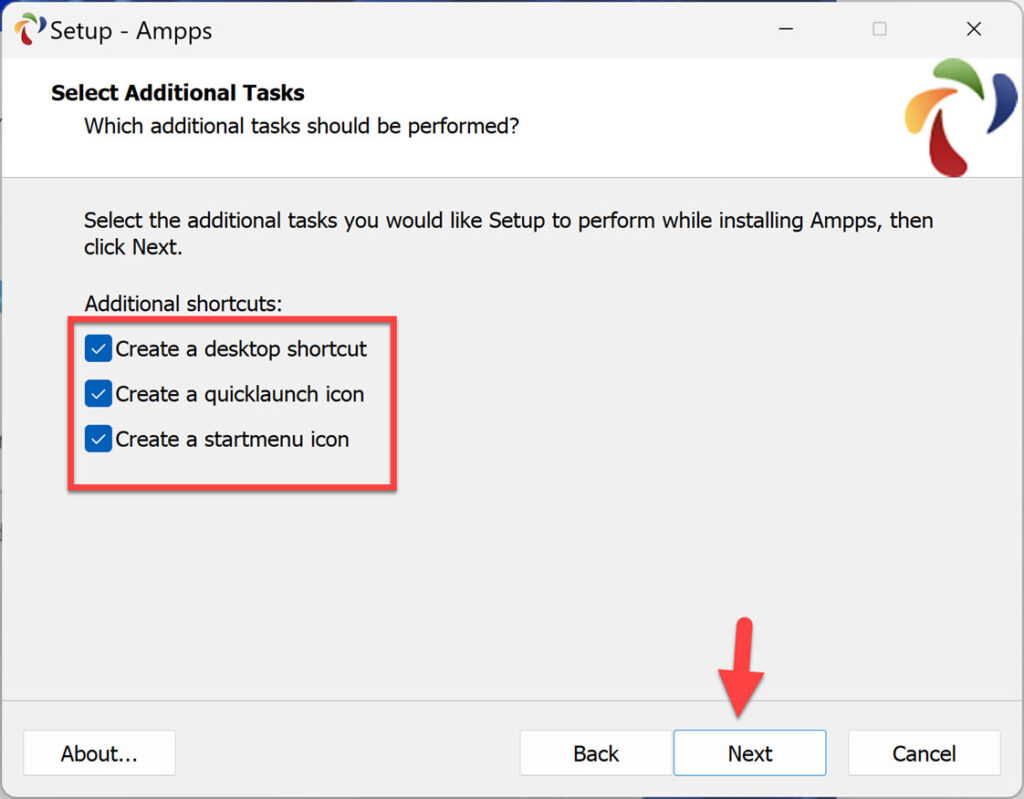
Step 9. Here, you can select some additional tasks you would like to set up while installing AMPPS.
Step 10. Finally, click the “Install” button on the next page to install AMPPS on your Windows PC.
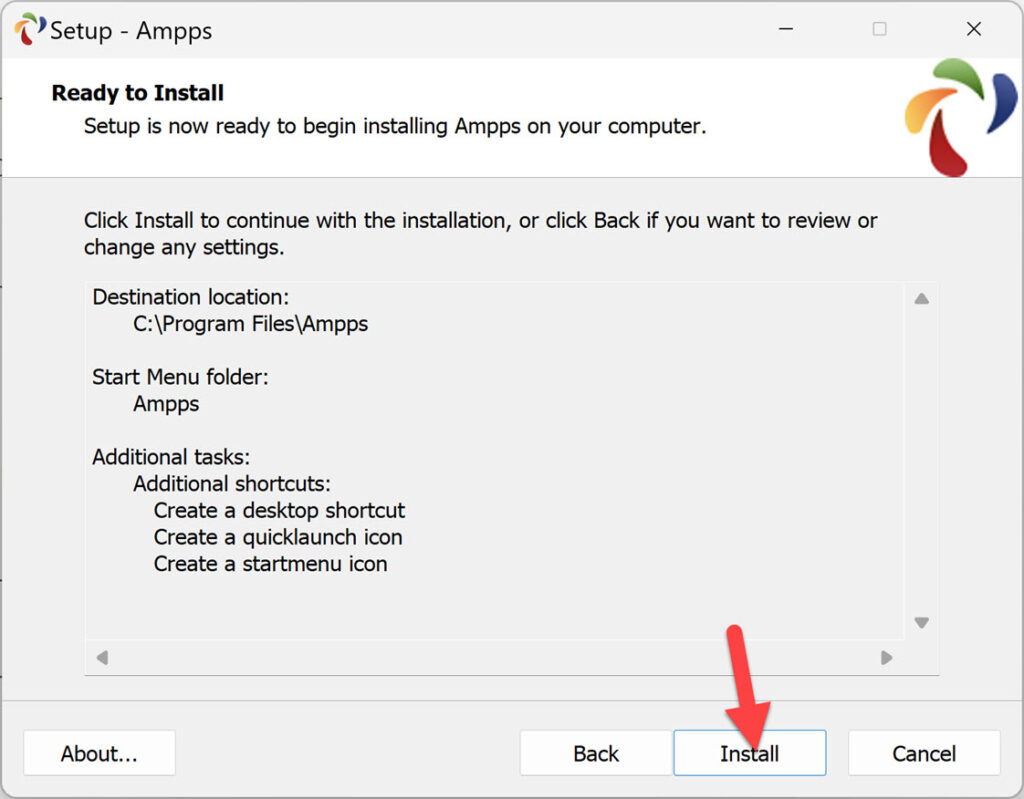
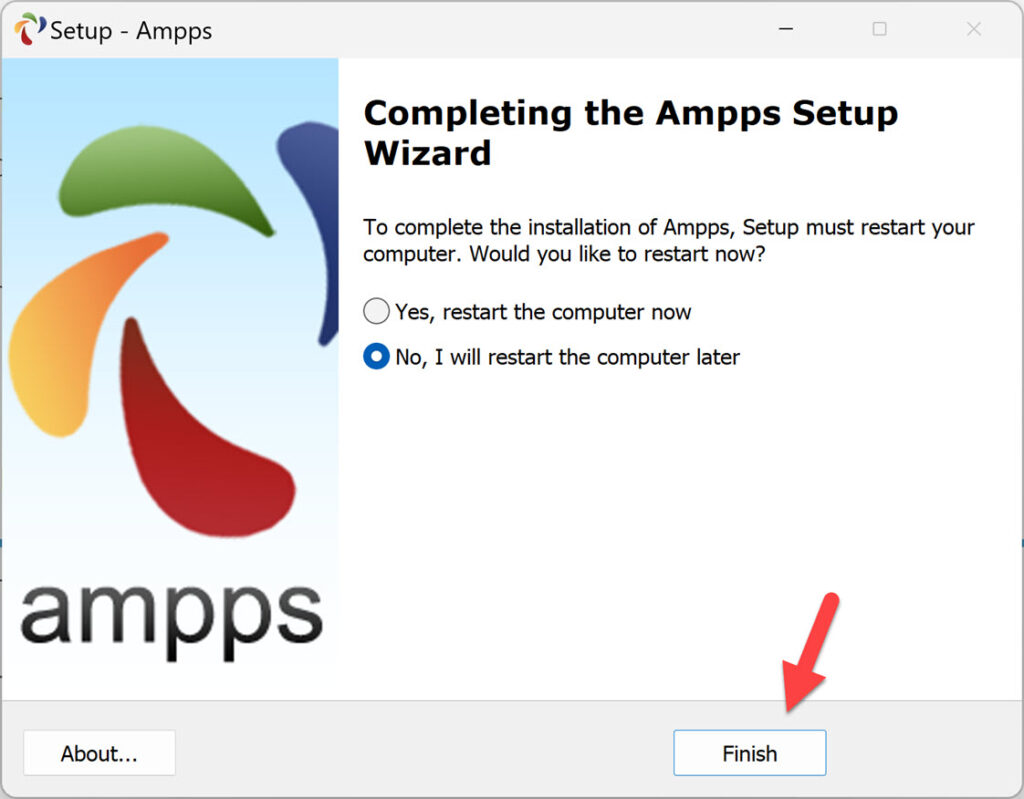
Step 11. To finish the installation and start using AMPPS, click “Finish.”
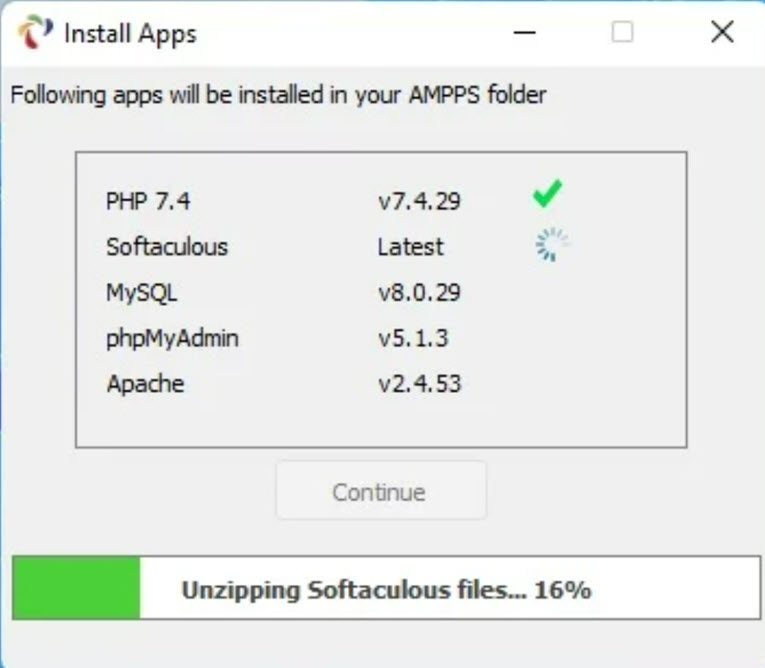
Step 12. AMPPS will now start downloading the most recent versions of the necessary packages from the installation directory.
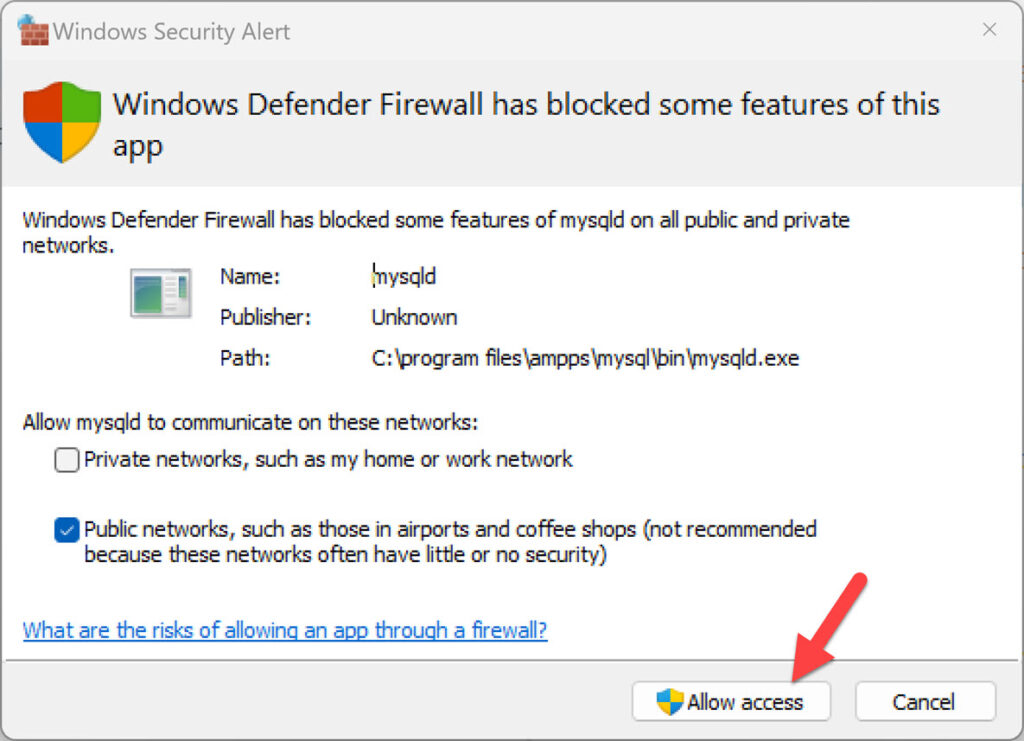
Step 13. When you launch AMPPS, pop-up windows like this one appear at the bottom right of your screen.
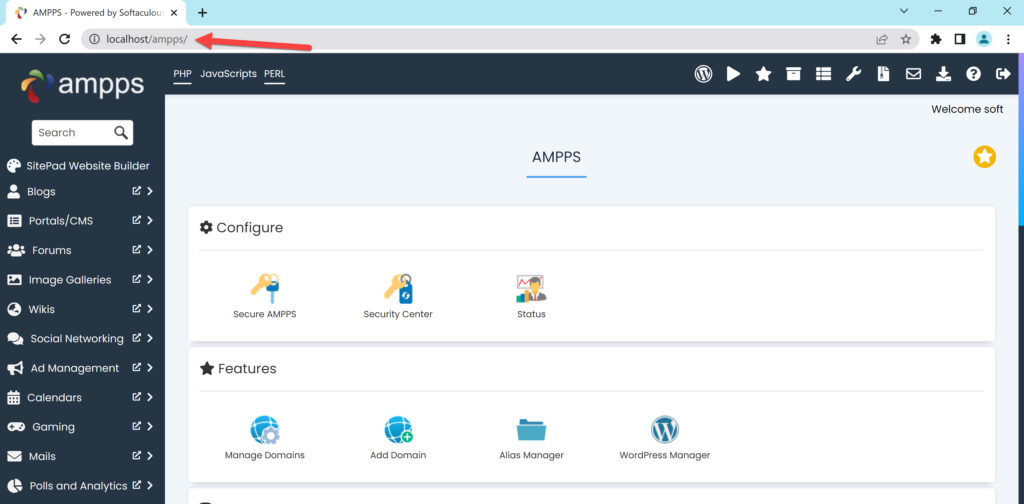
Step 14. You can access a browser portal for all services and features by clicking on the Home folder or using the following URL to get there.
=> http://localhost/ampps
Final Words
This Techschumz guide showed you how to install AMPPS Stack on Windows 11. Lastly, please use the comment area below if you encounter any errors or have anything else to add.
Read also:
