If you are an application developer who wants to run Linux software in a Windows environment and use Windows apps and Linux tools on the same set of files, Oracle Linux is an ideal choice. Oracle Linux is easy to download and completely free to use, distribute, and update. However, it is possible to use it as Windows Subsystem for Linux if you do not want VirtualBox or a specialized virtual machine to experience it. In this guide, we will show you how to download and install Oracle Linux on your Windows 11 PC or laptop.
Table of Contents
Oracle Linux
Oracle Linux includes the essential components of contemporary IT architecture, such as the operating system, containers, and virtualization. It has the reliability, scalability, security, and performance required to handle demanding SaaS, PaaS, and conventional business workloads.
Oracle Linux is an excellent alternative for application developers who wish to execute Linux programs in a Windows environment and utilize both Windows and Linux tools on the same file set. Oracle Linux is simple to install and use, distribute, and update.
Oracle Linux allows you to standardize on an open, hardware-neutral infrastructure by providing no-strings-attached contracts and flexible enterprise-class maintenance alternatives. Oracle Linux Support provides you with affordable access to award-winning Oracle support resources and Linux support professionals. This program installs the Windows Subsystem for Linux in Oracle Linux for Windows (WSL).
Steps to Install Oracle Linux on your Windows 11 PC
Step 1. Enable Windows Subsystem Linux on Windows 11
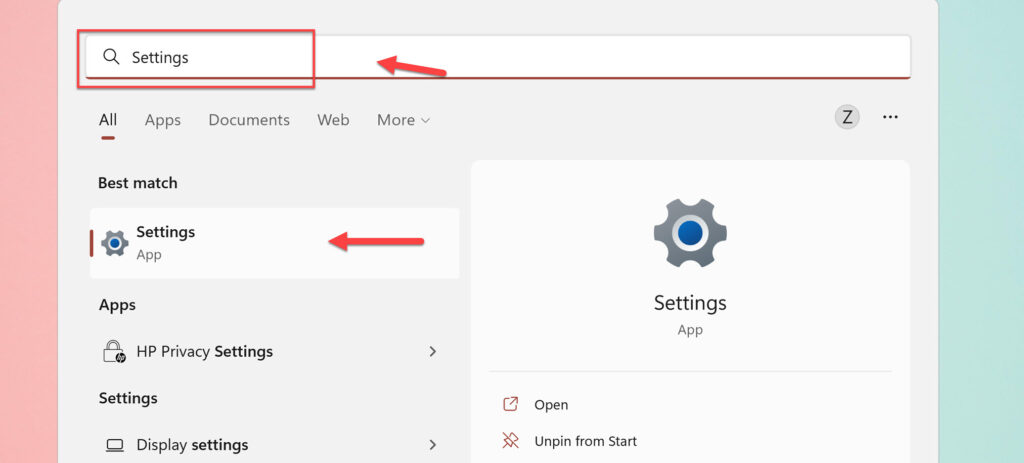
- To enable WSL on your system, open the Settings app by searching for it in the Start Menu.
- Next, go to “Apps” from the left pane of your screen, and select “Optional features” from the right pane.

- Now, scroll to the bottom of the page, and click on the “More Windows features” option. It will open a new pop-up window.

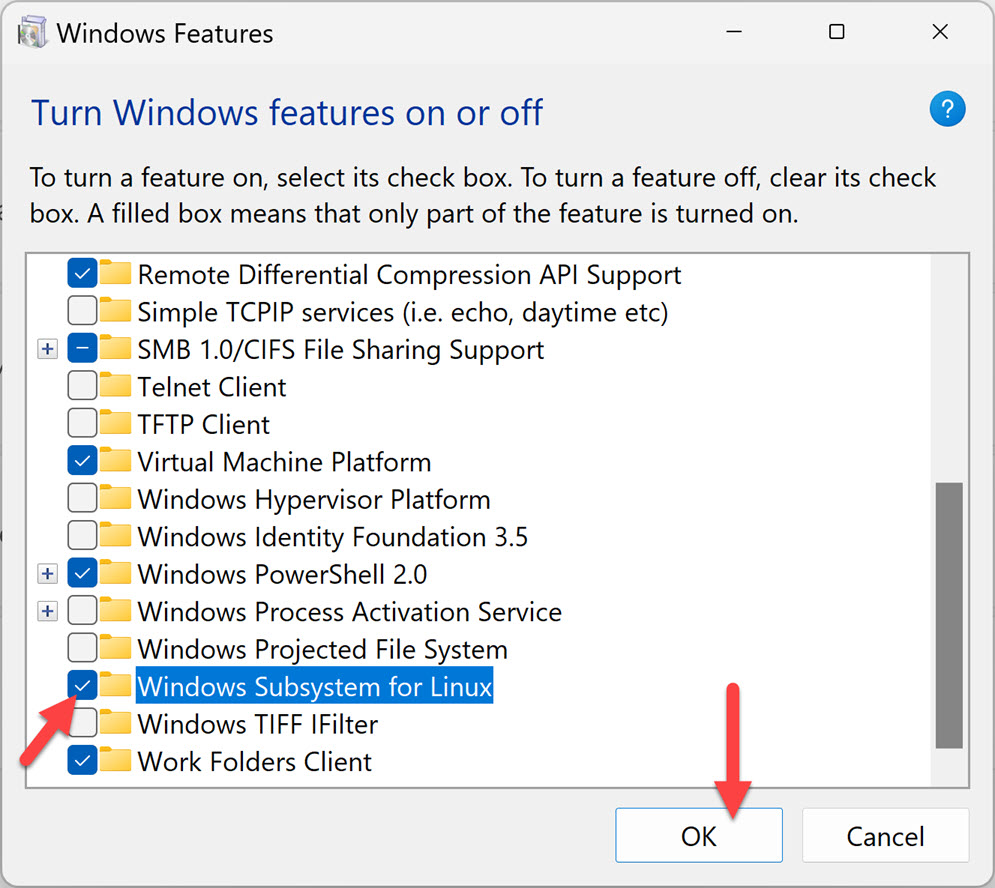
- Scroll down and check the “Windows Subsystem for Linux” box in the newly opened window. Then press the “OK” button.
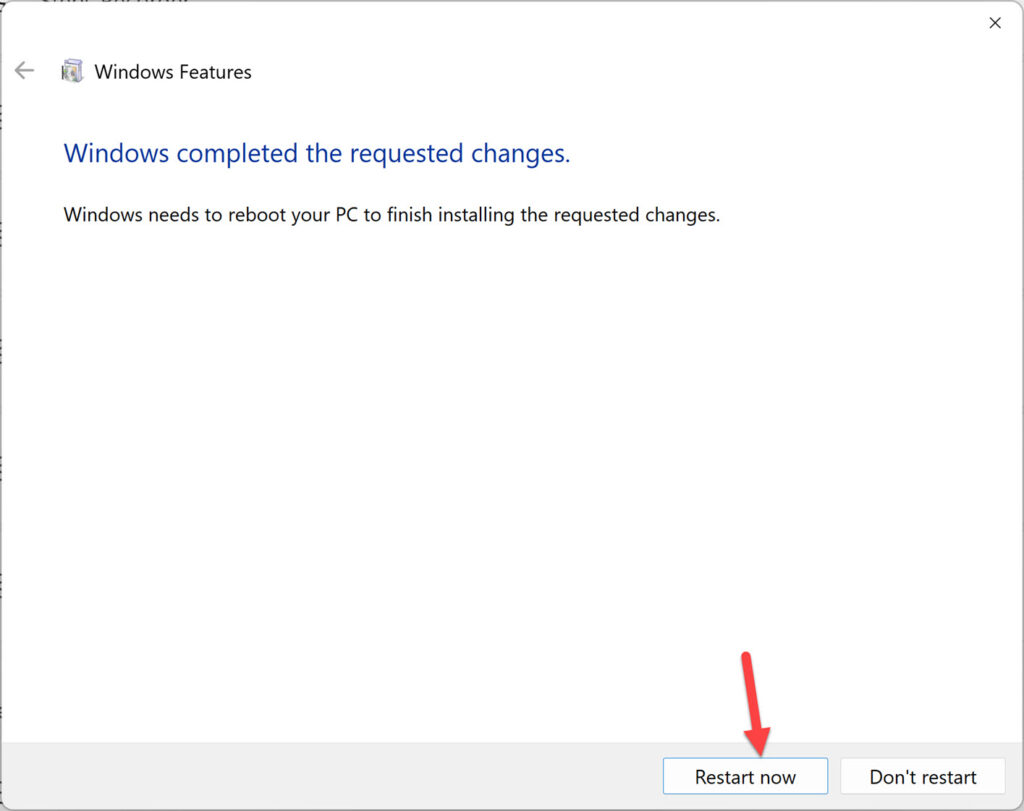
- Finally, click “Restart Now” to restart your system to have the changes take effect.
Step 2. Install and Use Oracle Linux on Windows 11
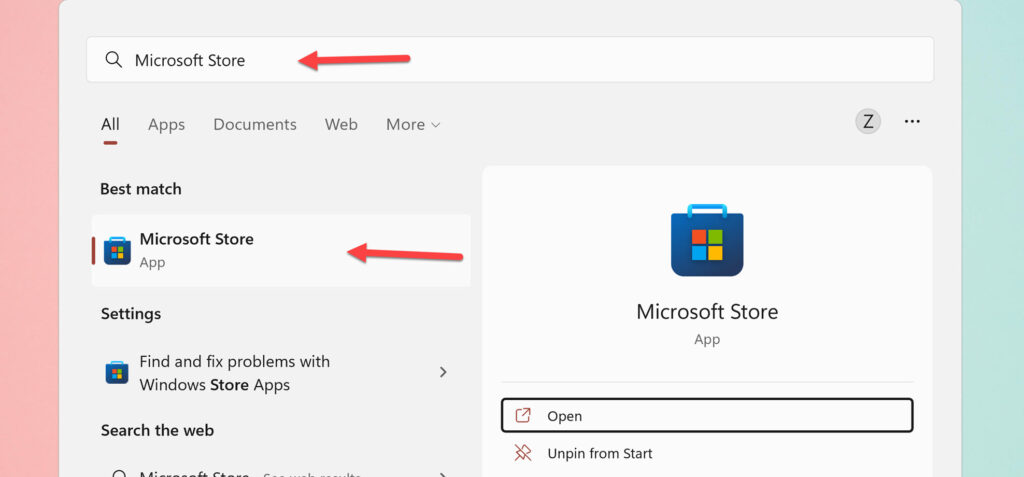
- To download and install the Oracle Linux WSL distro app, open the Microsoft Store app by searching for it in the Start Menu.
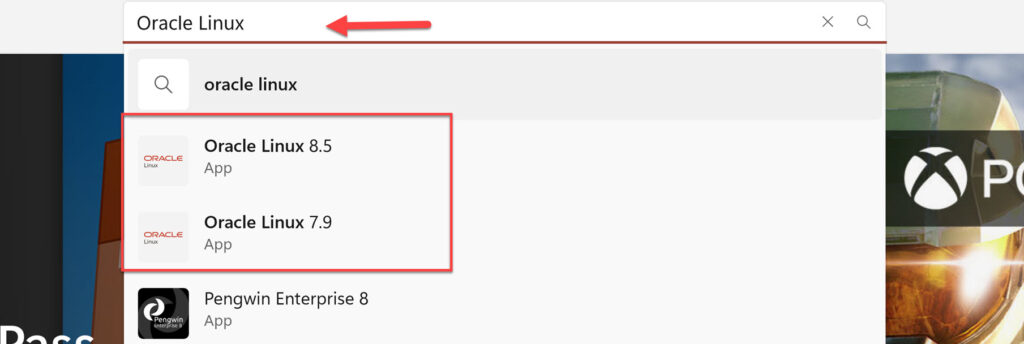
- Next, search for “Oracle Linux” in the search bar, and select it from the results.
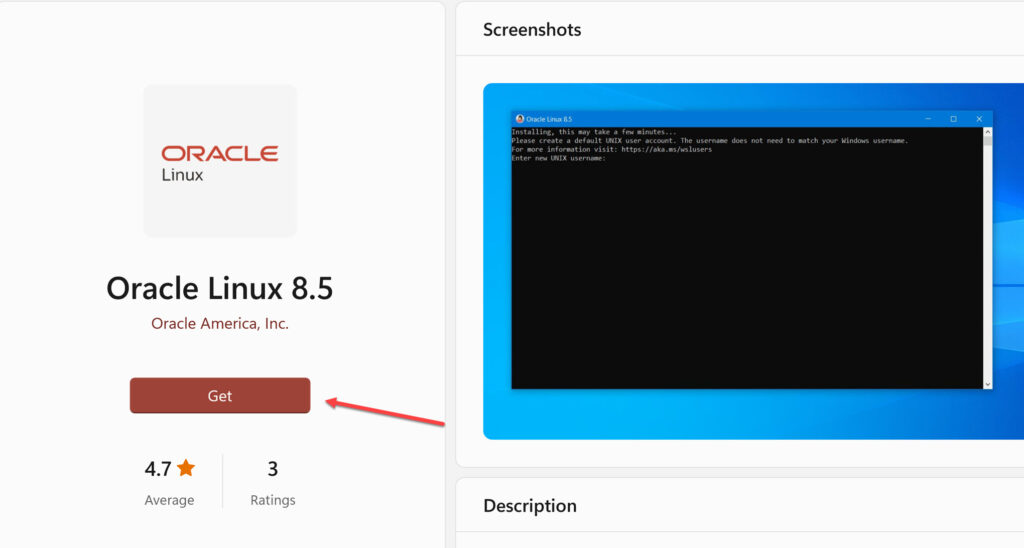
- Now, to download it on your PC, click the “Get” button, and wait for it to be downloaded on your system.
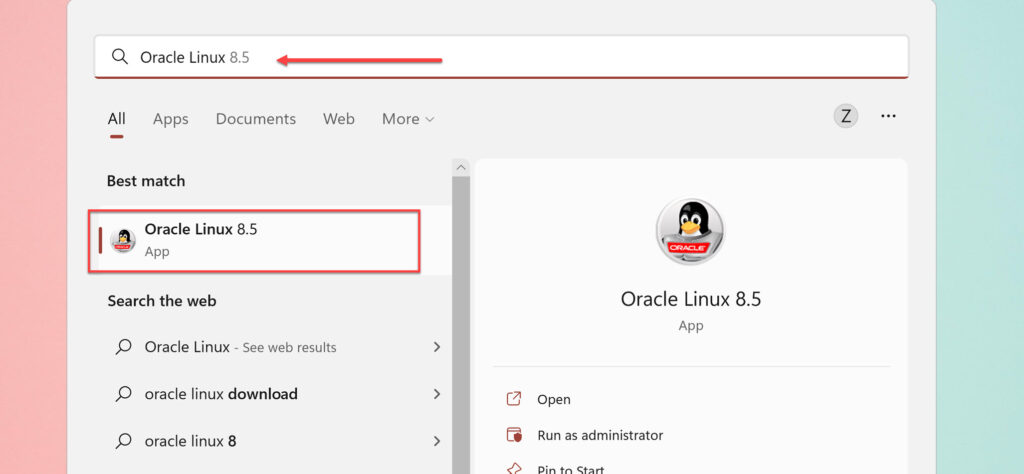
- Once the download is complete, you can open it by going to your Windows search box and typing in “Oracle Linux“.
- Next, it will begin to extract and install the files needed to run Oracle Linux on Windows 11 WSL. Once completed, the same setup will prompt you to provide a username and password to establish a new user account with sudo rights on your freshly installed Linux distro.
How to Update Oracle Linux on Windows 11
- Well, the first thing we should start with is to make sure the system base is up to date. And that we can easily do using the in-built package manager.
For Oracle Linux 7
sudo yum update
For Oracle Linux 8
sudo dnf update
Final Words
This guide showed you how to download and install Oracle Linux on your Windows 11 PC or laptop. We also showed you how to update Oracle Linux on a Windows PC. Lastly, if you encounter any questions or have anything to add, please leave them in the comments section below.
Read also:
