This guide will show you how to download and install WampServer on Windows 11 for testing web applications such as WordPress locally.
WAMP is an acronym for Windows, Apache, MySQL, and PHP. It means that installing WAMP installs Apache, MySQL, and PHP on your computer, and it acts as a virtual server on your computer. Because it is localized on your machine and not connected to the internet, it allows you to test all WordPress features without risk.
WAMP speeds up both developers’ and theme designers’ work. You will also be able to experiment with your site to your heart’s content. However, before the website can go live, you must first obtain some hosting service and a domain name.
WAMP also has a control panel. When you install the software package, all the services mentioned above will be installed on your local machine. It’s a great way to save time, whether you’re using WAMP or other software packages. You will not have to upload files to a website and will be able to learn how to code in a risk-free environment.
We will walk you through the process of installing and using WampServer 64-bit and 32-bit on Windows 11.
Table of Contents
Download WampServer on Windows 11
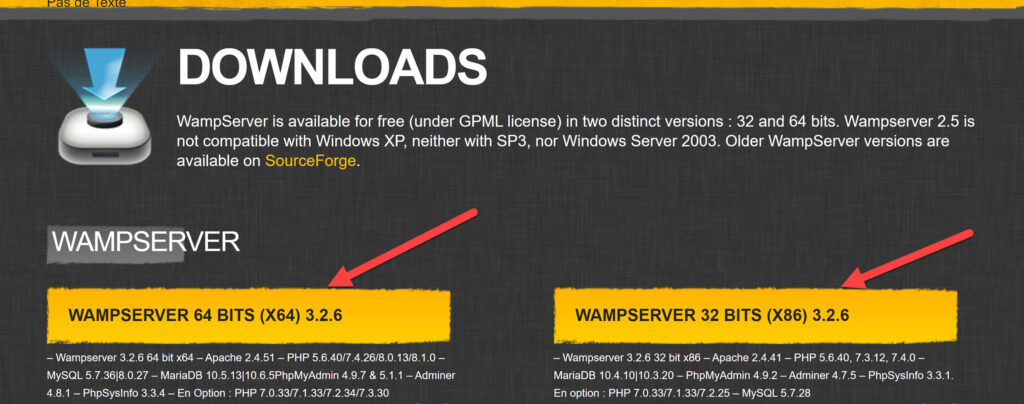
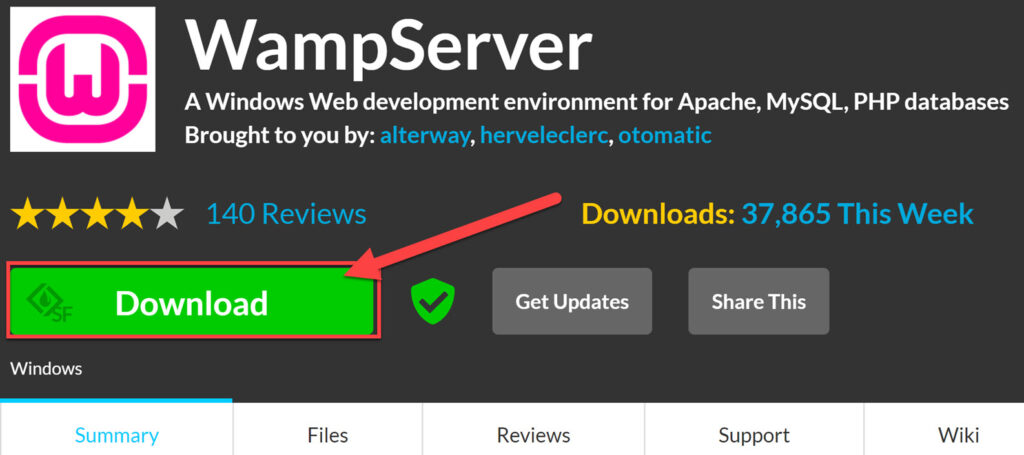
- To get WampServer for your Windows 11 PC or laptop, go to WampServer’s official site.
- Under the DOWNLOADS section, you will see WAMPSERVER 64 BITS and WAMPSERVER 32 BITS. To continue, click on whichever version you prefer.
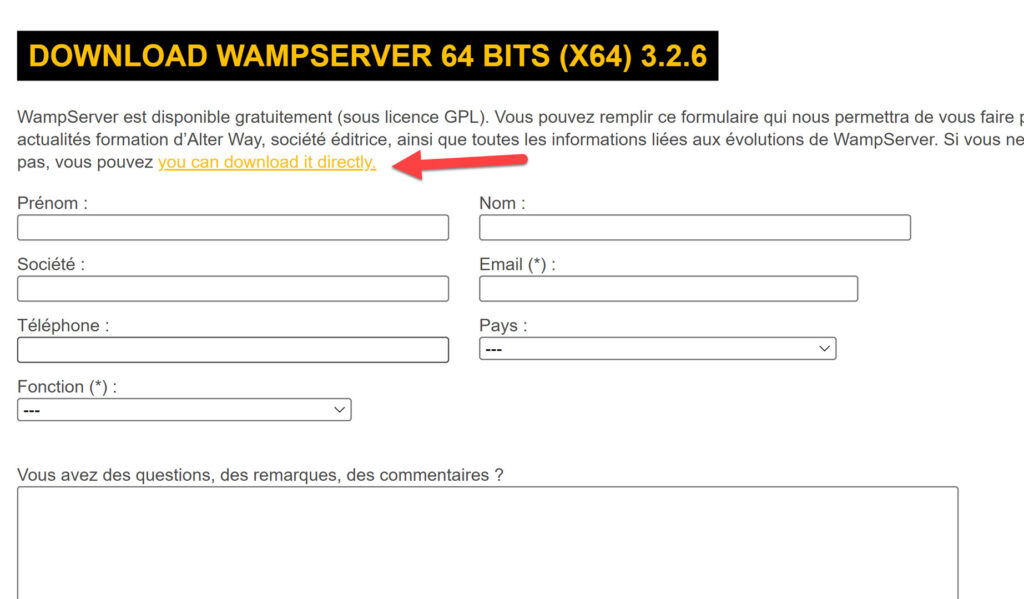
- Once you click on the download button, you will see a pop-up window below on your screen. Click on the “you can download it directly” link to continue downloading the WampServer setup file.
- Wait for some seconds, the download will start automatically.
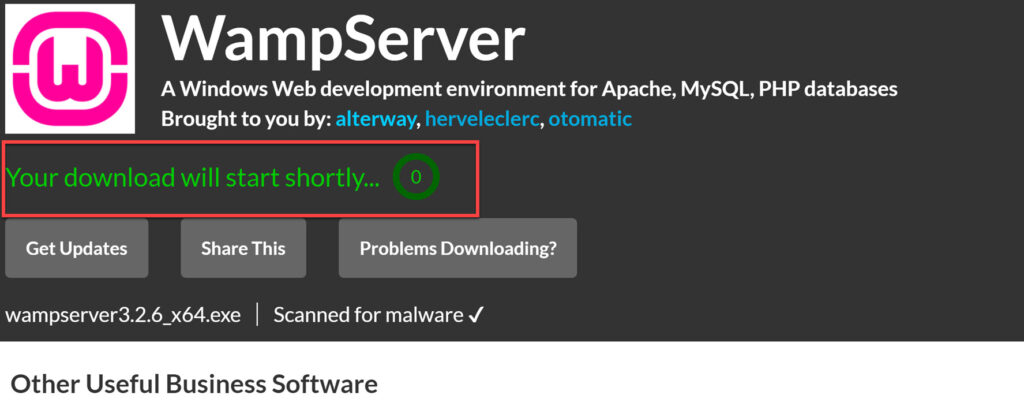
- If it doesn’t start automatically, click on the “DOWNLOAD” button to download it manually.
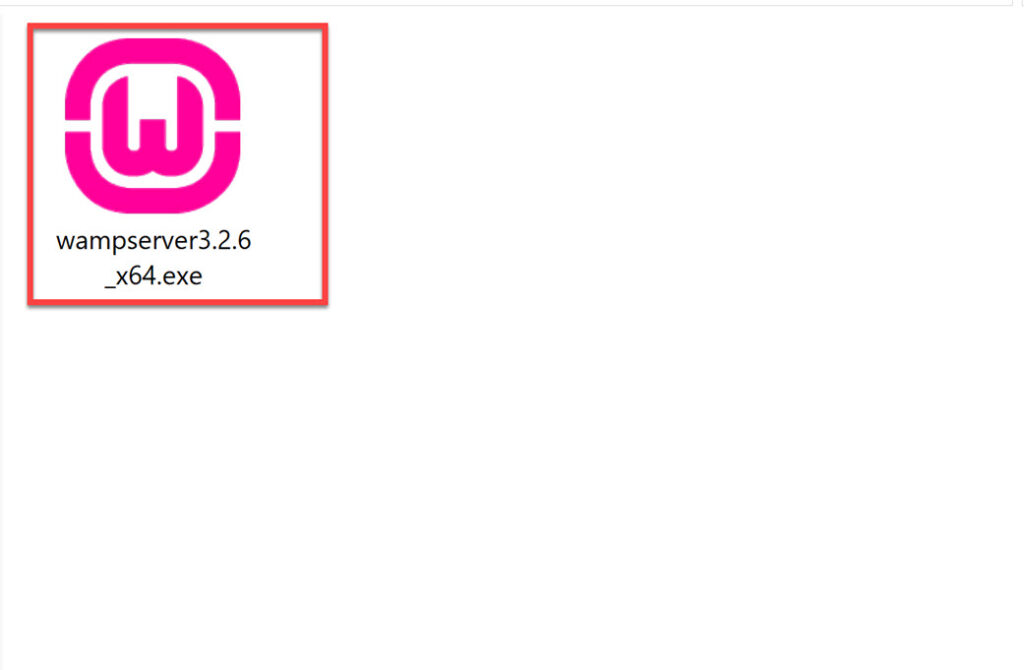
- That’s it! The WampServer file size is 500MB plus. Wait for it to download, and continue with the installation.
Install WampServer on Windows 11
- To install and use WampServer (64-bit or 32-bit) on your Windows 11 PC, find the previously downloaded WampServer setup file and run it!
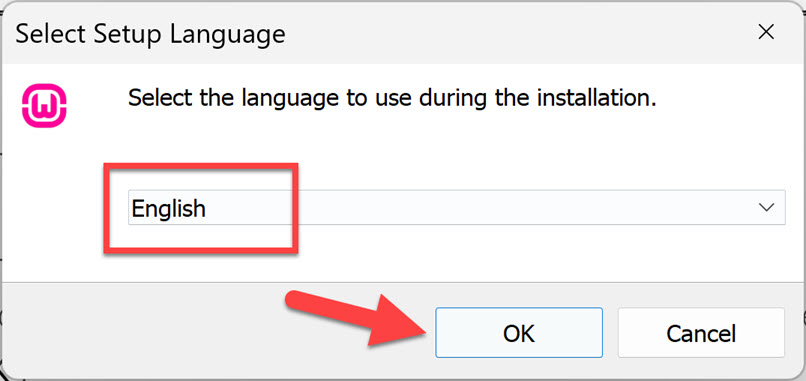
- Select the language to use during the installation and click “OK“.
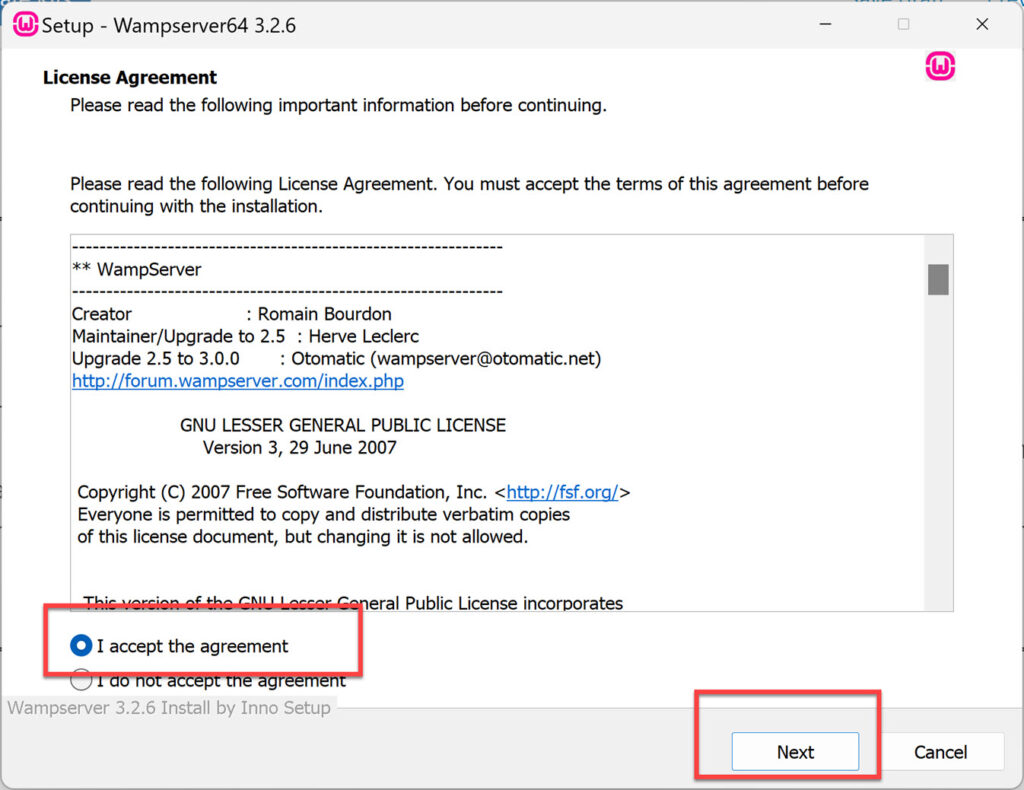
- You need to accept the terms of their agreement before continuing with the installation. For that, select “I accept the agreement” and click “Next“.
- Following that, you will see some information informing you that certain elements must be installed on your system in order for WampServer to function properly. If things are ready, click “Next” to continue.

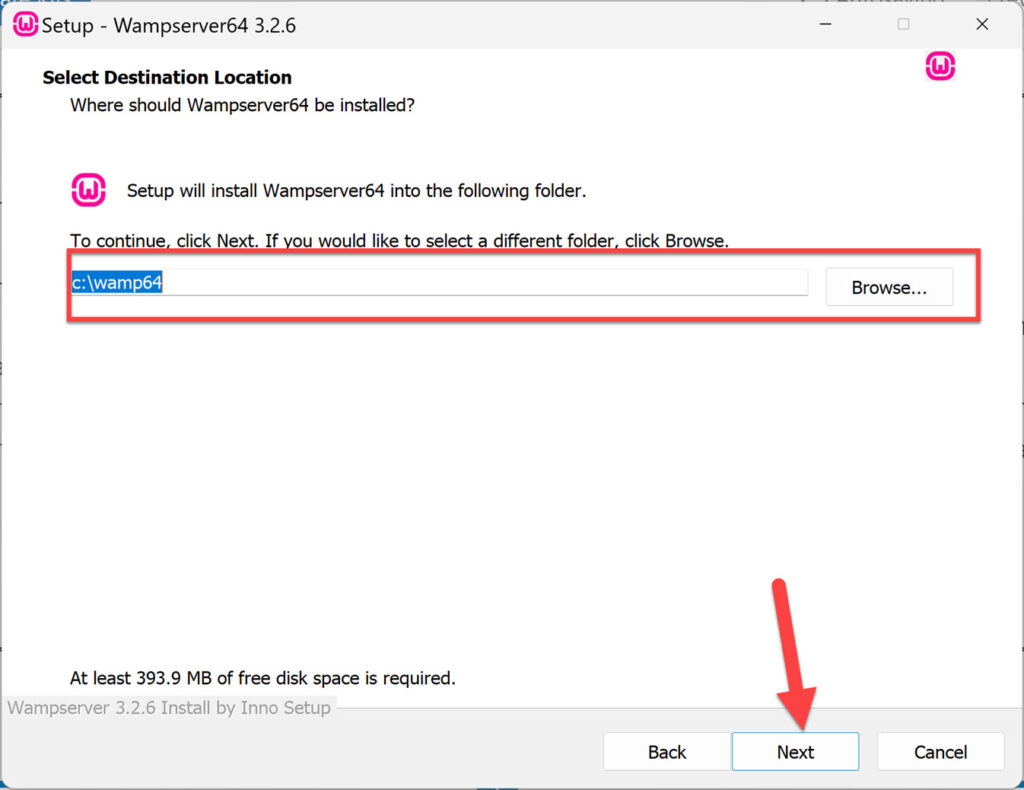
- Select a destination location for WampServer if you want a different location than the default one.
- Here, you can select the components that you want to install and the components that you don’t want. If you think you need some old or new versions of WAMP server components that are Apache, PHP, and MySQL, you can select them here. When you’re finished, press the “Next” button to proceed.

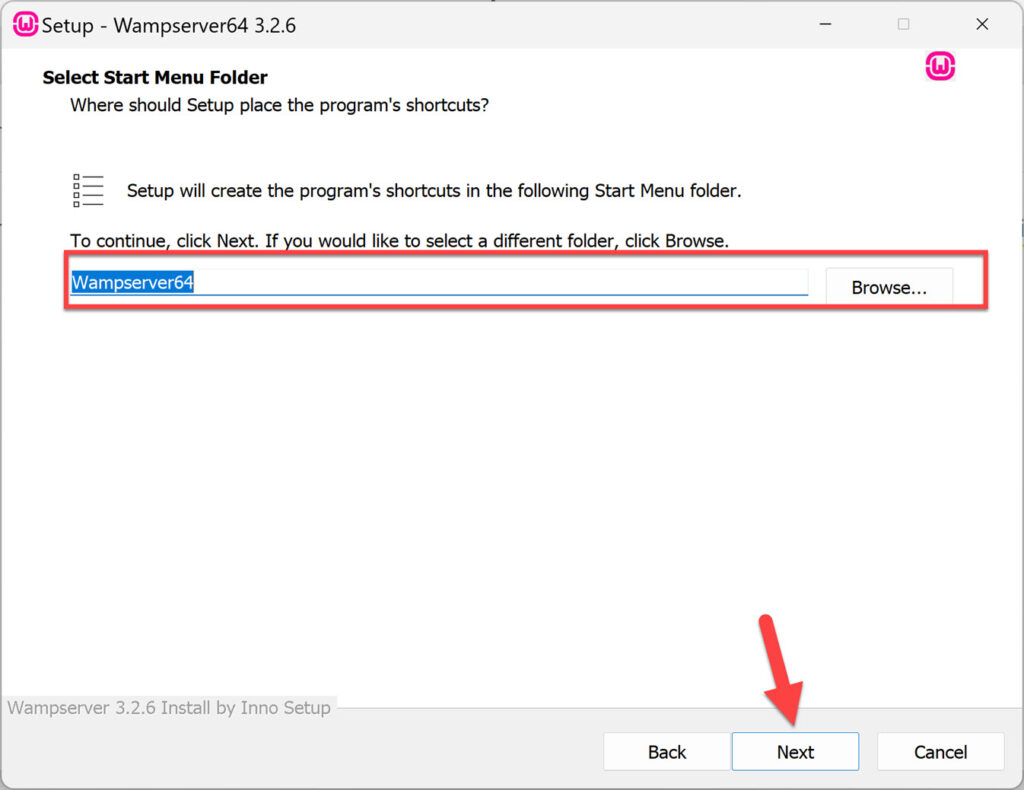
- Next, you can select a Start menu folder for WampServer if you want. If you don’t want to, simply hit the Next button.
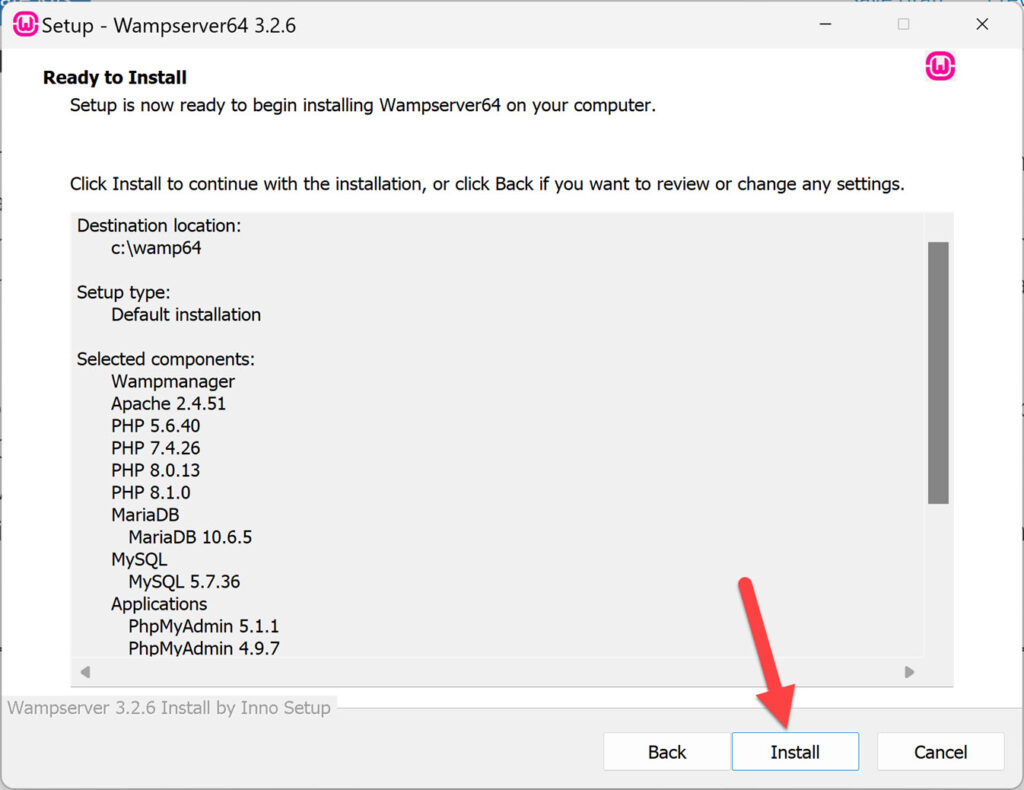
- The setup is now ready to install WampServer on your Windows PC. To begin installing it, click the “Install” button.
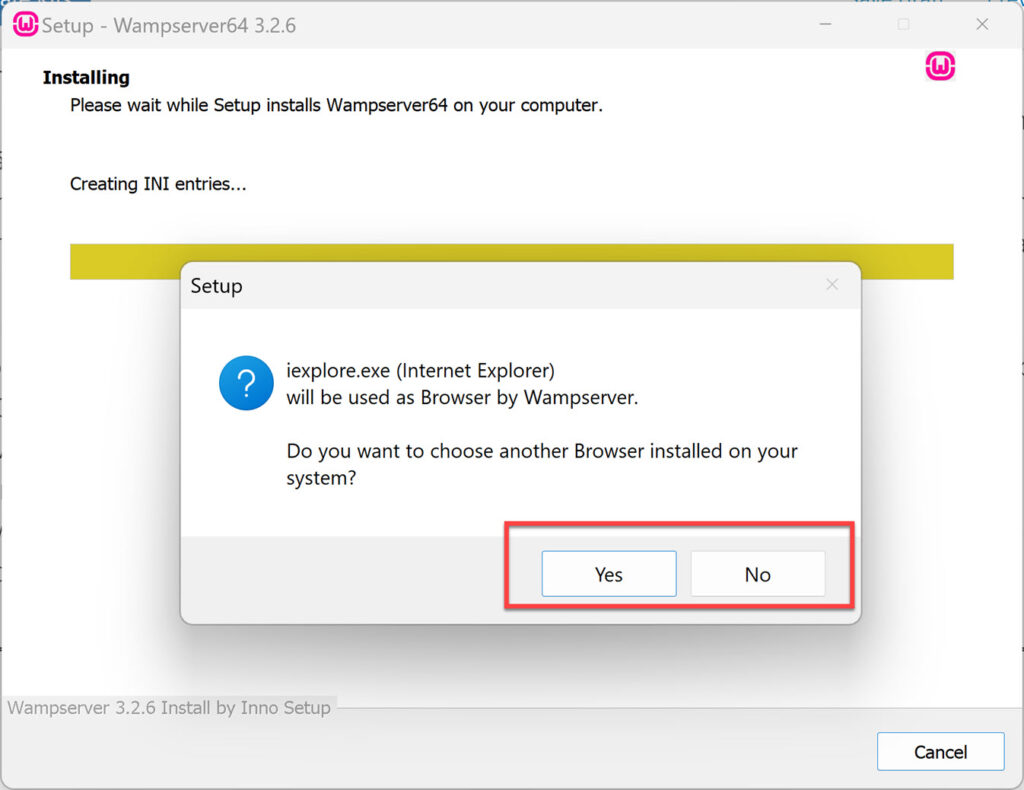
- During the installation of WampServer, you will be asked which browser you want to be the default on WampServer. It uses iexplore.exe (Internet Explorer) by default, but you can change it to Google Chrome or any other browser you want. Otherwise, select NO.
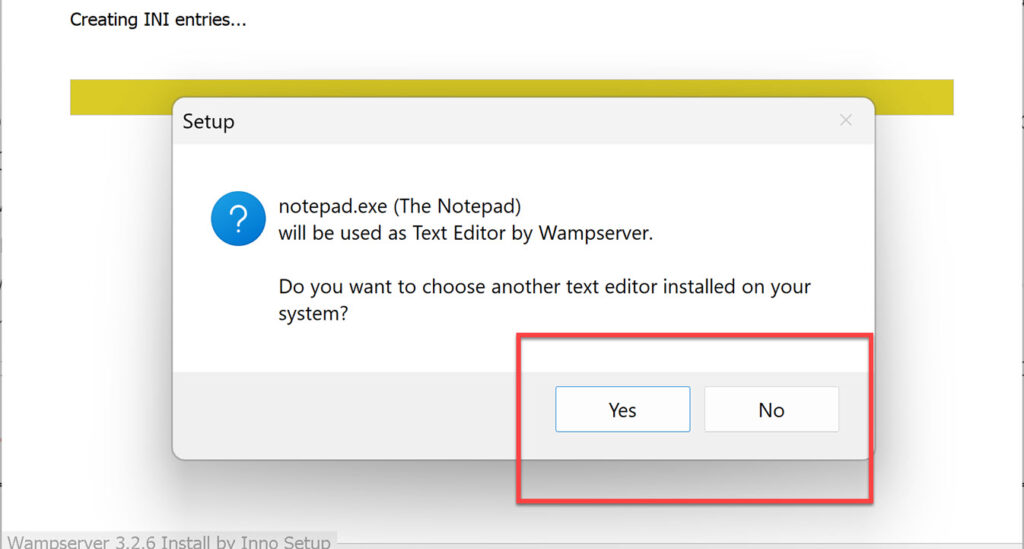
- It will then prompt us to select the default text editor. Notepad is the default app text editor for WampServer. I don’t think it needs to be changed, so click “NO” to continue.
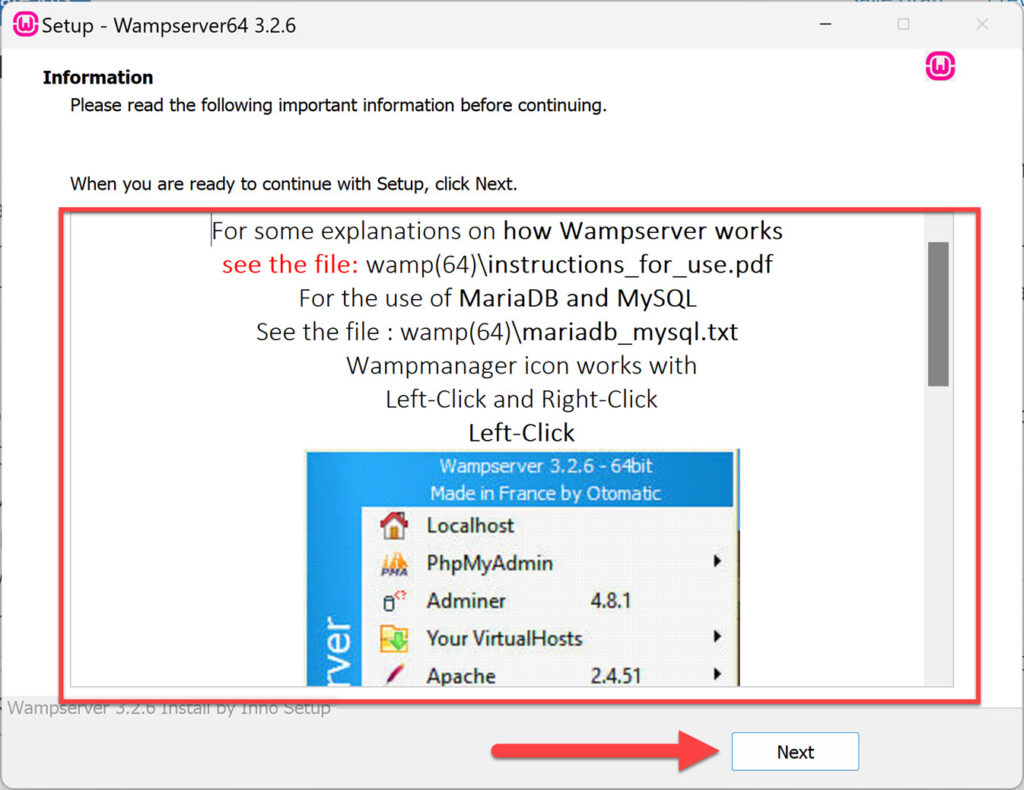
- Here, read the provided information and click “Next“.
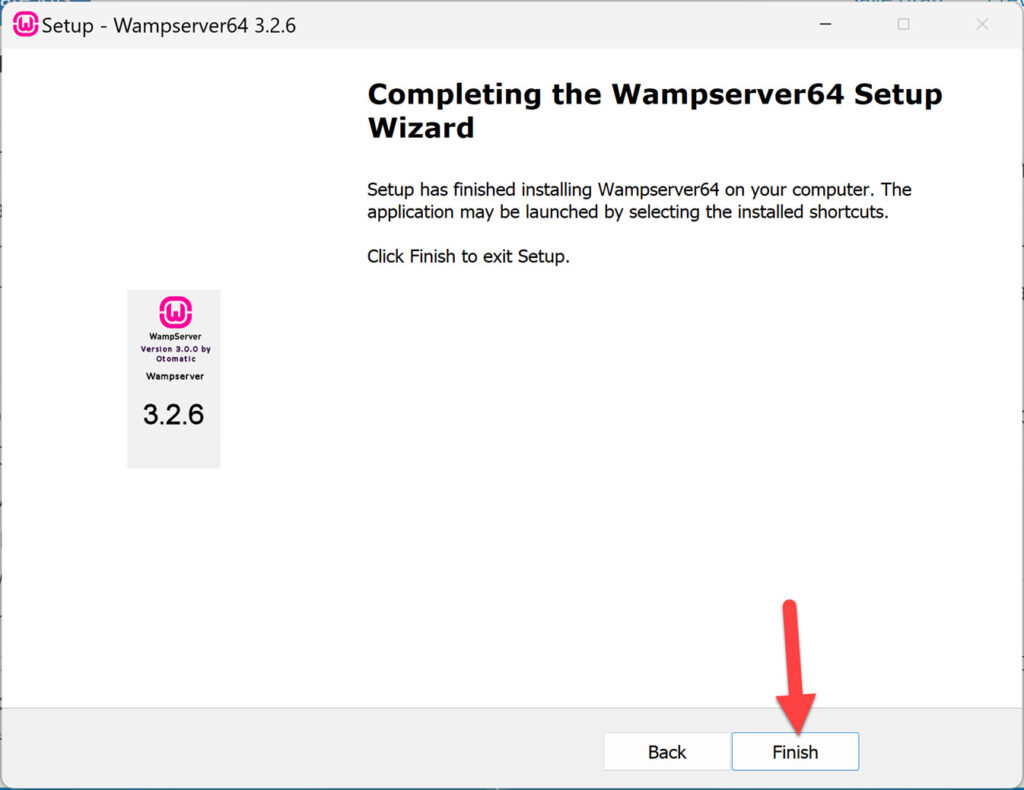
- That’s it! You have successfully installed WampServer on your Windows 11 computer. Click “Finish” to exit the setup.
Read also: