Windows is the most popular consumer OS in today’s age. However, there may be occasions when you need to move between operating systems to access a certain function or just test out other options. Wiping your boot drive and installing a new operating system may be inconvenient, unproductive, and time-consuming. Well, virtualization lets you do it. You can install a guest operating system on your computer and switch between them. This function eliminates the need to erase the disk or create different partitions in order to install the system.
Modern CPUs include hardware virtualization features that help accelerate virtual machines created in VirtualBox, VMware, Hyper-V, and other apps. However, in order to use this feature, you must first enable it. In this guide, we will show you three easy ways to enable virtualization on your Windows 11 PC or laptop, and also, how to know whether your PC supports virtualization.
Table of Contents
What is virtualization in Windows 11?
Virtualization is a feature of Microsoft Windows that makes use of an in-house hypervisor. Using virtualization software, you can run a whole virtual computer in a window on your present system. Within that virtual computer, you can run other operating systems, test applications in a sandbox environment, and experiment with features without risk. To operate, these virtual machine applications need hardware acceleration methods that are included in modern CPUs. This is an indication of Intel VT-x hardware acceleration for Intel CPUs. This is what AMD-V hardware acceleration for AMD CPUs is referred to as.
You can then use tools like VirtualBox to manage your operating systems and reproduce the corresponding environment, enabling you to run almost any operating system on your PC. Depending on the technology, you can then quickly move between your virtual machines and hosts, as well as transfer data between them.
How to Check If Your PC Supports Virtualization
Below, you will find two ways to check or know whether your PC or laptop (Lenovo, HP, Dell, and Acer) supports virtualization or not. We will show you how to do it step-by-step.
1. Using Task Manager
Follow the steps below to check whether your PC supports visualization using Task Manager.
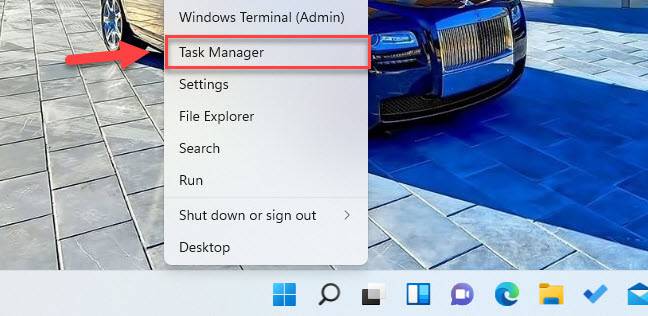
- Right-click on the Start Menu and select “Task Manager” from the menu.
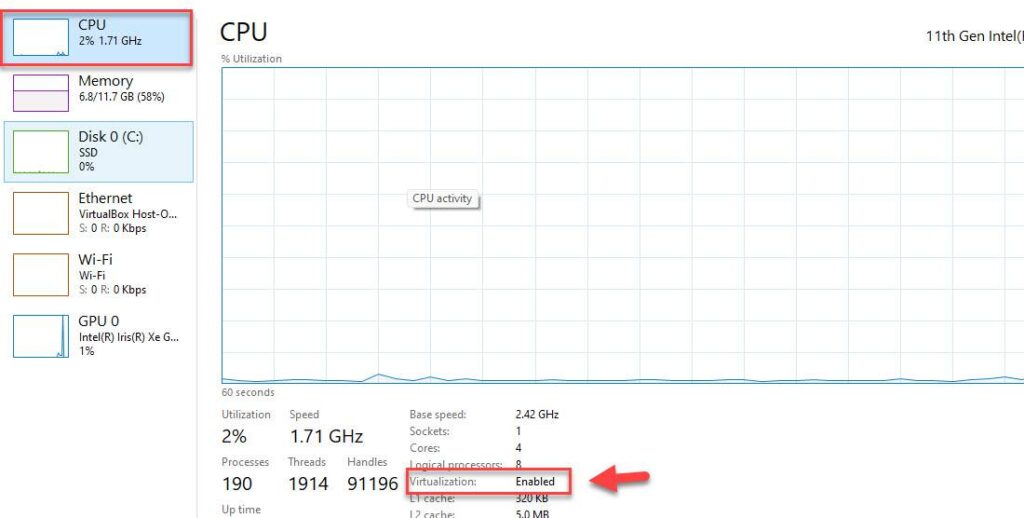
- Now, click on the “Performance” tab in the task manager

- Here, tap on “CPU” and look for “Virtualization” on the right side below the graph. If virtualization is available on your PC, then you will see that option available there.
2. Using Command Prompt (CMD)
To check whether your PC supports visualization using Command Prompt (CMD), follow the steps given below:
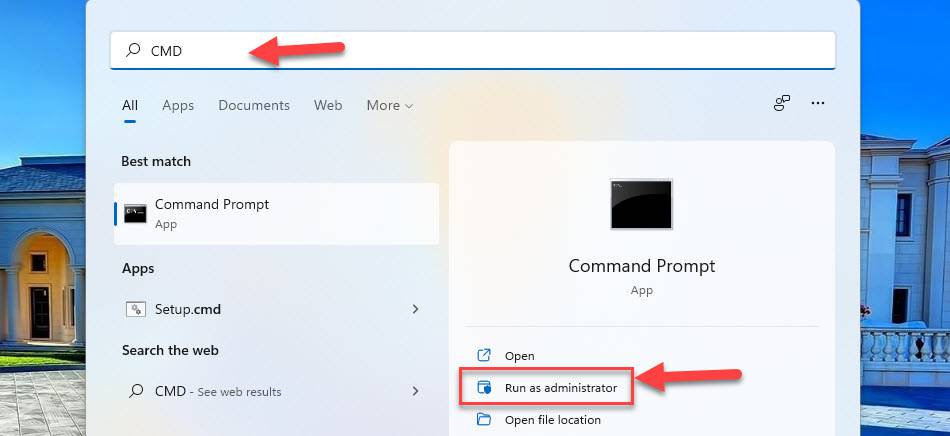
- To get started, search for “CMD” in the Start Menu and open it by clicking on “Run as administrator“.

- Now a pop up will open and ask you if you want to allow this app to make changes to your device. Click “Yes.”
- Now, type the below command and press the Enter key to execute the command.
systeminfo
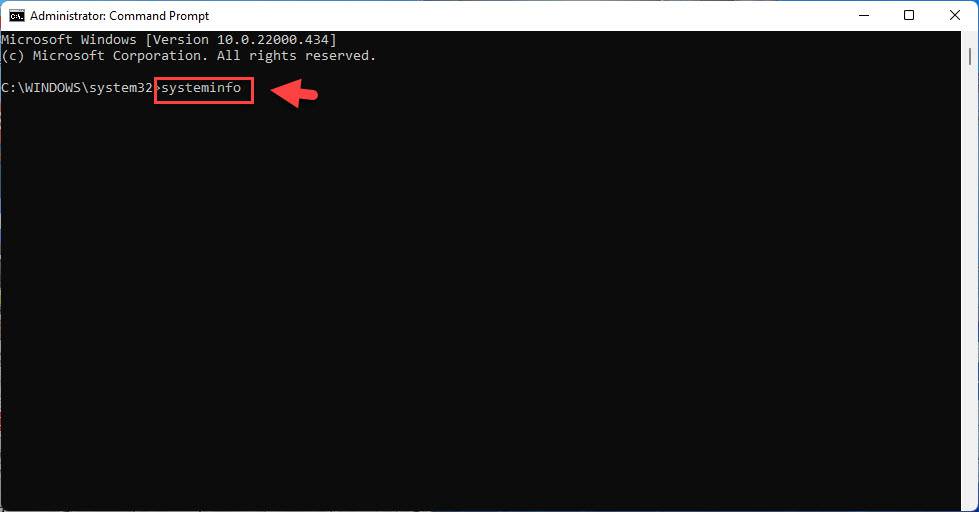
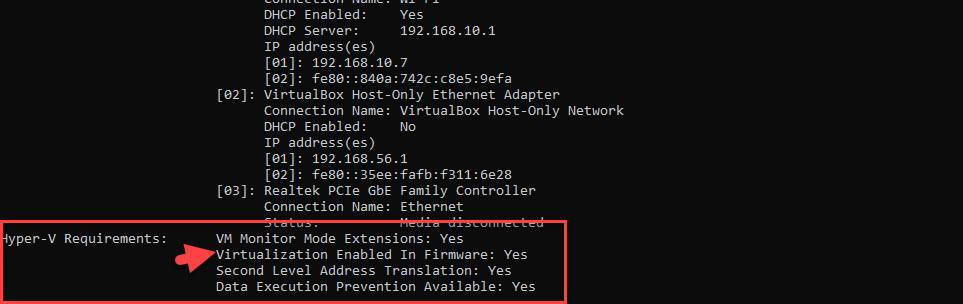
- If Virtualization is enabled on your PC, then you will see the Hyper-V requirements section, and you will also see the “Virtualization Enabled In Firmware” option there.
How to Enable Virtualization on Your Windows 11 PC From BIOS
To enable virtualization in the BIOS on your PC or laptop (HP, Lenovo, Dell, and Acer), follow the steps below carefully:
Step 1. Open the Settings app by searching for it in the Start Menu.

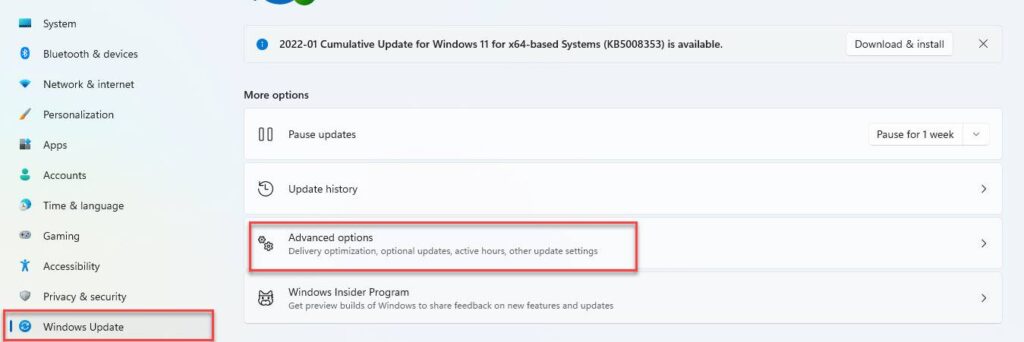
Step 2. Now, select “Windows Update” from the left pane and, click on the “Advanced options” from the right.
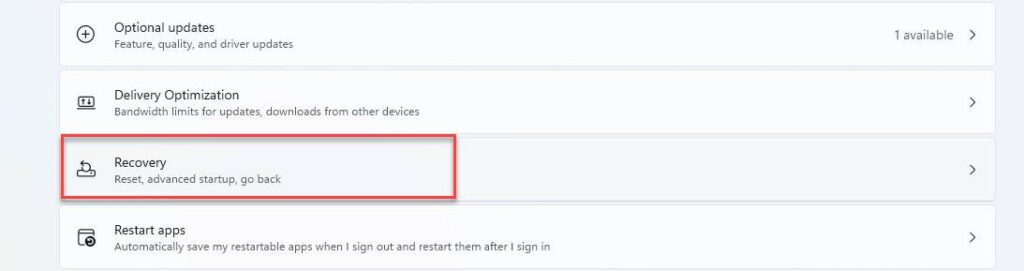
Step 3. Click on “Recovery.”
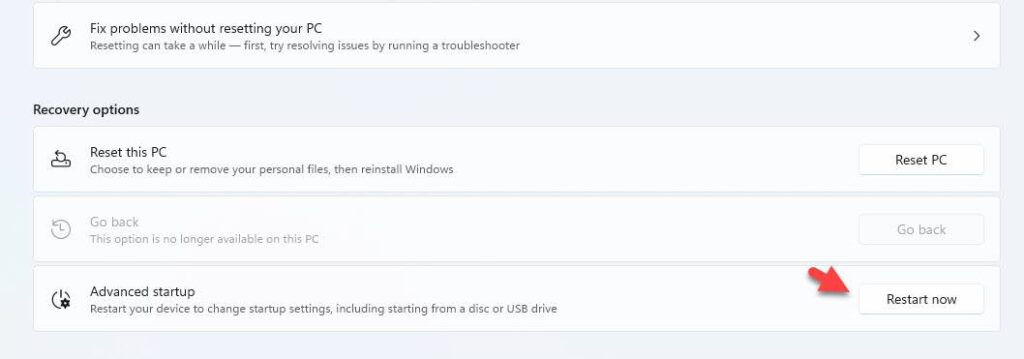
Step 4. Click on “Restart now” beside Advanced startup.
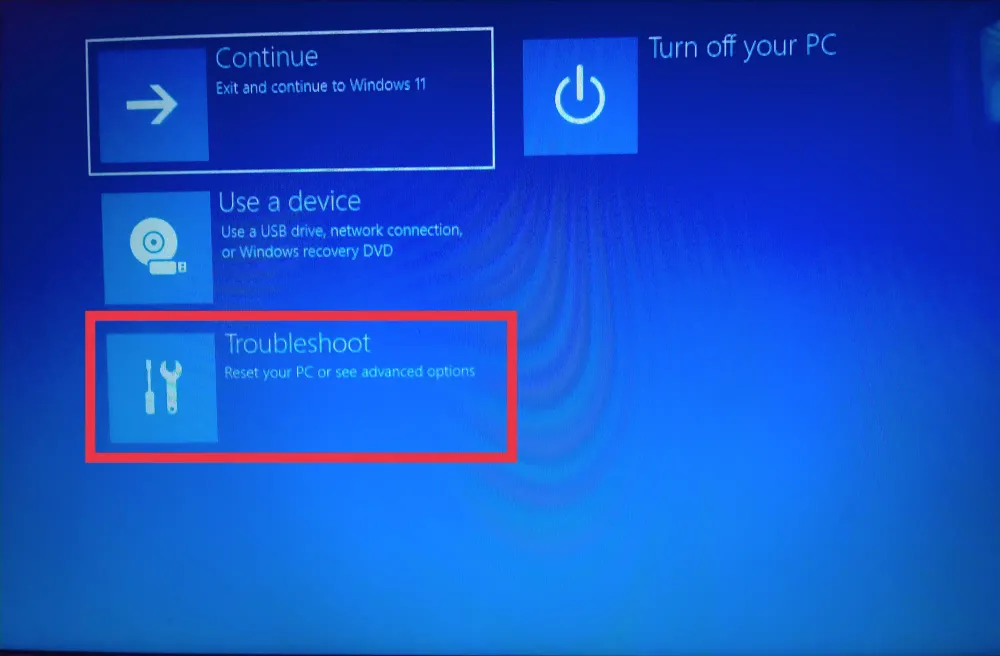
Step 5. Windows will now restart and boot into the recovery environment. From there, select “Troubleshoot.”
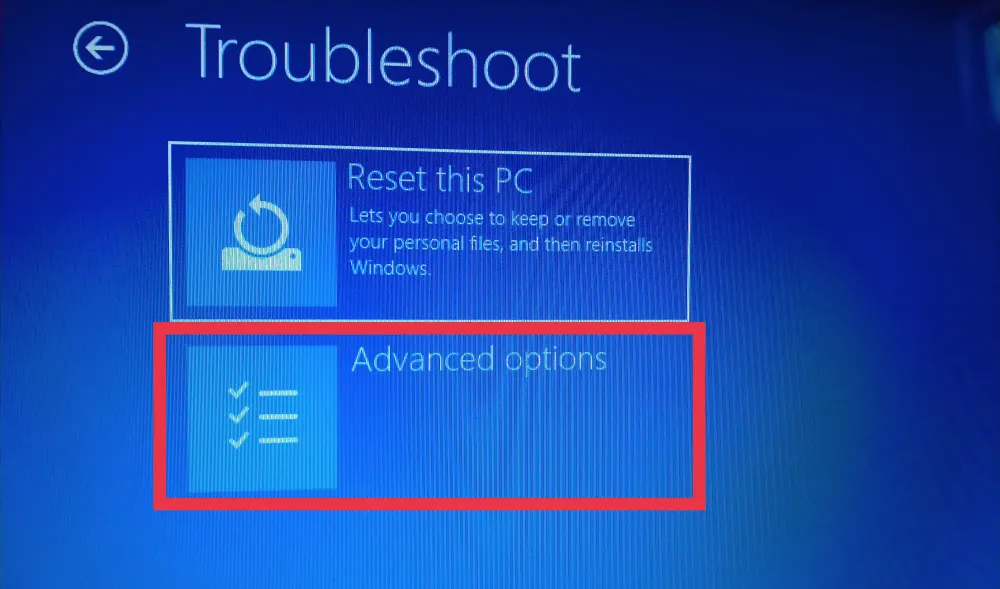
Step 6. Select “Advanced options“.
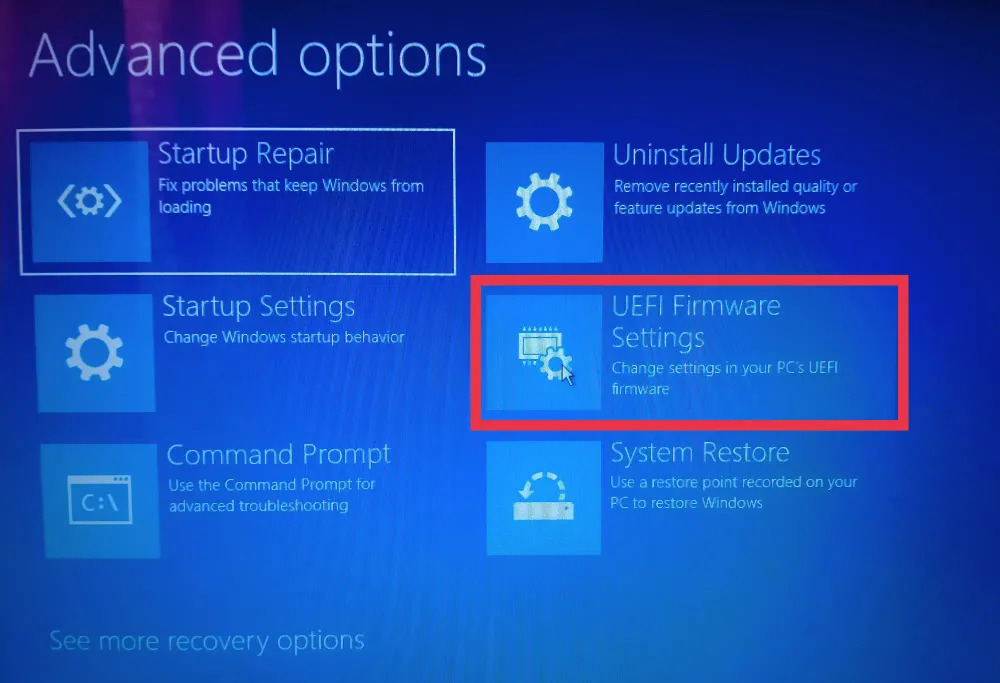
Step 7. Click on “UEFI Firmware Settings“.
Step 8. Click on “Restart” to change UEFI firmware settings.
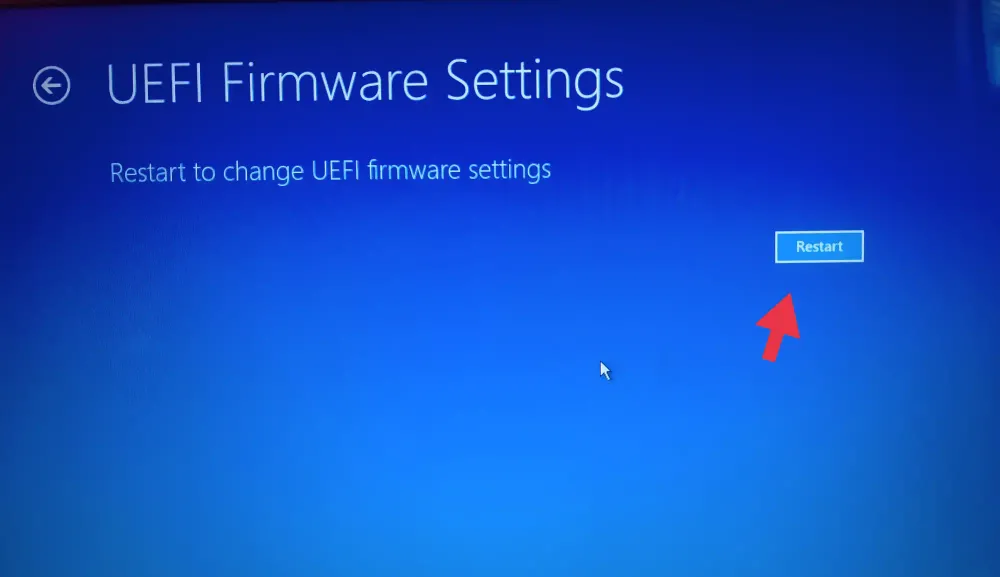
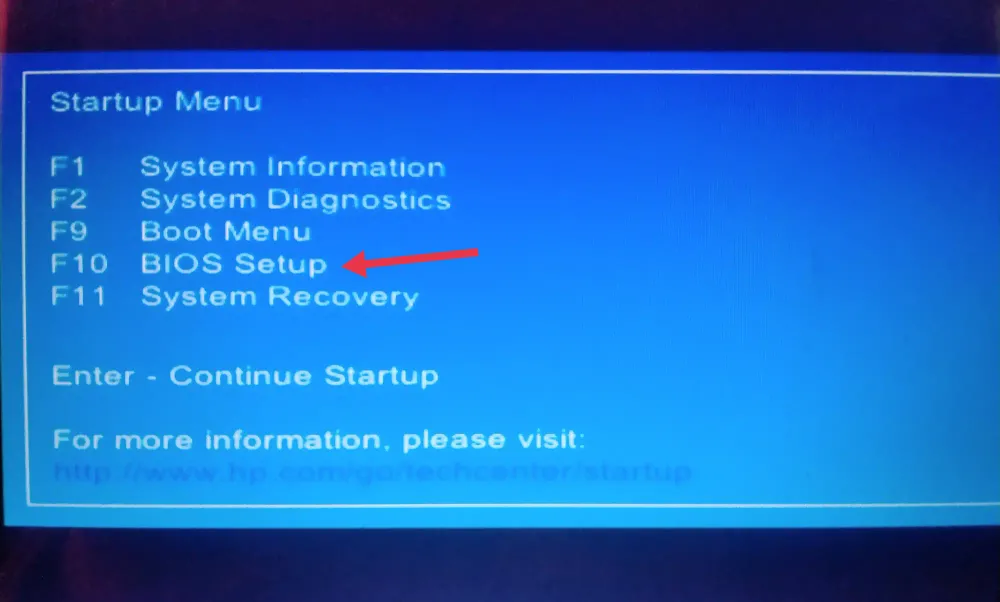
Step 9. Your PC will now restart and automatically boot into the BIOS menu. Although, in newer devices, it will show you Startup Menu, and from there, you need to select “BIOS Setup” with its corresponding key.
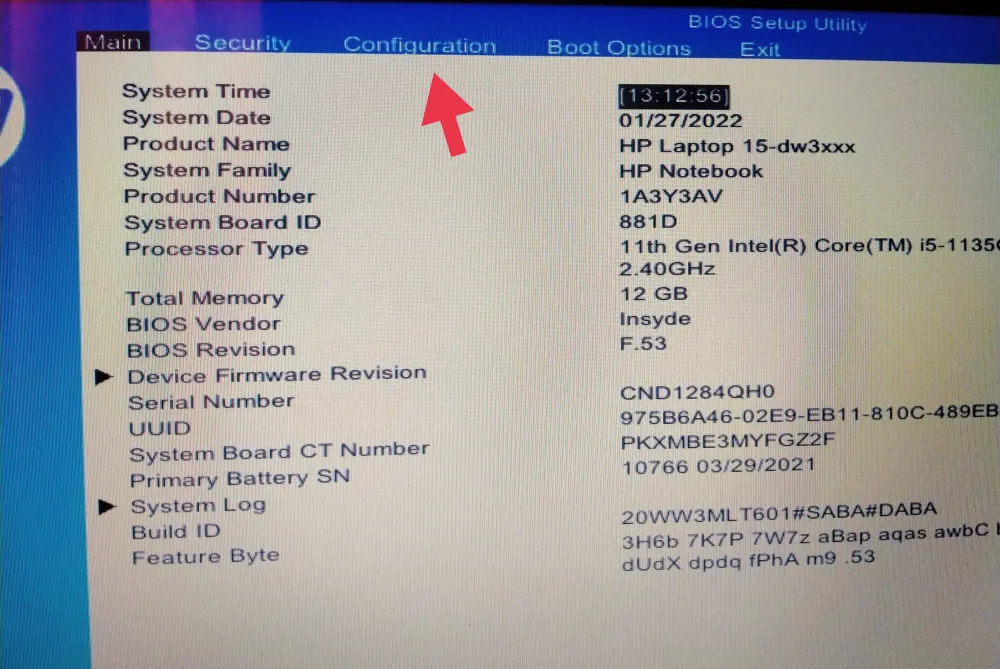
Step 10. Next, head to the “Configuration” tab in the BIOS.
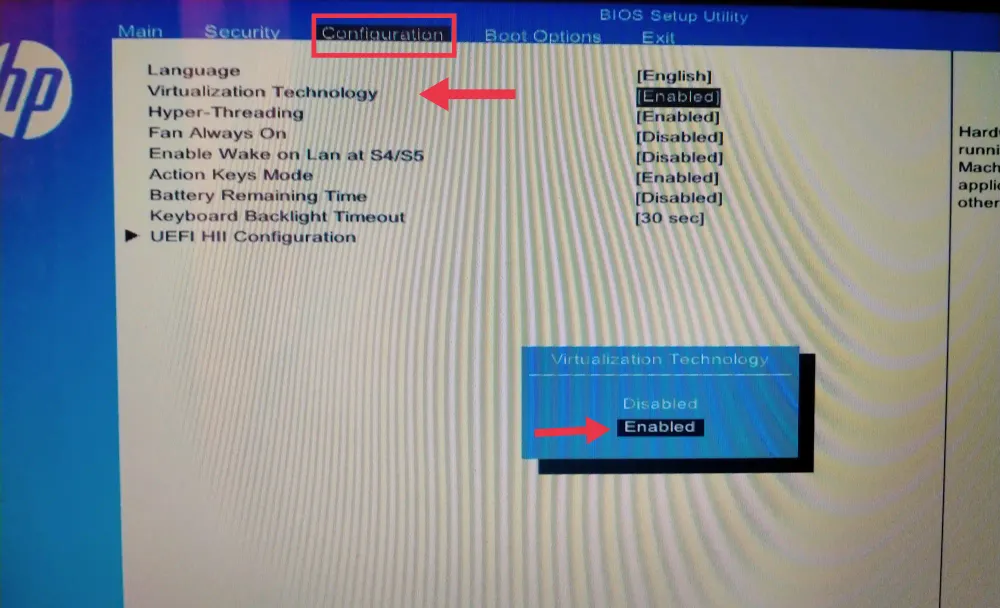
Step 11. Now, you will see the “Virtualization Technology” here. Select it and simply enable it.
Step 12. After doing so, press the F10 key to save and exit the changes.
How to Enable Virtualization Using CMD on Windows 11
Step 1. To get started, open the Command Prompt by searching for it in the Start Menu.
Step 2. Now, type in the below command and press Enter to execute it. Once executed, the command will download and install all Hyper-V features on your PC.
Dism /online /Enable-Feature /FeatureName:HypervisorPlatform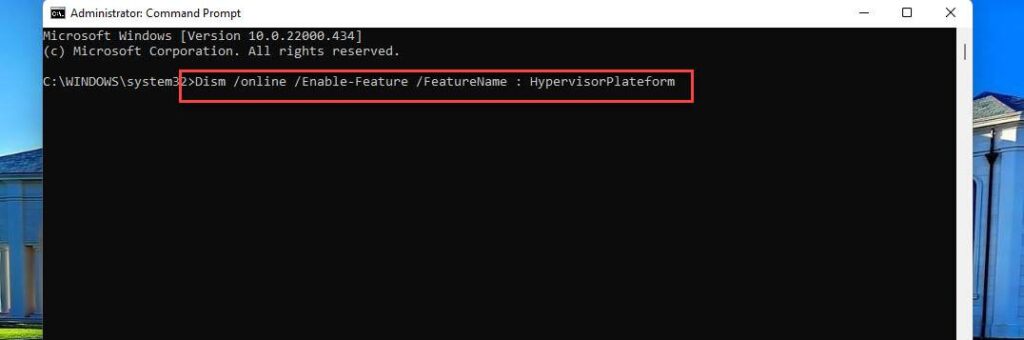
Now use the command below to install another virtualization-related feature on your PC.
Dism /online /Enable-Feature /FeatureName:VirtualMachinePlatform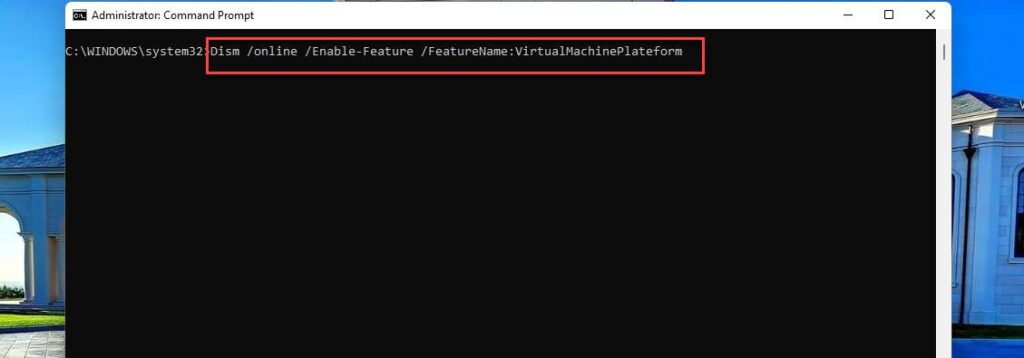
After completion, you will be prompted to restart your computer. To restart your system, type “Y” and hit Enter on your keyboard. After restarting your system, virtualization should be enabled and ready to use.
How to Enable Virtualization Using Windows Features
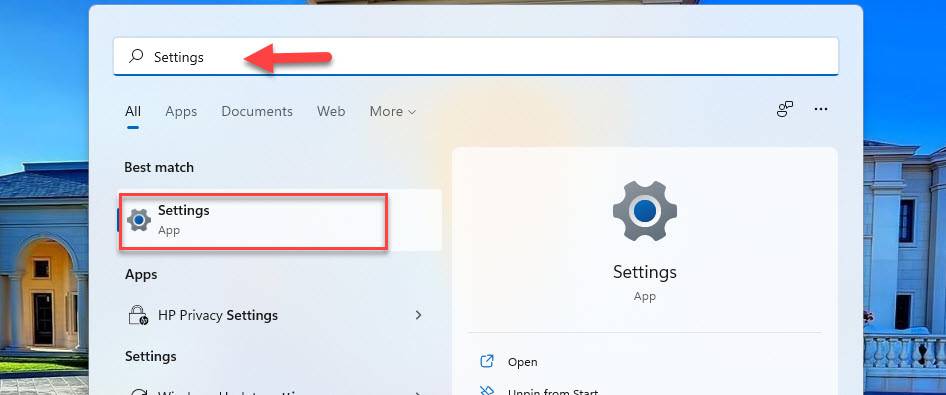
Step 1. To get started, open the Settings app by searching for it in the Start Menu.
Step 2. Next, select “Apps” from the left pane, and click on the “Optional features” on the right.

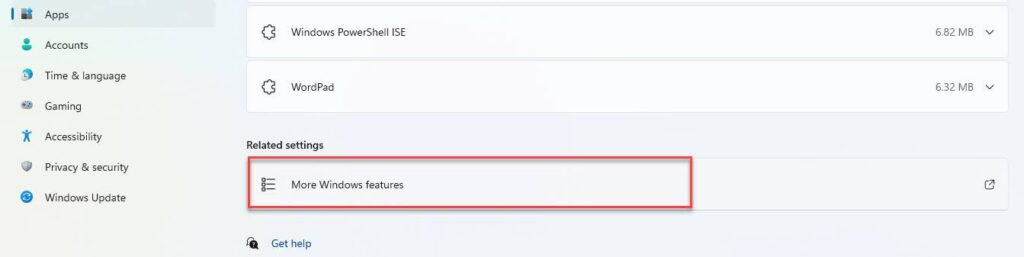
Step 3. Then, scroll to the bottom and click on “More Windows features.“
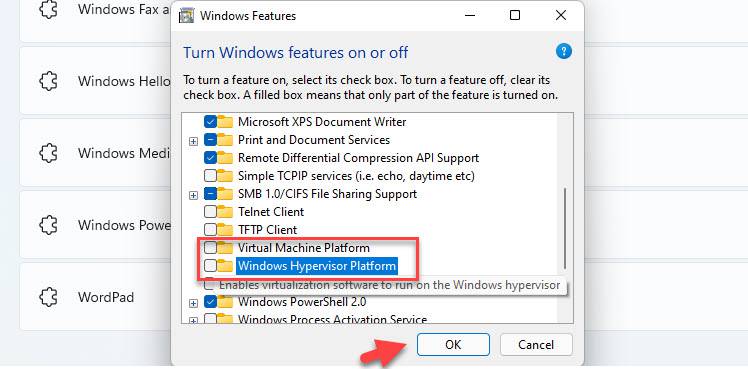
Step 4. You will now see a list of features that can and have already been installed on your system. Check the boxes next to the below features to download and install them, then click “OK.”
- Virtual Machine Platform
- Windows Hypervisor Platform
Step 5. Now, Windows asks you to reboot your PC to finish installing the requested changes. Click on “Restart now“, and you are all set.
That’s it! Virtualization should now be enabled on your system once it has restarted.
FAQs
Q. Is it necessary to enable virtualization in the BIOS for VirtualBox on Windows?
VirtualBox will not be able to operate if Virtualization Technology (VT-x) is not enabled in your Windows PC’s BIOS. Hardware virtualization must be supported by the host system. You must enter the BIOS and enable virtualization extensions before you can run virtual machines.
Q. How Do I Run A Virtual Machine If My Processor Doesn’t Support Virtualization?
If your CPU does not support virtualization, you cannot run a virtual machine. If you can’t operate a virtual machine, you’ll need to upgrade your CPU and maybe your motherboard. Most decent modern PCs should enable virtualization, so consider upgrading your system as soon as possible.
Q. Should I leave virtualization enabled while not in use?
No, leaving virtualization enabled is not a smart idea, particularly while working with work systems. Virtualization enables people to install multiple guests operating systems on a PC, which a malicious person can exploit if virtualization is always enabled on your machine.
However, if you must have virtualization always enabled, we suggest locking down your USB ports and other devices in the BIOS so that malicious users cannot take advantage of virtualization always being enabled on your system.
Final Words
That’s all! These are the ways to enable virtualization on your Windows 11 PC or laptop. Also, if you’re not sure if your PC supports virtualization, we’ve given you two methods to find out. Finally, we hope you found this article useful, and if you have any questions or have anything to add, please leave them in the comments area below.
Read also: