Windows To Go is a handy tool that lets you install and run the Windows operating system directly from a USB drive. Windows enthusiasts and developers have discovered methods to create a Windows To Go disk from any edition of Windows 11. In other words, you can install and boot Windows 11 via USB drives using these third-party methods. In this guide, we will help you learn how to create a Windows 11 To Go USB using a free tool named Rufus. You can use this tool to install Windows 11 on a USB flash drive.
Table of Contents
What is Windows To Go?
Windows To Go is a convenient option that allows us to install a fully-functional Windows 11 operating system onto an external hard drive or a USB flash drive as a portable Windows, which we can then carry with us and use on any computer. This procedure acts as a live Linux USB drive. It will run on any computer. The files and programs of the operating system remain on the external drive and follow you around.
When Windows 11 To Go is first booted on a host computer, it detects all hardware and installs any required drivers. When Windows 11 To Go is subsequently booted on that host computer, it will be able to recognize the host computer and automatically load the correct set of drivers.
Steps to Create a Windows 11 To Go USB
Although Windows To Go has been eliminated from Windows 11, you may complete your task using third-party software. Rufus, an excellent ISO burning utility, is recommended here. Windows To Go, a feature in the most recent version 3.16, allows you to build a portable USB drive with Windows 11. Here are the steps to follow:
- Download Windows 11 ISO file Legally
- Download Rufus on Windows 11
- Make a portable Windows 11 USB flash drive
- Set up and Run Windows 11 on a USB
Step 1. Download Windows 11 ISO
To download Windows 11 ISO image from Microsoft, you need to follow the following steps:
- To begin, go to Official Download Page of Windows 11.
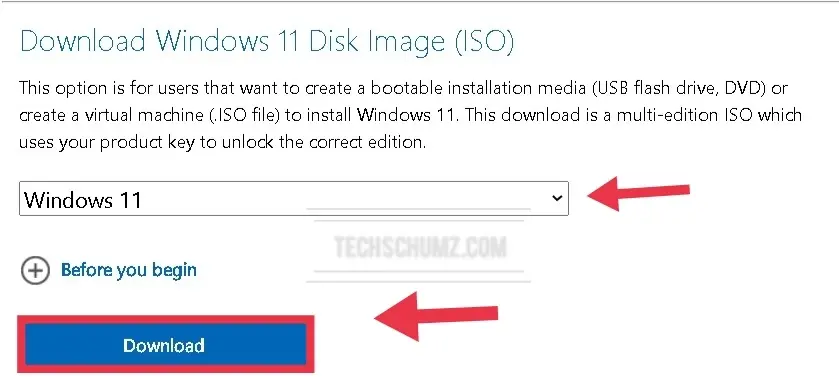
- Scroll down to locate the header “Download Windows 11 Disk Image (ISO)”, and select “Windows 11” from the drop-down menu.
- Click on the “Download” button.
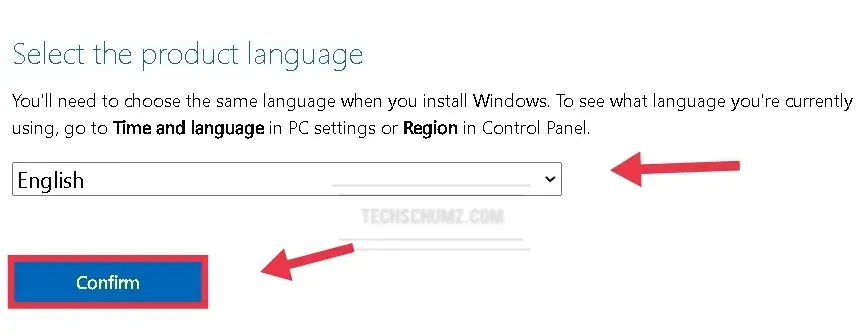
- Now, you will see an option that asks you to choose your product language. Choose your language and click “Confirm“.
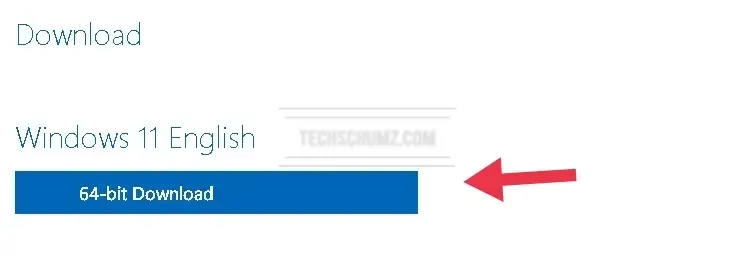
- Finally, click the “Download 64-bit” option, and you are all set.
Step 2. Download and Install Rufus
Rufus is a tool that assists in the formatting and creation of bootable USB flash devices, such as USB keys, memory sticks, and so on. It’s especially handy when you need to make USB installation media from bootable ISOs that can operate on a device without an operating system, flash a BIOS or other firmware from DOS, or execute a low-level program. Here’s how to download Rufus on Windows 11:
- Download the latest version of Rufus utility from its official website.

- After it’s downloaded, locate the .exe file, and open it.
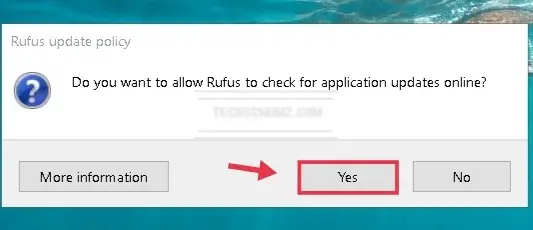
- Now, you may say a Rufus update policy notice, click “Yes“.
Step 3. Make a Portable Windows 11 USB Flash Drive
When you have completed the steps above, open the Rufus and follow the below steps:
- To begin, connect a USB flash drive with at least 64GB of storage to your computer, and choose your USB drive from the Device drop-down option if not selected automatically.
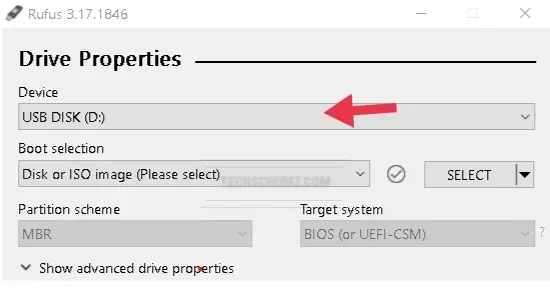
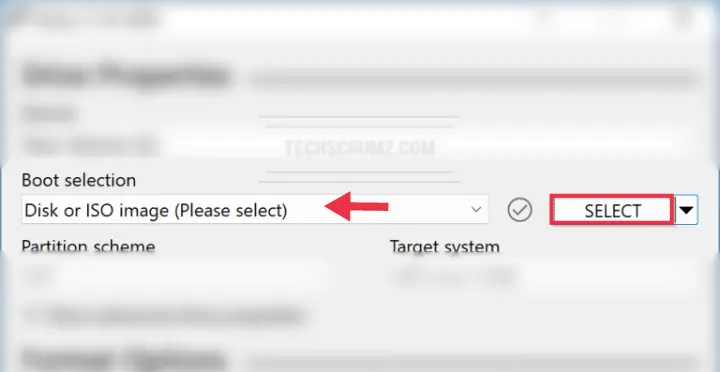
- Then, using the Select option, select the Windows 11 ISO file.
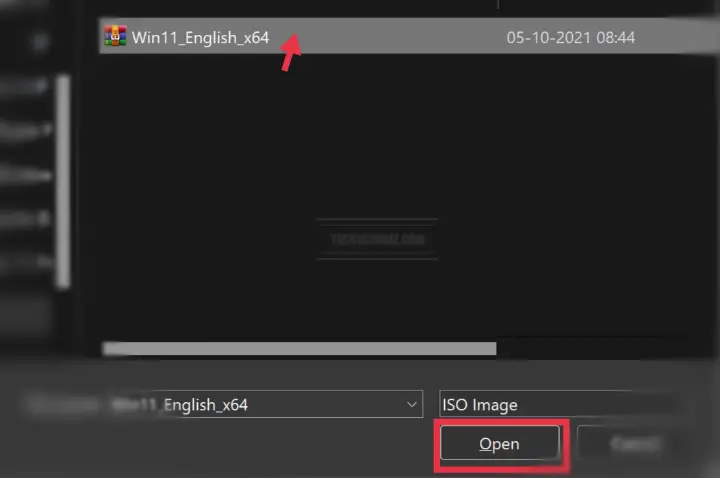
- When File Explorer appears, navigate to the Windows 11 ISO file and click the Open button.
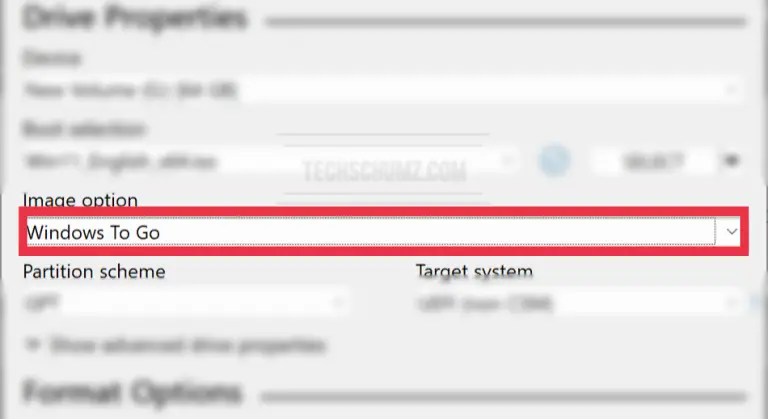
- Then, from the “Image option” drop-down menu, pick “Windows To Go“.
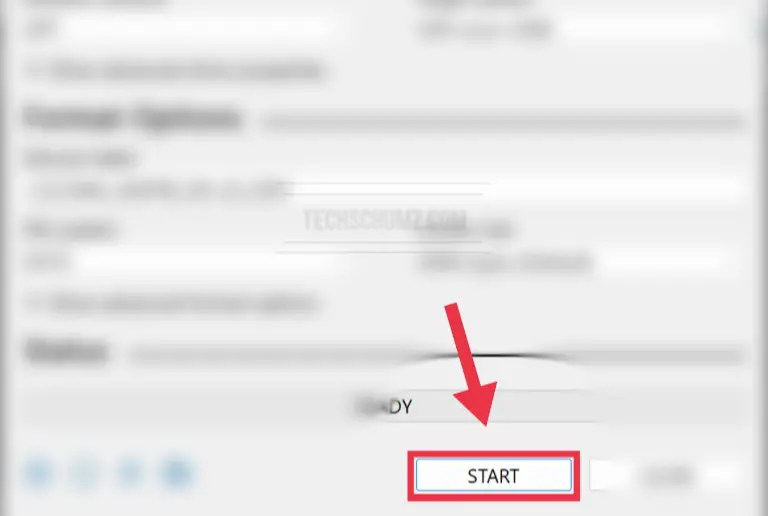
- Then, click the “START” button to start producing Windows To Go.
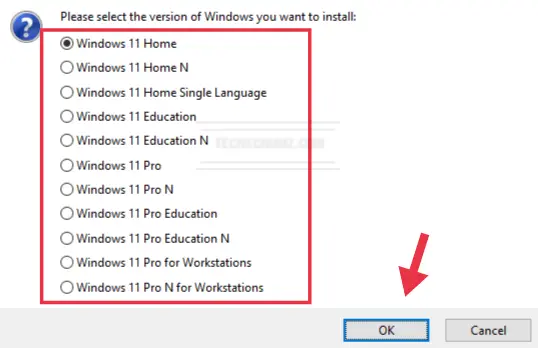
- When prompted to choose the version of Windows to install, select the Windows 11 version for which you have a valid license.
- Then press OK.
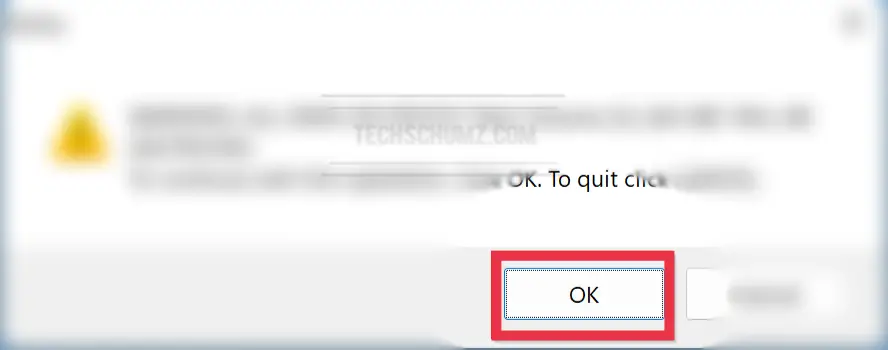
- To proceed, click Yes on the warning popup. Rufus will wipe all saved data and begin copying the necessary files.
- Now, wait for the process to be completed, and you are ready to go.
That’s it! Now you have a bootable USB flash drive, simply attach it to a PC or laptop where you wish to use Windows 11. Start your computer and navigate to the USB drive.
Step 4. Set Up and Run Windows 11 on a USB Drive
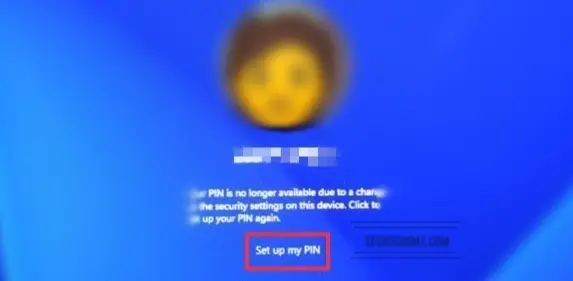
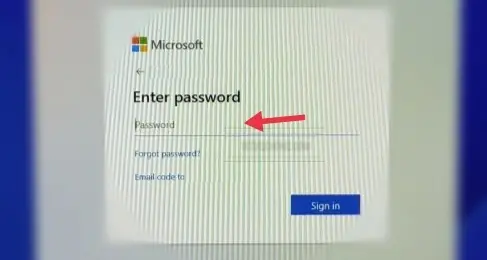
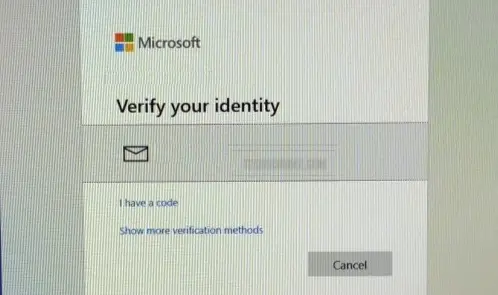
When you insert your Windows 11 Windows To Go drive to your computer, you will be prompted to perform some verification. Use the following steps: –
- First, boot into any computer using a USB, and then select Set up my PIN.
- Then sign in using the credentials associated with your Microsoft Account.
- When Windows 11 prompts you to reset the PIN, click Continue.
- Now, enter a new PIN and click OK.
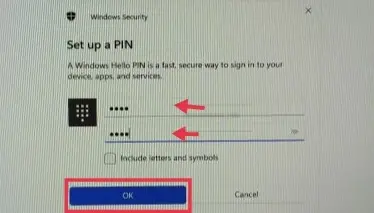
Note: Please keep in mind that you must repeat the preceding steps whenever you attach this USB to another computer.
FAQs
Do all applications work on Windows To Go version of Windows 11?
The applications that you want to use from the Windows To Go should be tested to make sure they also support roaming. Some applications bind to the computer hardware which will cause difficulties if the workspace is being used with multiple host computers.
Final Words
That’s it! This guide was all about how you can create a Windows 11 To Go USB using Rufus utility tool. You can enjoy Windows 11 on a USB drive after following the 4 easy steps, those are as follows:
- Download Windows 11 ISO image
- Download Rufus
- Create a Windows To Go version of Windows 11
- Set up and run Windows 11 on your USB
Finally, we hope you find this article helpful, and if you encounter any queries, please write them in the comments section below. Good Luck!
Read also:
