Are you looking to spice up your piece of writing with a custom font? In this guide, we will show you two easy and quick methods to download and install fonts on Windows 11 PC or laptop.
Windows has always had a lot of configuration and customization features, so Windows 11 naturally continues this trend. If after installing a fresh copy of Windows 11, you want to personalize your PC and give it extra charm, then changing a set of different fonts for Office might be the solution.
Table of Contents
Supported font types on Windows 11
These are the most common font types and are suitable for almost all programs on Windows 11. If you are downloading a font, make sure the font provided by the creator is in at least one of the formats listed below.
- OpenType (.otf)
- TrueType (.ttf or .ttc)
- PostScript (.pfb or .pfm)
Method 1. Download and Install Fonts on Windows 11 Using the Web
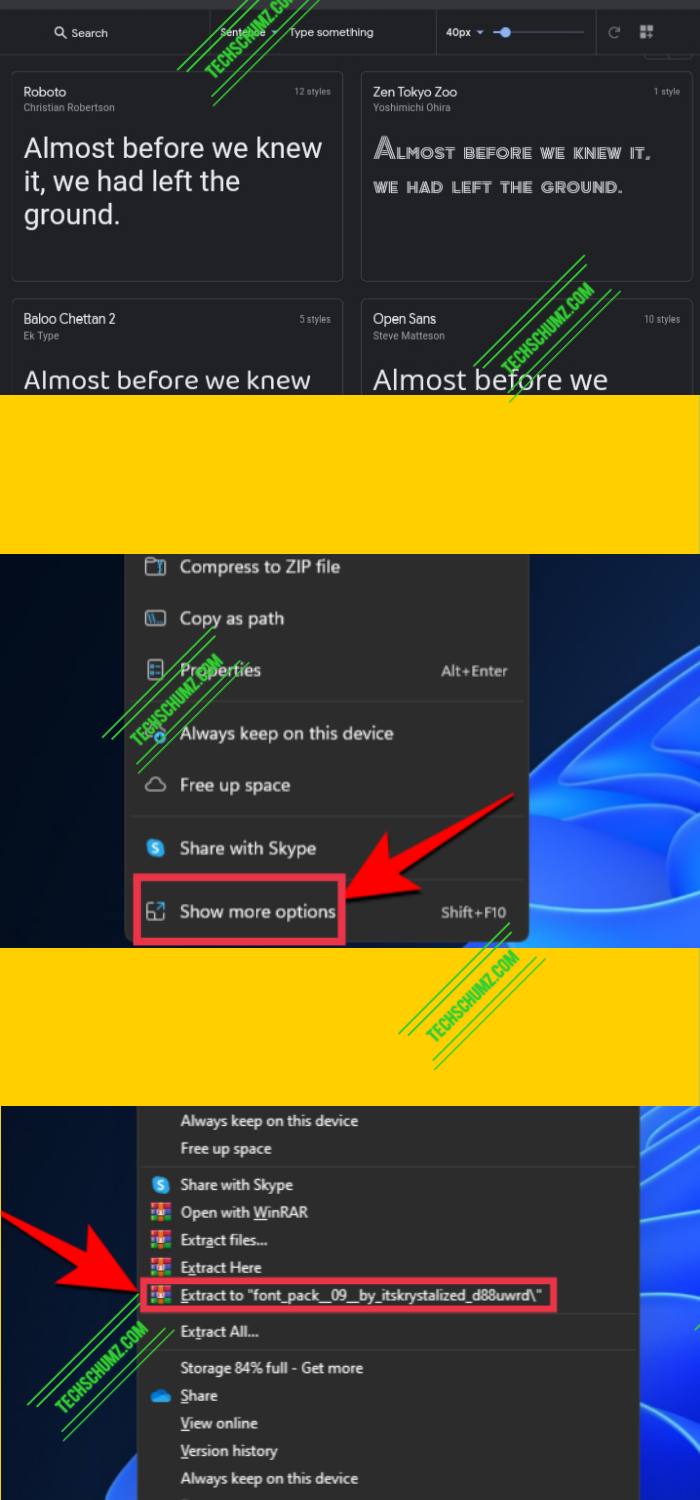
- To add a font, download a font file (preferably .ttf or .otf) from any of the following sites, and save it to a location on your Windows 11 PC or laptop.
- If the download file is zipped, simply unzip or extract the font files.
- New, find the downloaded font’s file and right-click on it.
- Then, click on the ‘Show more options‘.
- Finally, tap on the ‘Install‘ option to install the custom font on your Windows 11 computer.
- That’s it! The system will install your font automatically.
Method 2. Download and Install Fonts on Windows 11 from Microsoft Store
With this method, you can download and install your fonts from the same place.
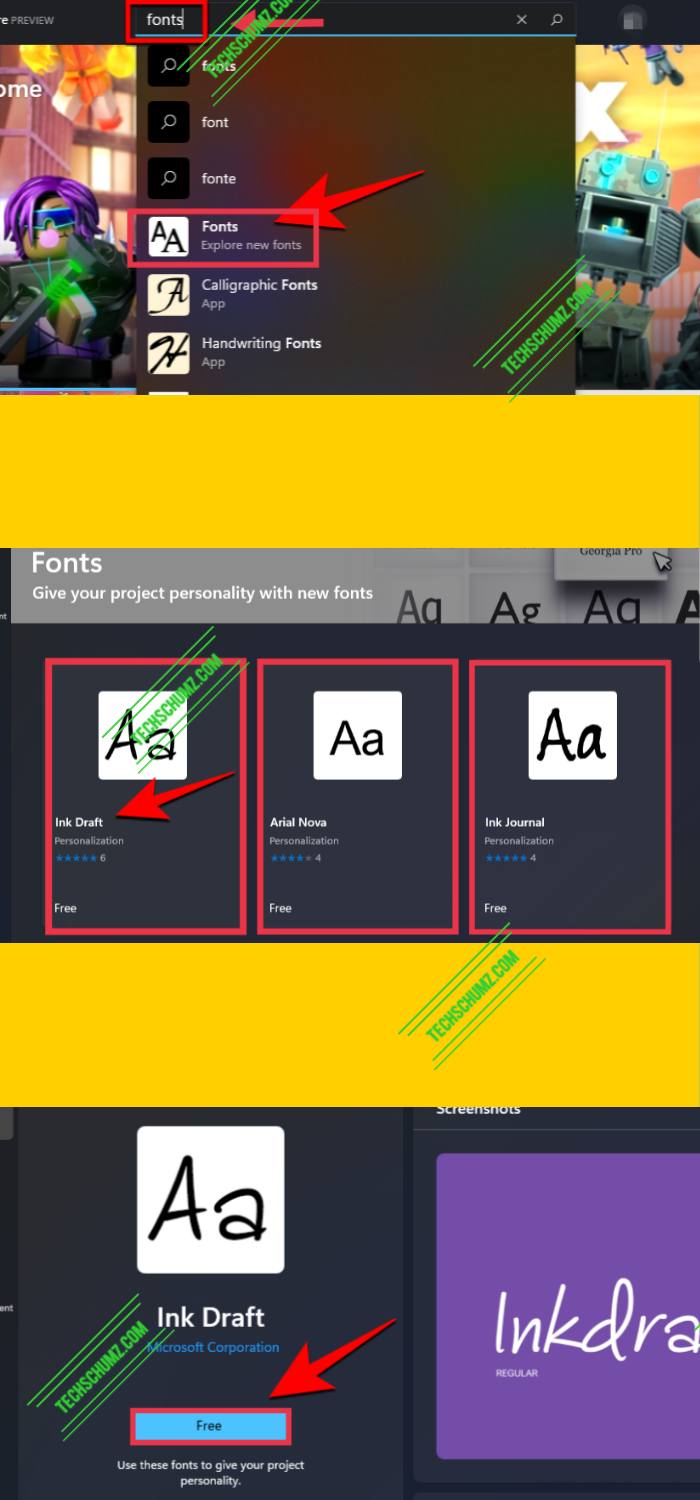
- To add fonts using the Microsoft Store on Windows 11, first, you need to open the Microsoft Store.
- Next, search for ‘fonts’ on the search bar. Once you get the recommendations, click on Fonts – explore new fonts.
- Now you will see a ton of font choices, both Free and Paid. All you need to do is pick one that catches your eyes and tap on it.
- Now simply click on Free to install the free ones on your PC or laptop.
- Finally, after it is downloaded, simply tap on Launch to install it.
And that’s it! Your fonts are now loaded and ready for use on your computer. Remember that you can use any of the above methods to install or add fonts to your computer. Both methods are pretty easy. Also if you want to know how to remove an unwanted font from your Windows 11 Computer, click here.
Read also:
How to Enable and Disable Dark Mode in Teams Chat on Windows 11
I have the latest release for Windows 11, and I cannot natively install a .ttc file. I can install .ttf and .otf with no issues.