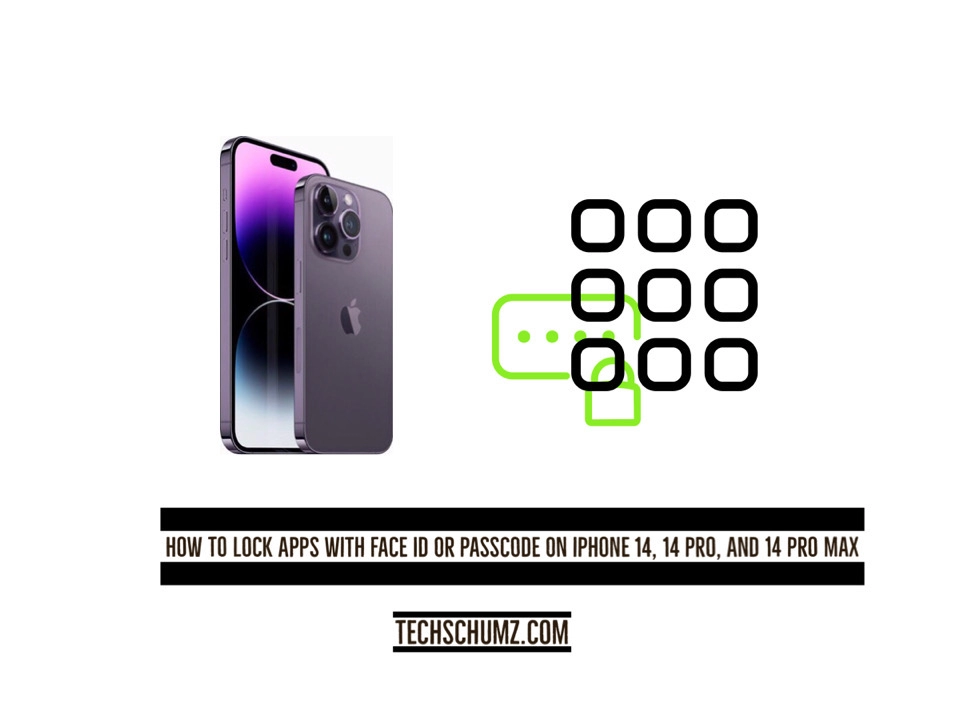
This Techschumz article will help you through locking apps with Face ID or passcode on the iPhone 14 Pro/Max running iOS 16.
Android devices have a feature that lets users lock apps with their fingerprint, a password, or Face ID. The iPhone does not have this feature. Without this feature, it is possible for other people to access your apps and spy on your activities. So, iPhone users were required to use third-party apps to lock the apps on their devices, but with the release of iOS 11, Apple made it possible to lock apps with a fingerprint passcode or face ID on all iPhone models running iOS 11 or later, with the exception of the screen time feature. Read this article all the way through to find out how to lock the apps with Face ID or password to prevent unauthorized access if you value your privacy.
Table of Contents
Lock apps on iPhone 14 (iOS 16)
You can lock the apps on your iPhone 14 Pro/Max running iOS 16 using either Face ID or a jailbreak passcode. Follow this guide to learn how to do so.
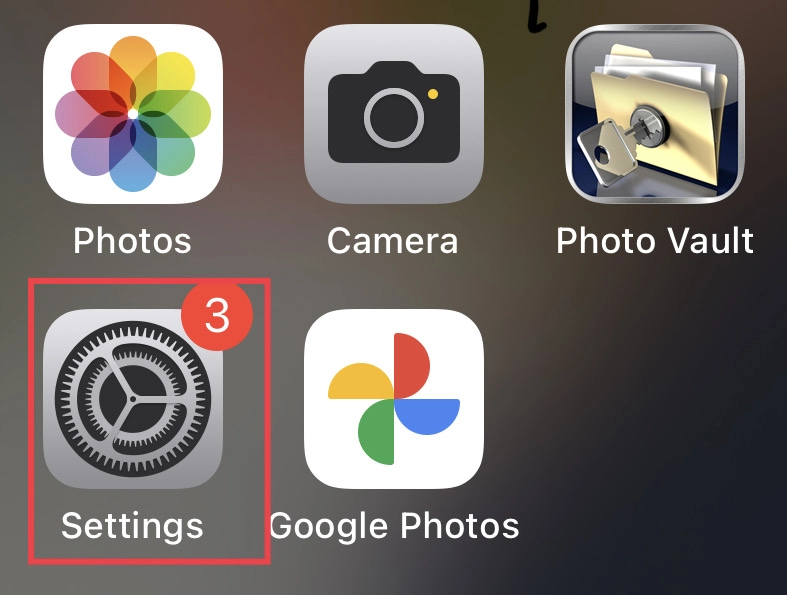
Step 1. Launch the “Settings” app on your iOS device.
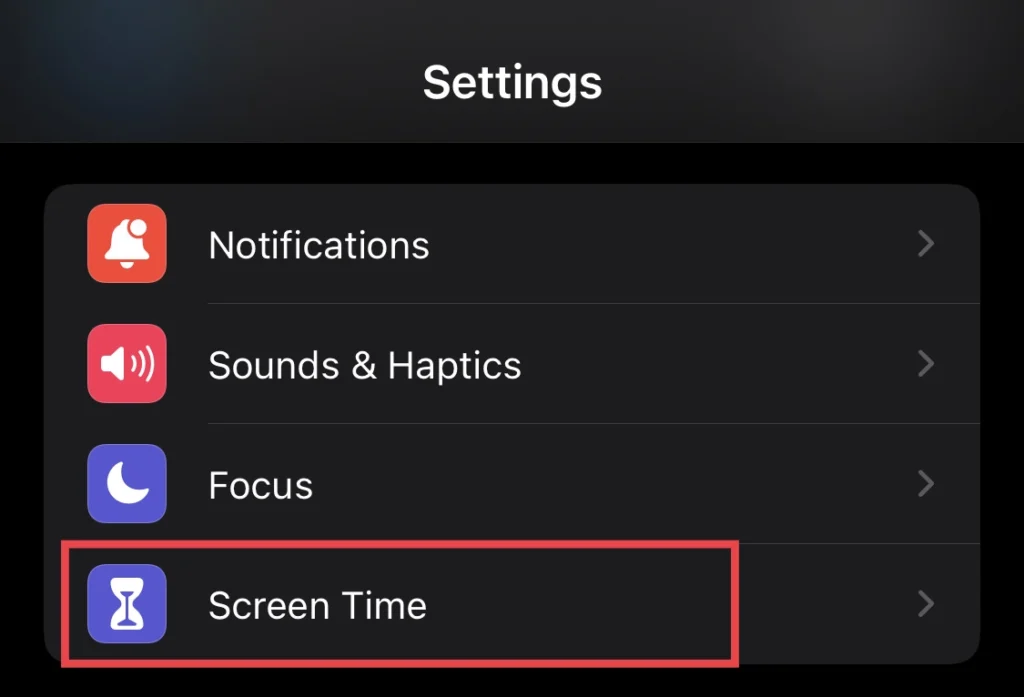
Step 2. Now Scroll down the settings menu and tap on “Screen Time.”
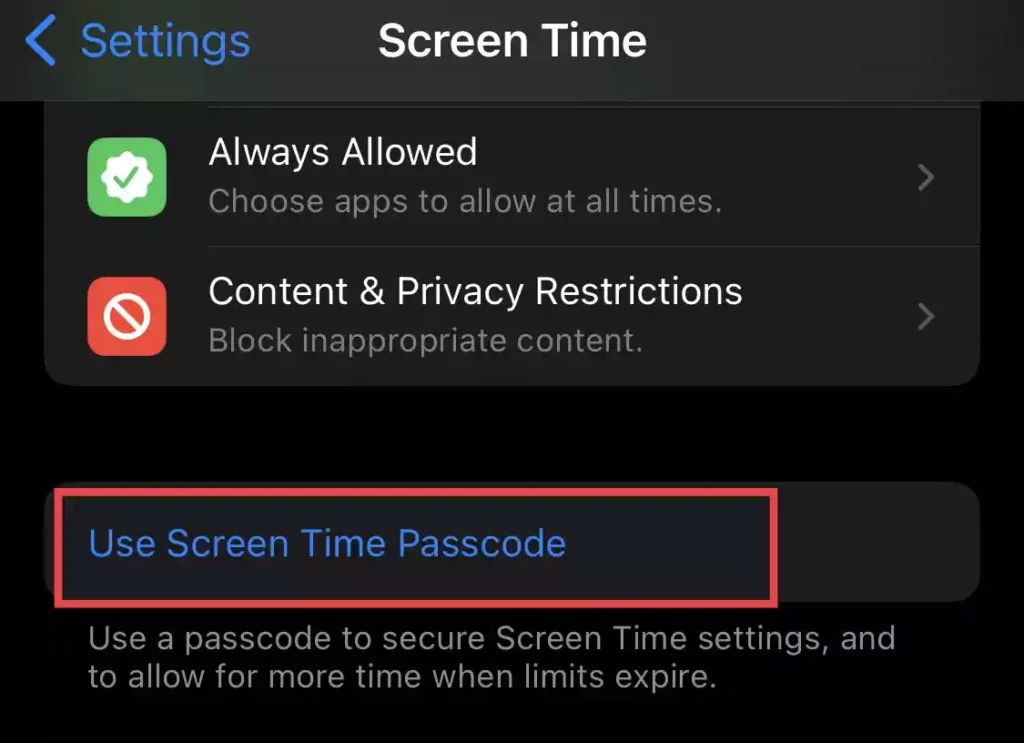
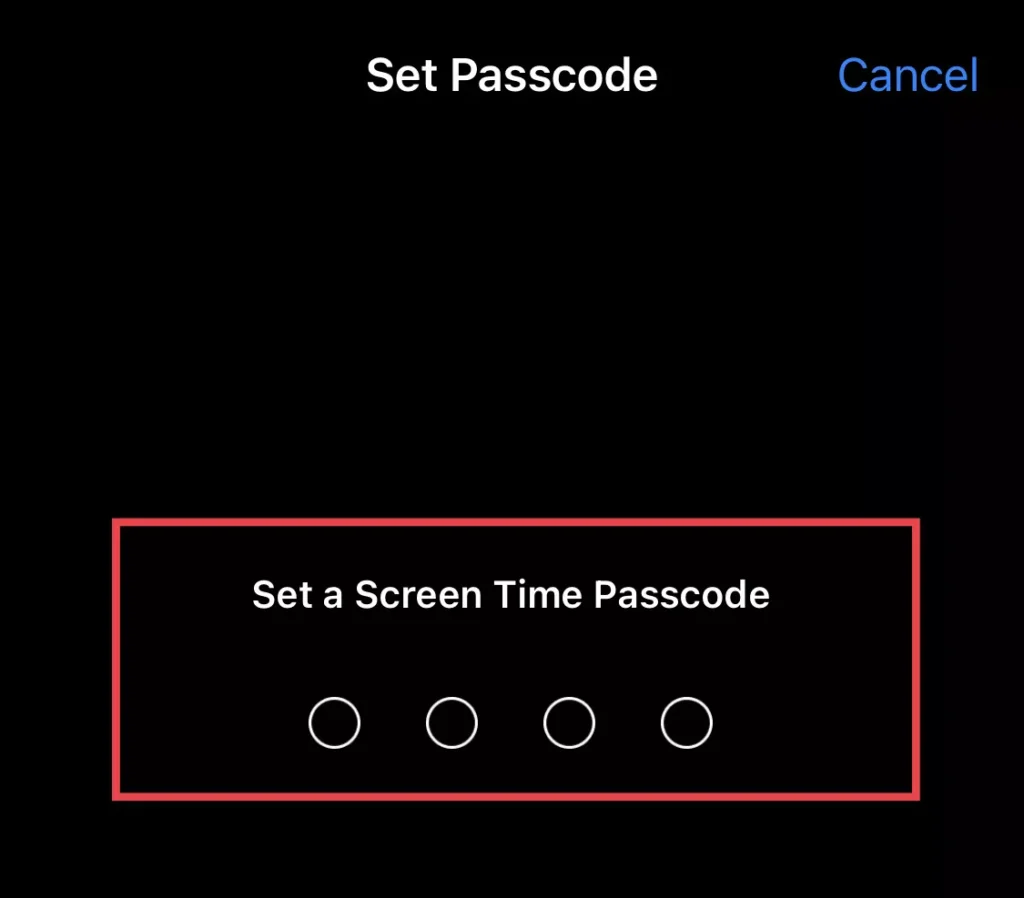
Step 3. Next, tap to turn on the “Use Screen Time Passcode” option from the screen time menu.
Step 4. Then “set” a password for the account and “re-enter” it for confirmation.
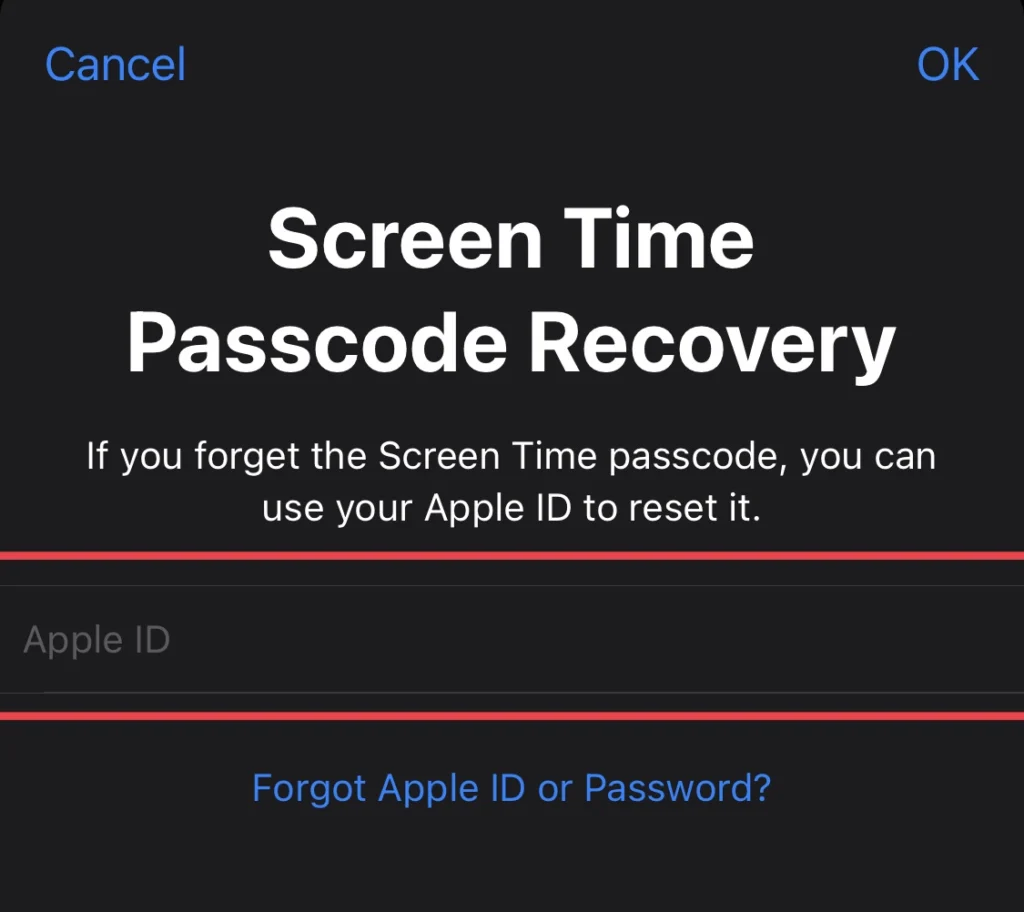
Step 5. After the passcode confirmation, you will be required to add your “Apple ID” so that if you forget your passcode by any chance, you will be able to recover it through your Apple ID account.
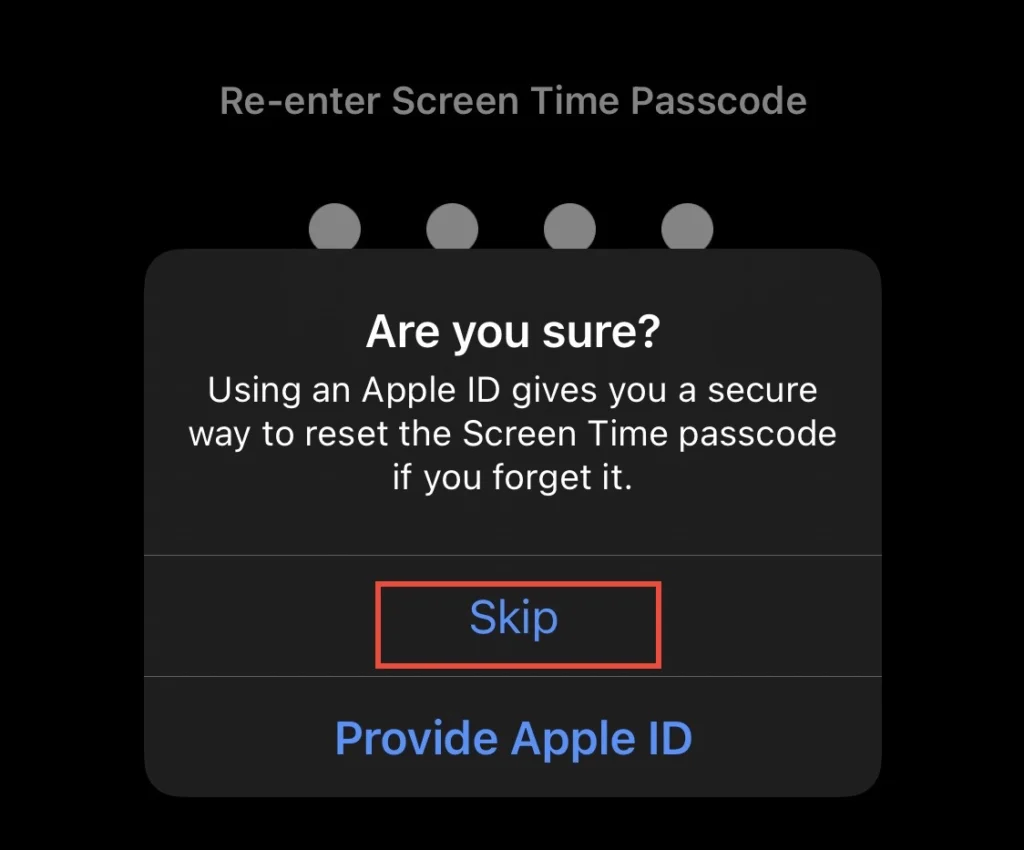
Step 6. But if you don’t want to enter your Apple ID, tap on “Cancel” and then select the “Skip” option.
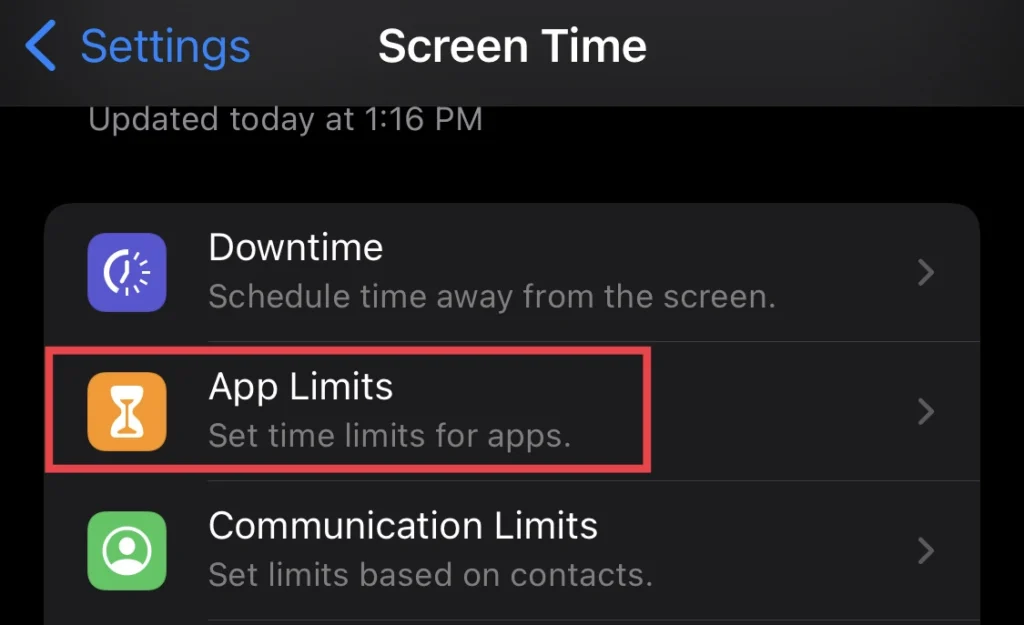
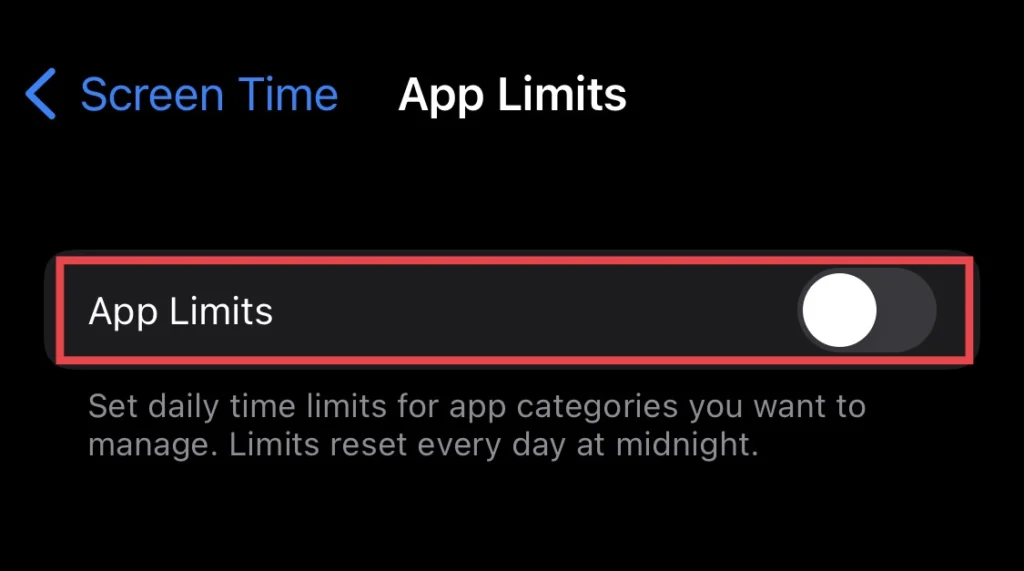
Step 7. Then Tap on “App limits” to add a limit for the apps.
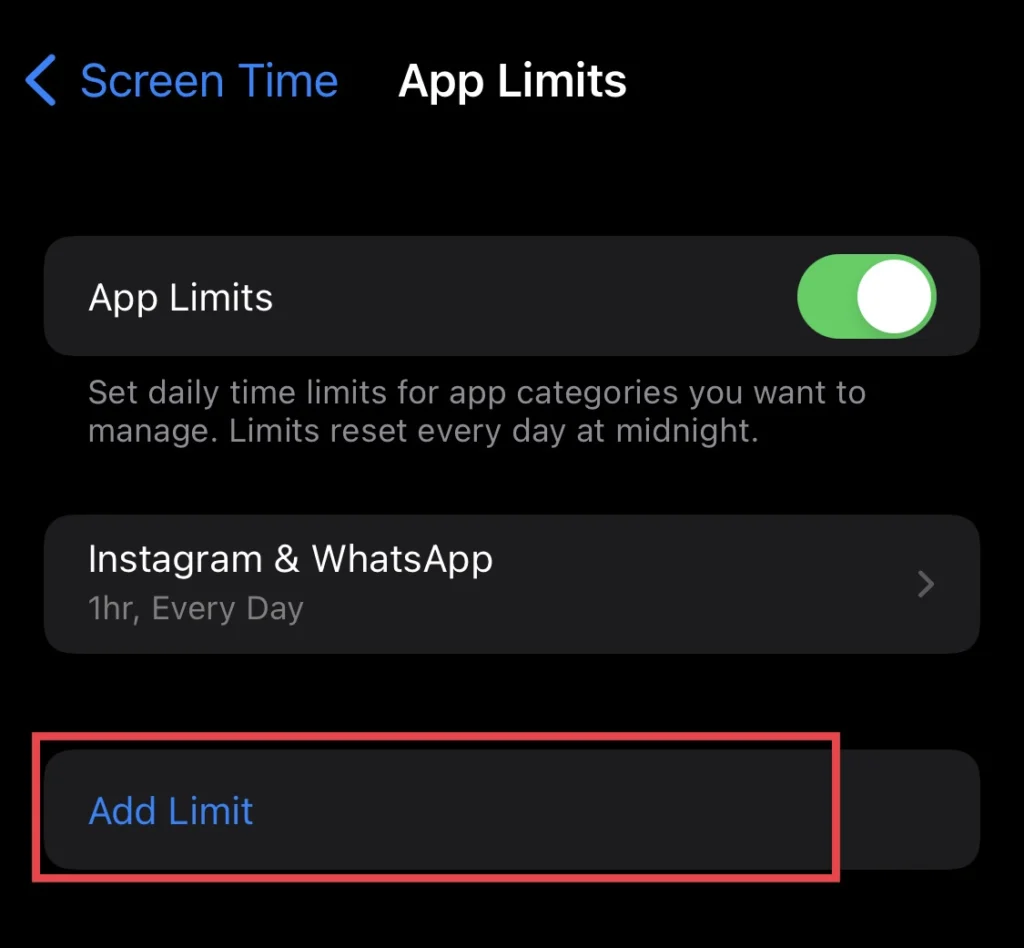
Step 8. Next, turn on the “App limit” option, and to do so, you need to enter the screen password you have set recently.
Step 9. After entering the passcode, the app limit feature will be turned on, so to add a time limit, select the “Add Limit” option.
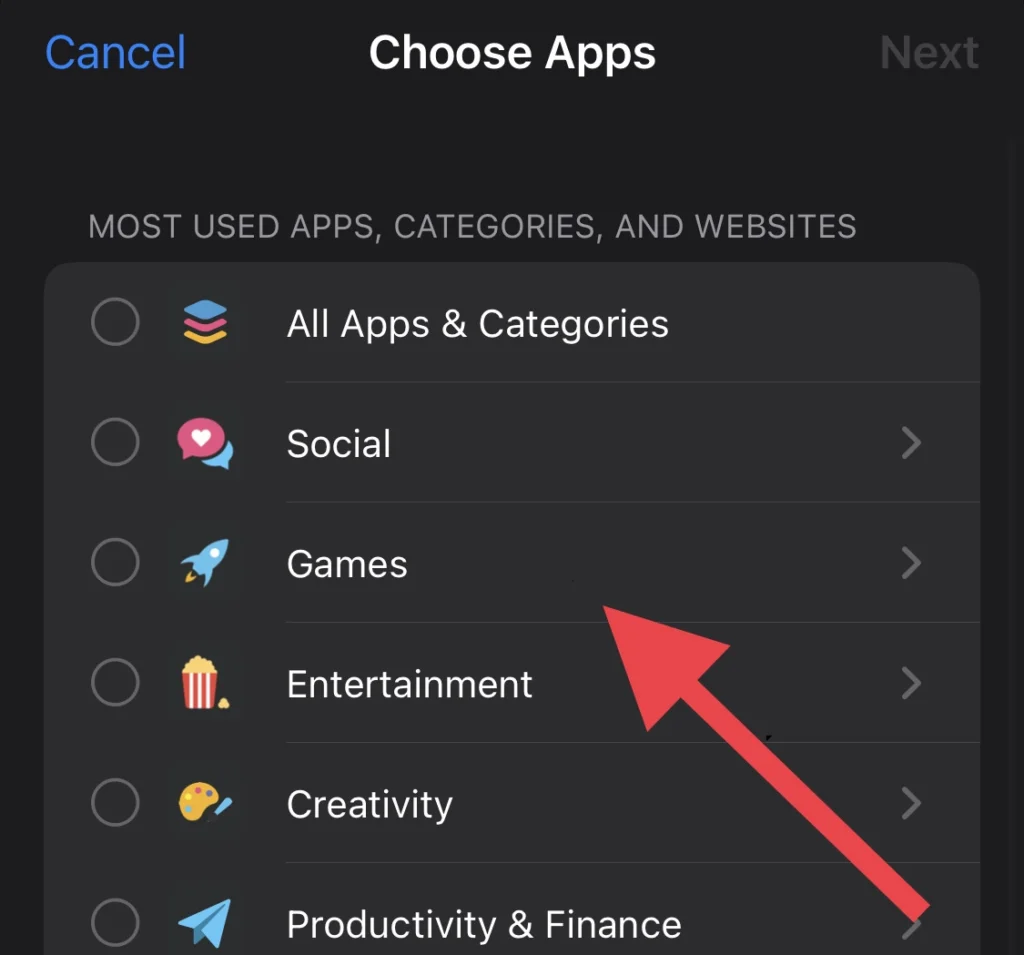
Step 10. You can select any category of the apps you would like, such as “Social.“
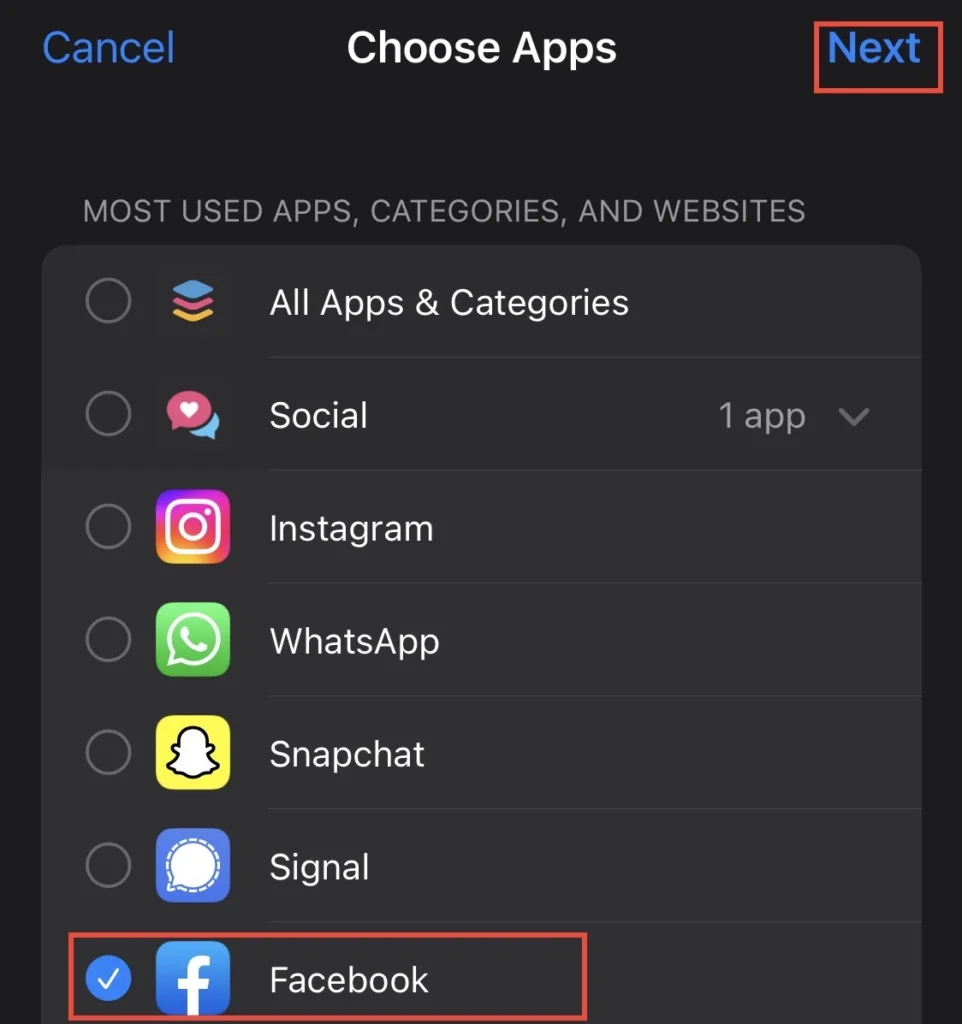
Step 11. After that, select which app you want to set a limit for, such as “Facebook” or all the social apps by tapping in the “circle” and tapping on “next” to continue.
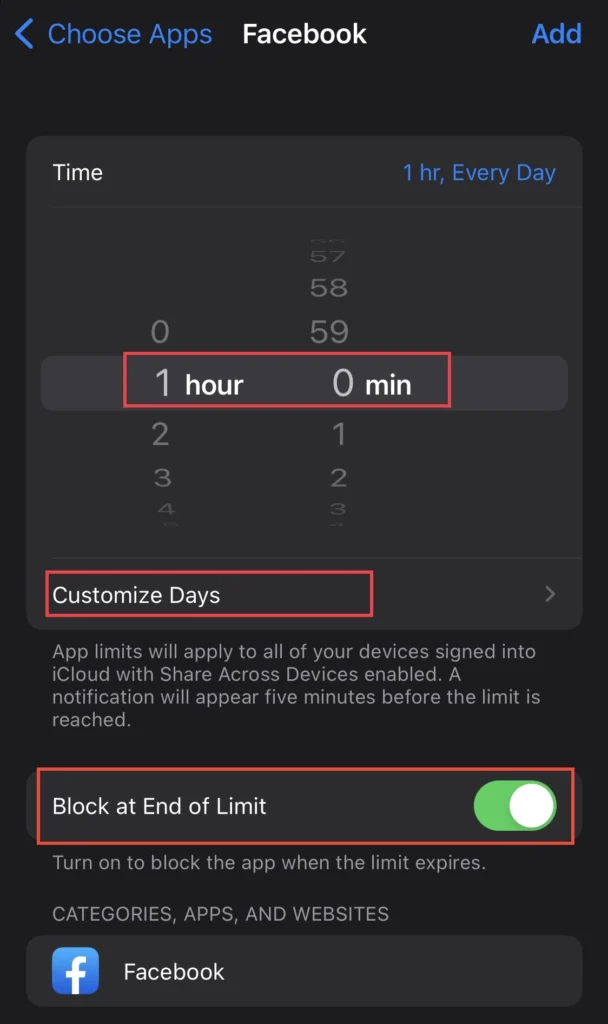
Step 12. Then “set” a time limit for the Facebook app, plus you can customize the day for the app’s limit as well by tapping on the “Customize days” option under Time. To lock the app after the limit ends, turn on the “Block at End of Limit” option and finally tap on the “Add” option.
When the time limit ends, the app will be blocked, and you will be able to access it only through the password or your face ID.
Final Words
This article has shown you how to keep your iPhone apps secure and private by locking them with your face ID or passcode. Please share your thoughts and questions in the section below.
Read also:
How to Enable iOS 16 Lock Screen on Android Phones
How To Create A Speed Dial Shortcut On iPhone 14, 14 Pro, And 14 Pro Max