Is the battery of your laptop draining so fast? Do you want to lower the battery consumption of your laptop and PC in Windows 11? Well, Windows 11 has a new feature in it called Dynamic Refresh Rate (DRR). This new feature allows your PC or laptop to lower its refresh rate to save battery life. In this guide, I am going to show you how to enable and disable Dynamic Refresh Rate in Windows 11 laptops and PCs. But first, let’s have some basic information about what DRR is.
Remember that dynamic refresh rate is available on laptops where the display supports variable refresh rate (VRR) and at least a 120Hz refresh rate. Also, this feature requires a graphics driver that supports WDDM (3.0).
Table of Contents
How Dynamic Refresh Rate Save Your Battery Life?
Dynamic Refresh Rate is a new feature of Windows 11 that allows devices such as laptops to reduce the refresh rate to save battery life. It sacrifices some display quality, but it allows you to use the device for longer without charging.
Simply put, the refresh rate describes the number of times the screen refreshes content per second. This is usually called the number of frames per second, and the standard is 60 frames per second. However, some monitors support a higher refresh rate to make the movement on the screen feel smoother.
The problem is that increasing the refresh rate will also increase power usage, which will shorten the battery life of the laptop. To address this issue, Windows 11 (via DirectX Developer Blog) allows dynamic refresh rate (DRR) settings to balance performance by seamlessly switching between low and high refresh rates based on device operation. and power.
How to Enable Dynamic Refresh Rate on Windows 11
If you want to activate and use Dynamic Refresh Rate to save battery, follow the below steps:
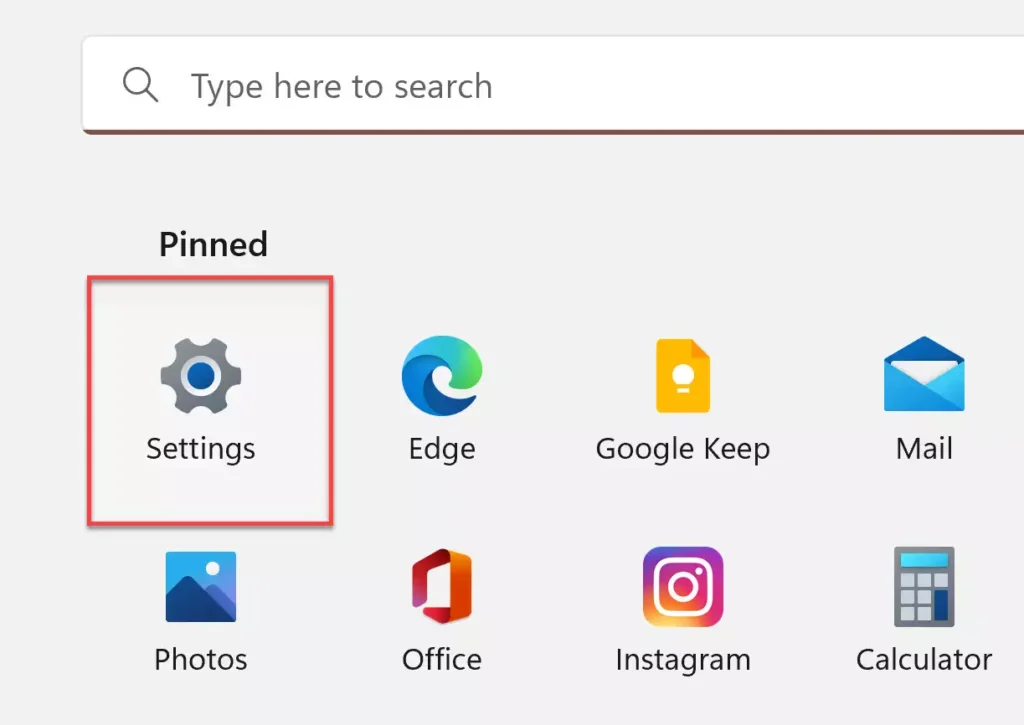
Step 1. To enable Dynamic Refresh Rate, go to Settings on Windows 11.
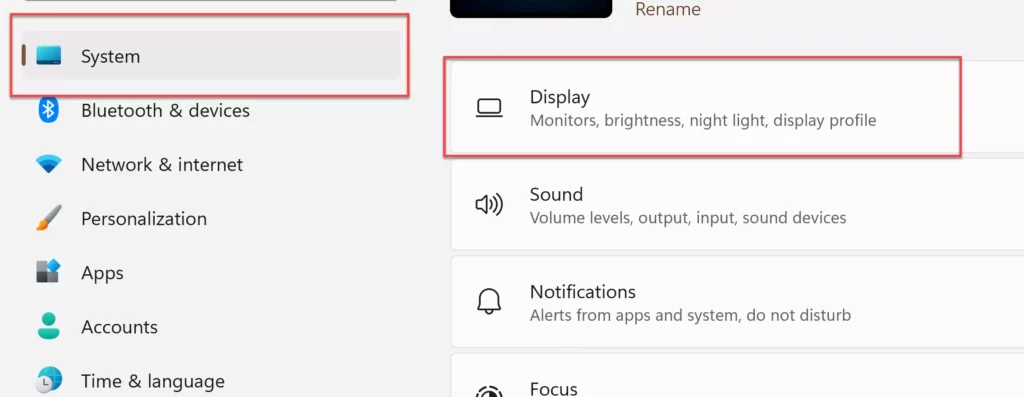
Step 2. Next, go to “System” on the left pane, and select “Display” from the right.
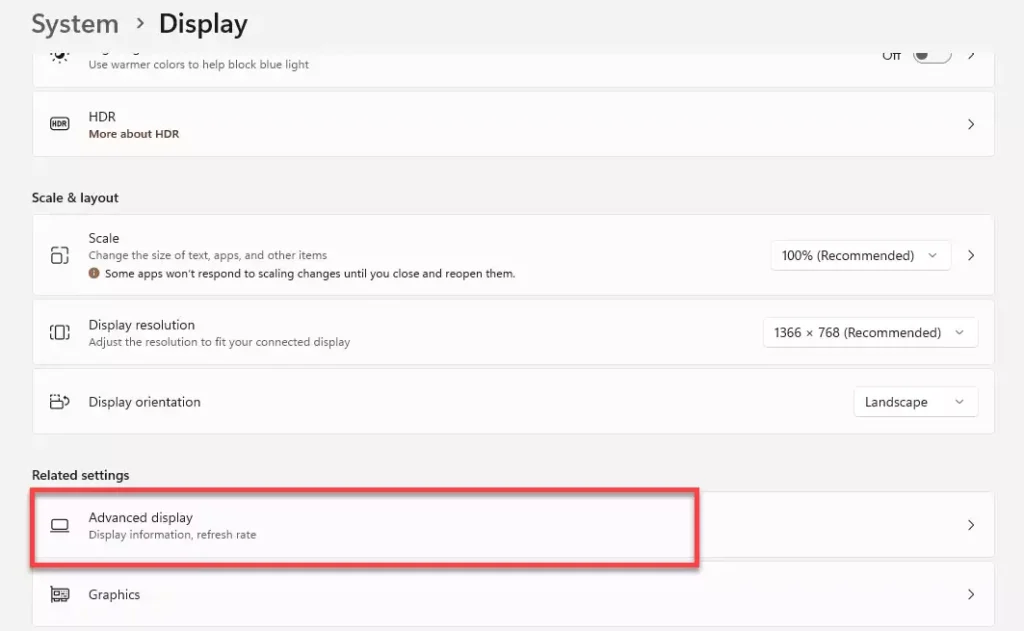
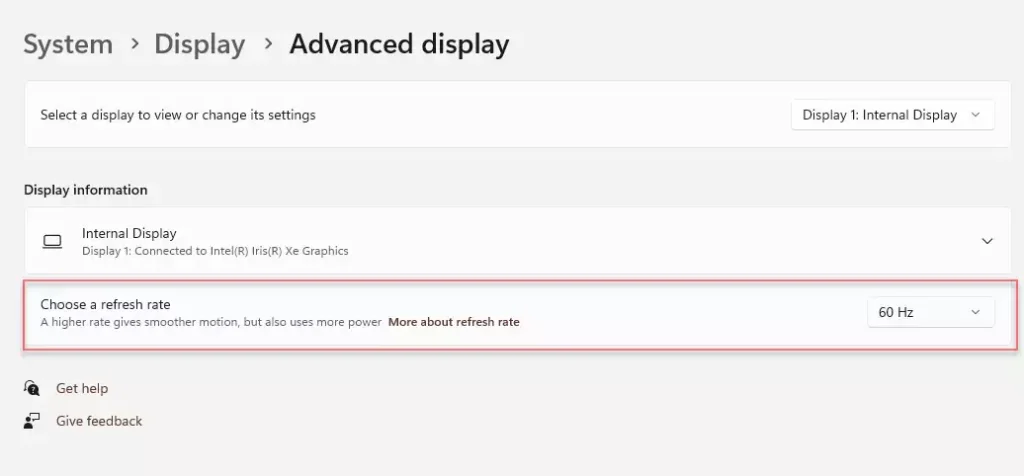
Step 3. Under the “Related settings” section, tap on the Advanced display tab.
Step 4. Finally, use the “Choose a refresh rate” option and select the “Dynamic” option.
After completing the steps, the computer will automatically lower the refresh rate to save power and slightly degrade the overall experience.
How to Disable Dynamic Refresh Rate on Windows 11
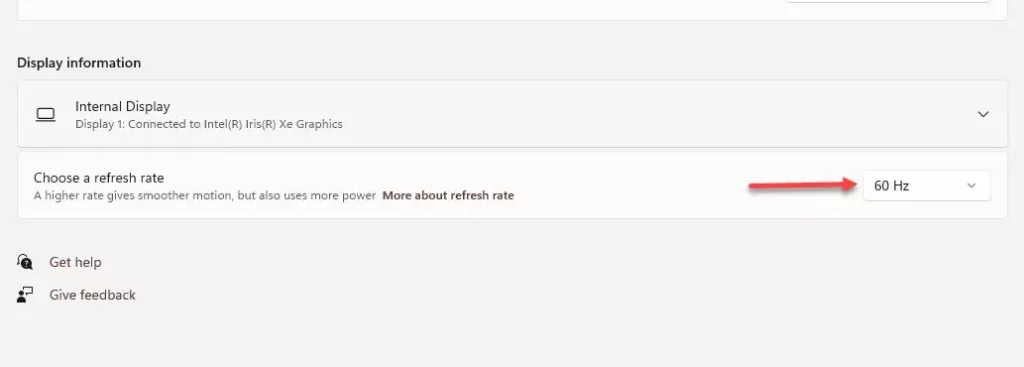
If you want to disable Dynamic Refresh Rate to have a higher display performance, open the Settings app on your PC and go to “System > Display > Advanced display.” Then, click on the “Choose a refresh rate” option and choose another regular rate like 60Hz, 120Hz, or the highest rate supported by the display.
After completing the steps, Windows 11 will try to manage the refresh rate of the device longer for better display performance, but it will use more power.
Conclusion
That’s all there is to quickly enable and disable Dynamic Refresh Rate in Windows 11. On the one hand, enabling this feature can save battery life, but on the other hand, it will degrade your display performance. If you want to have a higher display performance, you can simply disable it. Good Luck!
Read also: