The term “scanning a document” used to mean spending a lot of time in front of a computer, waiting for it to convert the real paper into a digital file. However, we live in the mobile age and mobile phones can do almost all the work. In addition, it is very easy to search for documents with text search capability using only the phone’s camera. In this guide, you will learn how you can scan documents on iPhone and iPad based on iOS 14 and iOS 13. You can follow the same steps on iPhone (iPhone 12, iPhone 11, iPhone X, etc.) and iPad (iPad Pro, iPad Air, iPad mini, etc.)
Table of Contents
How to Scan and Save Documents on iPhone and iPad running on iOS 14 & 13
Apple’s Notes app is getting better every year, and the ability to search for documents within the app on iOS is now better than ever. After the break, we’ll see how this useful feature works. We will also scan files directly through the “File” application.
Apple has done a great job scanning text into Notes. It is amazing and easy to use. You’ll able to synchronize scans on all Apple devices, and it’s very easy to share scans with or without annotations.
So here, we are going to show you 2 different methods to scan documents on iPhone and iPad running iOS 14 and iOS 13 without any third-party scanner app:
1. Scan and save a document on your iPhone and iPad using the Notes app
The iPhone’s built-in Notes app has a special scanning feature that you can access whenever you create a new Notes document.
Here’s how to scan documents on iPhone and iPad (iOS 14 and 13) using the Notes app:
- Tap and hold the Notes app and then tap on Scan Document.
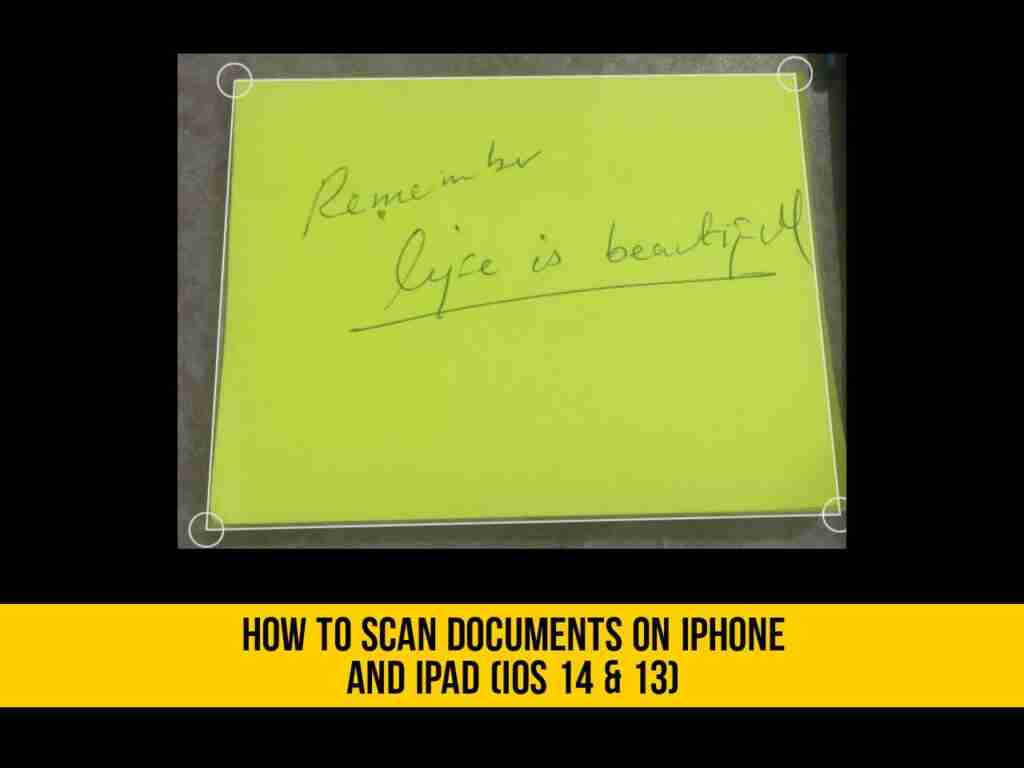
- Put the document you want to scan. If the scanner doesn’t automatically scan your document, click on the shutter button.
- Repeat the same step for every document you like to scan.
- Click on Save after you’ve scanned all the pages. The button will have a count of how many pages you scanned.

2. Scan and save a document on your iPhone and iPad using the Files app
The File app in iOS 13 and iOS 14 makes scanning documents and saving them to your device a breeze. Instead of looking around you, you can scan the receipt or signature and scan the paper. Just make sure your iPhone and PC are still connected to iCloud and can access the iCloud Drive.
Here’s how to scan documents on iPhone and iPad (iOS 14 & 13) using the Files app:
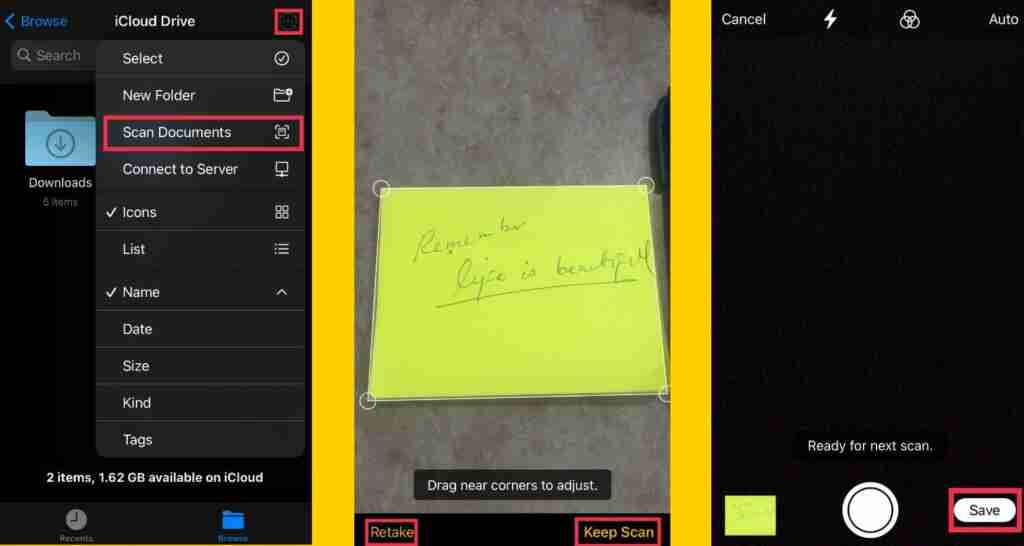
- Go to the Files app on your iPhone or iPad.
- On the Browse screen, click the ellipsis button tap on Scan Documents from the pop-up menu
- By default, the camera detects files in the viewfinder and tries to capture them automatically. If you do not want this, click [Auto] in the upper right corner of the camera interface to switch to the [Manual setting].
- Point the camera at the document so that the yellow frame is aligned with the edge of the document. Press the shutter button on the camera to take a photo.
- You can scan according to your preferences, and you don’t want to scan any pages, please click “Done“, and then click “Save” when you return to the scanning interface. If you want to retry the same scan, select “Retake“.
Conclusion
You can use the Notes and Files app to scan documents on iPhones and iPads running iOS 13 or iOS 14. After saving the image file, you can use it like any other scan text. Send it as an email attachment, or open it in the email app and send it as a text message.
No matter what you use it for, you can rest assured that you don’t have to decide how to use a clumsy office scanner. There are many hidden functions on the iPhone, including a virtual magnifying glass and a calculator backspace shortcut.
Read more: