You may be well acquainted with widgets, if not in Windows 10, I’m sure you know widgets from your phone. Windows 11 also introduced Widgets, a feature that was similar to News and Interests available on Windows 10. If you are a big fan of widgets but don’t see them on your Windows 11 PC, you can easily add them to your taskbar. However, if the widget button is taking up unnecessary space or you don’t use the feature often, you can remove it from the taskbar. In this article, you will learn the steps on how to quickly add and remove widgets from the taskbar on Windows 11 PC.
Table of Contents
What Else is New in Windows 11?
Microsoft just announced the new official Windows 11 at an event on June 24, 2021. Windows 11 brings many new features. Compared with the previous version of the Microsoft operating system, these new features are a bit jaw-dropping and impressive.
Microsoft started the event by introducing a new start menu, the start menu is located in the center, in the start menu, you can use the snipping feature. When you maximize the window, the snipping is also available in all windows. This feature will improve work efficiency every time you process a project.
Microsoft redesigned the new Windows Store from scratch. You can install and run Android apps directly on Windows 11, which is very impressive. The developers are working hard to create an in-app Android app that can run on the Microsoft store without any issues. Microsoft also announced that if you’re building apps, they won’t even get 1% of app revenue.
You can read more about the new features of Windows 11 here. Now let’s go towards how to enable and disable Widgets on your Windows 11 PC or laptop.
How to Add Widgets to Taskbar on Windows 11
To enable the Widgets button on the taskbar, use these steps:
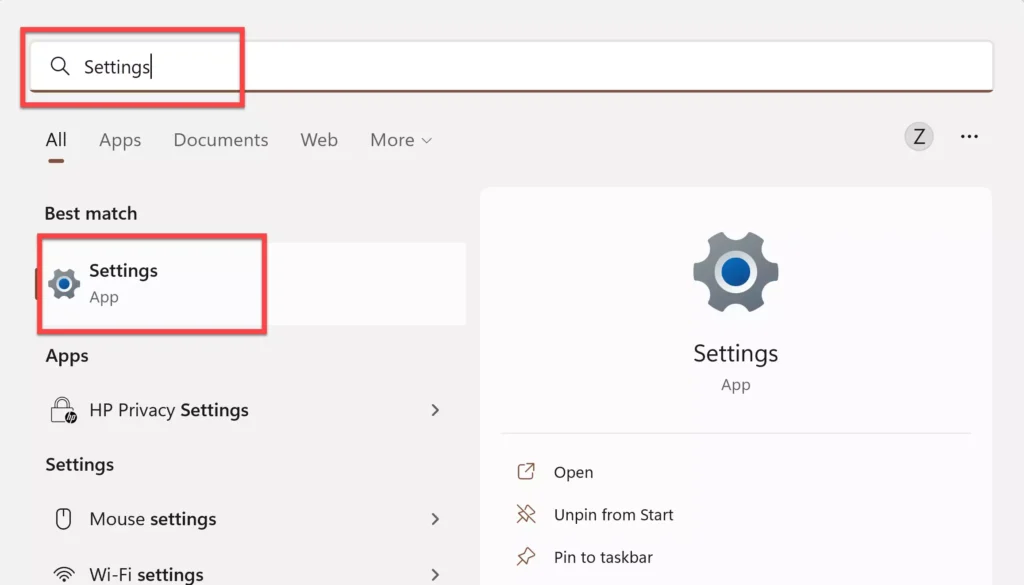
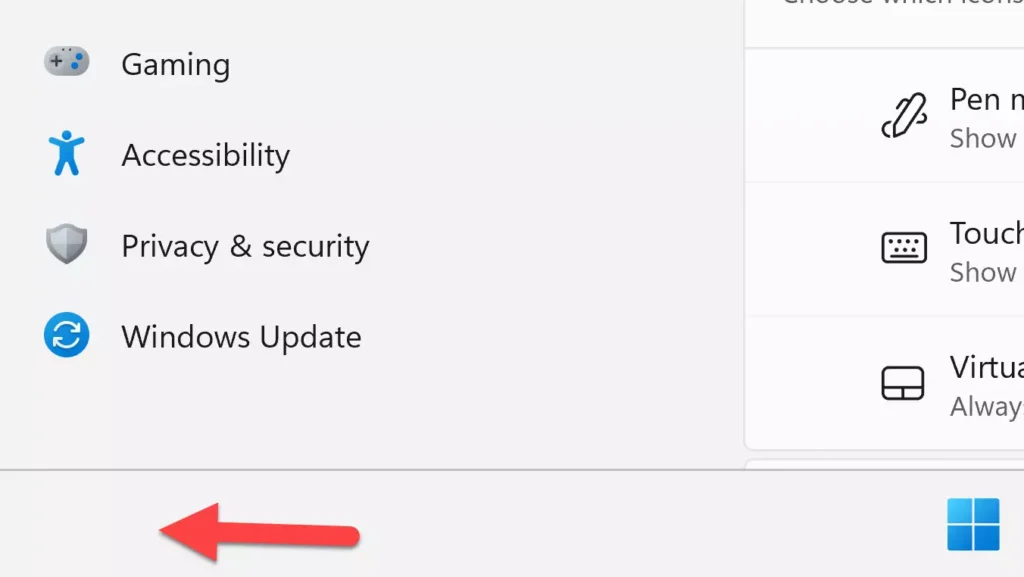
Step 1. Open the Windows Settings app by searching for it in the Start Menu. Alternatively, you can also use the “Windows + I” shortcut keys on your keyboard to open the Settings app.
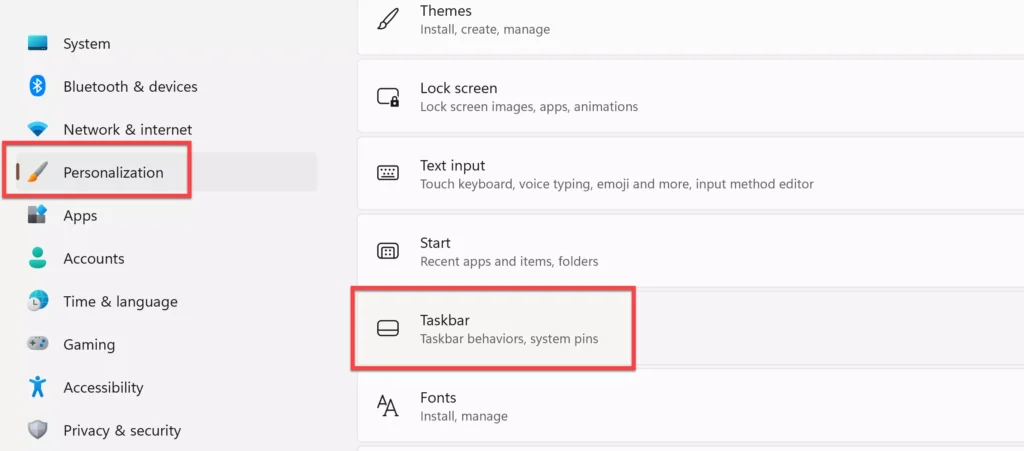
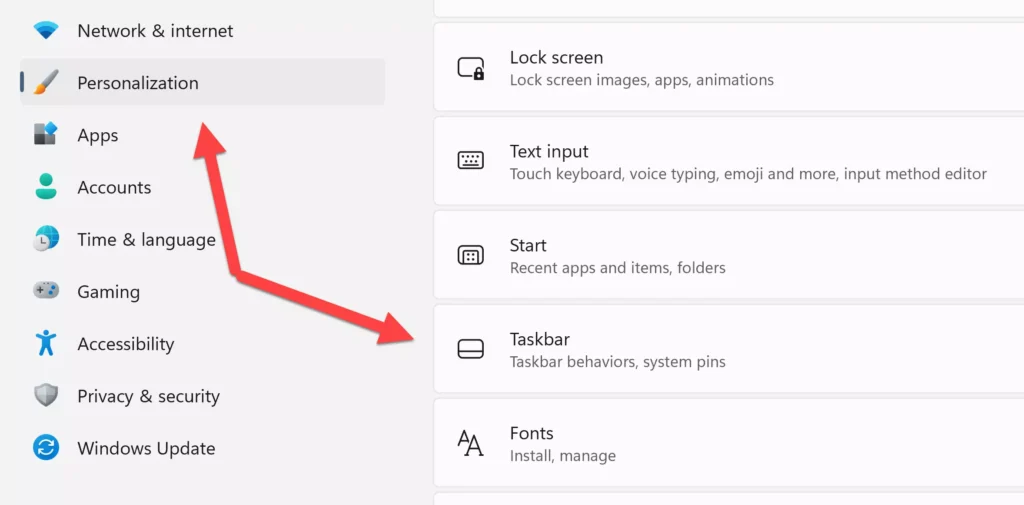
Step 2. Next, go to “Personalization” from the left pane, and select “Taskbar” from the right.
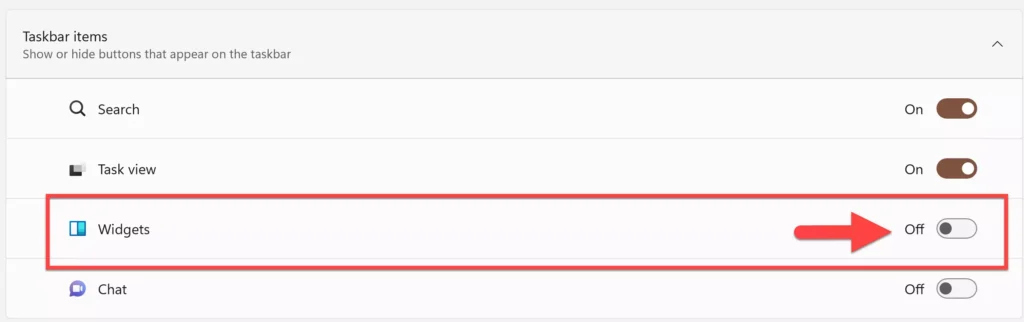
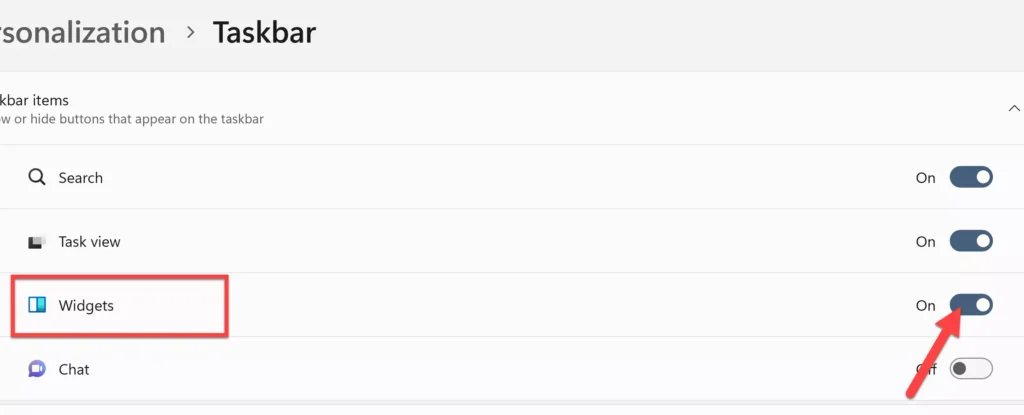
Step 3. Now, under Taskbar Items, you will see some items that you can show or hide on the taskbar. From there, enable “Widgets” to show it on your Windows 11 taskbar.
Step 4. That’s it! The widget button has successfully been added to your taskbar. Tap on it and start using it. Alternatively, you can also open this feature by using the “Windows key + W” keyboard shortcut.
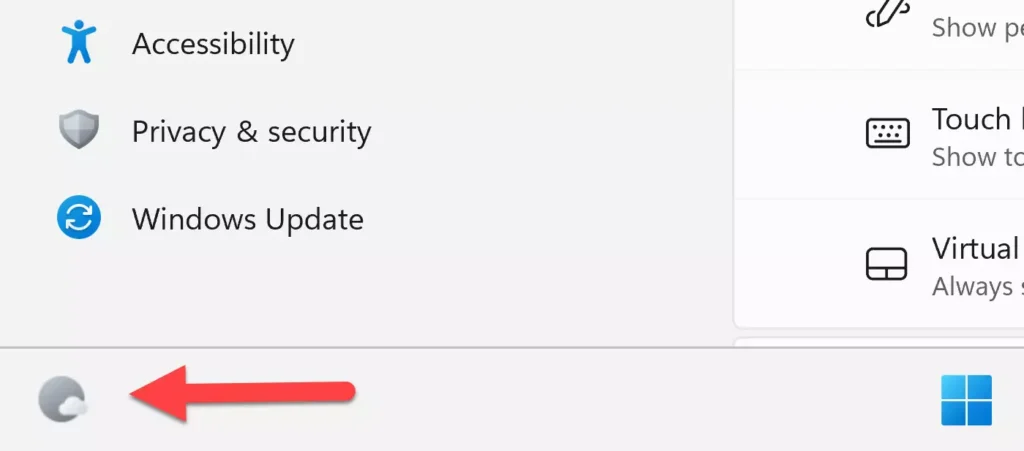
After you complete the steps, the Widgets button will appear on the taskbar.
How to Remove Widgets from Taskbar on Windows 11
You can remove or disable the widgets on Windows 11 using Settings. Here are the steps to follow:
Step 1. Open the Settings app either by searching for it in the Start Menu or using the “Windows + I” shortcut keys on your keyboard.
Step 2. Select “Personalization”, and tap on “Taskbar” to continue.
Step 3. Now, under the Taskbar items section, turn off the “Widgets” button toggle switch to hide or remove the Widgets button from your Windows 11 PC.
Step 4. That’s it! Once you complete the steps, the Widgets button will no longer appear in the taskbar. However, the feature will still be functional when using the “Windows key + W” keyboard shortcut.
Final Words
That’s all about how to add and remove widgets from the taskbar on Windows 11 using easy steps. Although widgets are a pretty cool and useful feature, they may sometimes get annoying. So, according to your preferences, you can now enable or disable it on your Windows 11 PC or laptop. Good Luck!
Read also: